Effects
Using the Effects tab you can adjust image hues, add warm or cold tints, apply a soft glow effect, darken or lighten the image edges and highlight the main objects in a scene.
- Temperature (-100 to 100) makes the image colder or warmer. Moving the cursor to the left of 0 increases the number of cool (blue) tones, while moving it to the right of 0 increases the number of warm (yellow) tones.
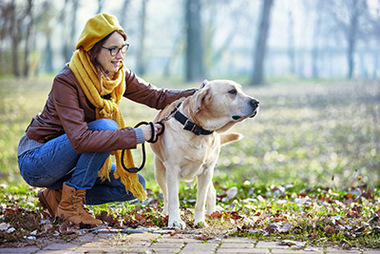
Temperature = -50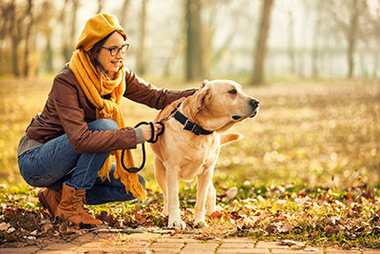
Temperature = 50 - Tint (-100 to 100) adjusts the tint of the image. The default value is 0. Negative values for this parameter give the image a green hue while positive values add magenta to the image.
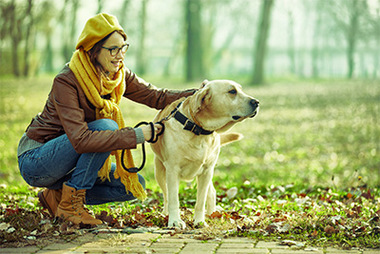
Tint = -50
Tint = 50 - Color. Choose the color of the vignette. Adjust the amount of color with the Intensity parameter (0-100).

Dark Edges
Light Edges - Distance (0-100) determines how far from the center of the image shading will begin.

Distance = 5
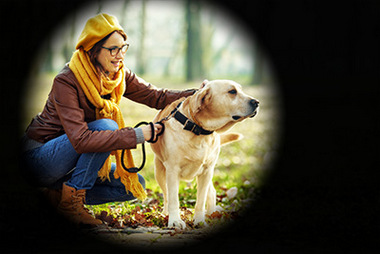
Distance = 50 - Shape (-100 to 100) affects the form of the unshaded area of the image. At negatives values it takes the form of a rectangle with rounded edges, while at positive values it takes the form of a circle.
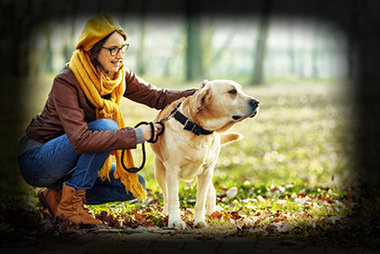
Shape = -50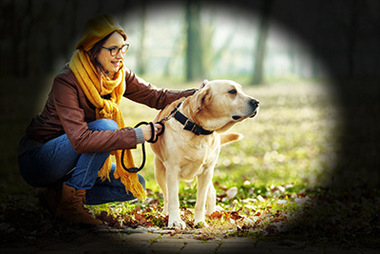
Shape = 50 - Smooth Transition (0-100) adjusts the smoothness of the boundary between the shaded area and the central part. Increasing the value increases the fading effect.
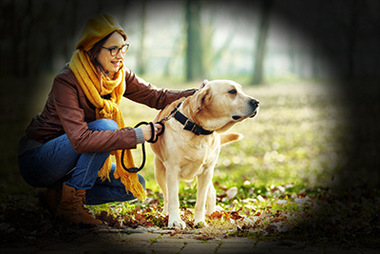
Smooth Transition = 10
Smooth Transition = 50 - Position. Move the white marker to shift the vignette. You can see the current coordinates of the center in the X and Y fields.
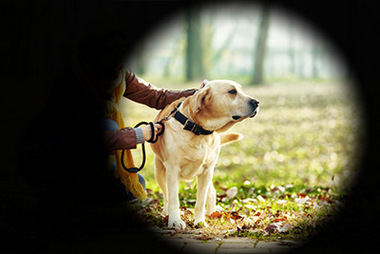 Moving Vignette
Step 1. The photo will be automatically processed with the last used parameter values. The result will be shown in the After tab.
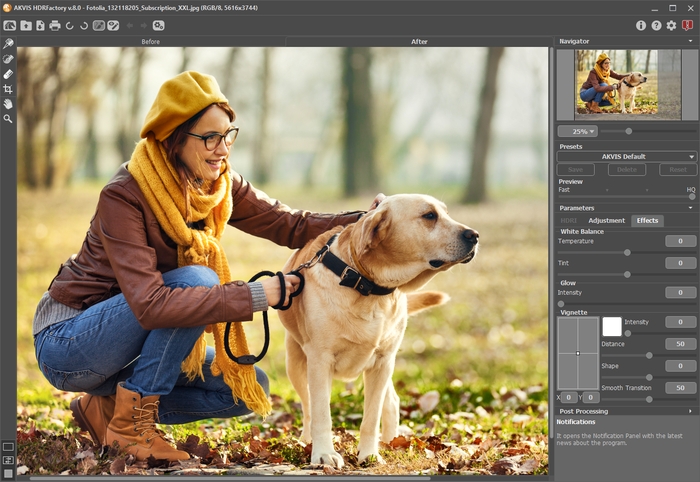
Result With Default Settings
Step 2. Select the value of the Preview parameter. It's an auxiliary tool, it does not influence the real size of the image. The original image will stay the same and all details of the original image will be kept.
Step 3. Select one of the AKVIS presets or adjust the parameters as you like:
The parameters under White Balance help correct color hues and change the mood of a photo by adjusting its cool or warm tones.
Glow adds a soft glow effect by creating a blurred layer above the source image. When these layers are blended together it results in a surreal appearance.
Intensity (0-100) defines the strength of the glow effect.
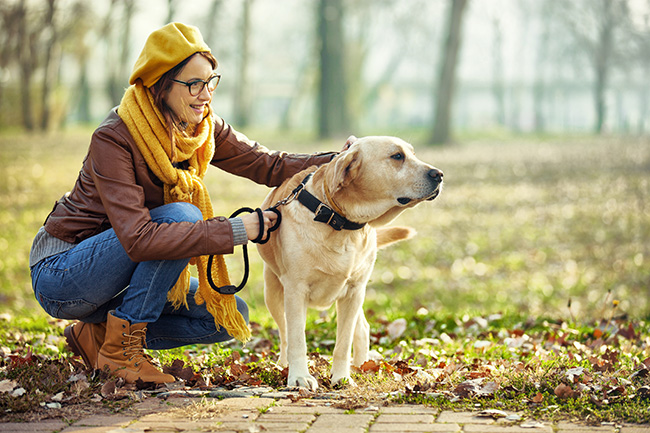

The parameters under Vignette lighten or darken the edges of the photo. This effect helps centrally located objects to be the focus of the image.
Processing starts immediately after any parameter is adjusted, and any changes are displayed in real time, in the After tab.
Here is our result:
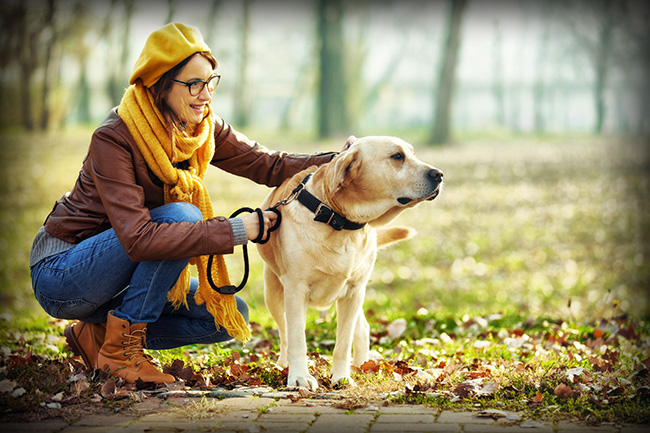
Result
Step 4. If you like the new settings you can save them as a preset and use them later. To save the settings, enter a name for the preset in the Presets field and press the button Save.
