A Cambodian Bas-Relief
The author of the tutorial is Jean-Claude Grégoire.
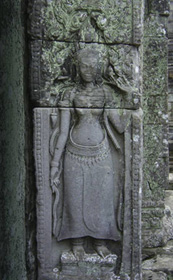 |
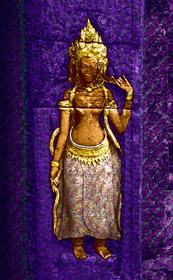 |
| Original image | Result |
You can make this exercise yourself using the materials that we give you. Download the archive "cambodian-bas-relief.zip" containing the images.
Jean-Claude Grégoire wrote this tutorial with the intention of:
- demonstrating several ways of using this marvellous plug-in with one image only,
- showing how an illustrator can transform an ordinary photograph into an image which could be used for a book cover, a DVD jacket, etc.
The source image is a photograph of a stone bas-relief in a temple in Angkor, Cambodia. Jean-Claude found it looked a little sad in its greenish-gray colors. So he decided to brighten it up a little bit with the AKVIS Decorator plug-in.
Read the description of the decoration process:
Before applying this plug-in, you'll have to make a selection of the parts of the image you want to decorate.
Before beginning such a complex work, you'll have to think about it a little, or better to try it on a downsized version of your image (the bigger the image, the longer the processing time of the plug-in). I chose the second way, what made me understand which errors weren't to be made. Now I give you the good way to manage the decoration of this bas-relief.
- Step 1. I open the source photo in AliveColors.
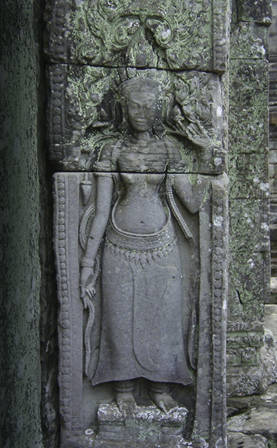
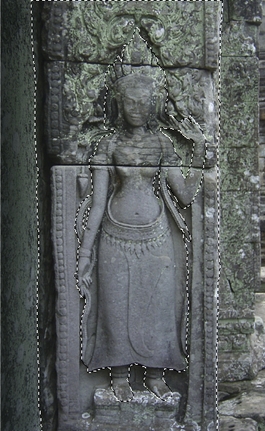
- Step 2. As I'll have to work on several selected parts of the image, it's better to begin with the selections. The first part of the image to be selected is the lady. I select her with Quick Selection tool
 .
.
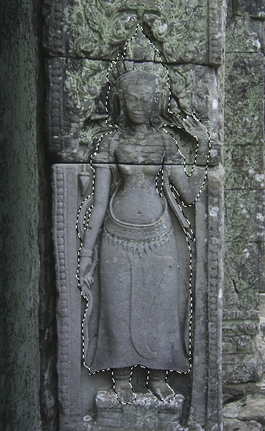
Now it's important to save this selection with an evocative name, e.g. "lady". (Note: The saved selections are shown in the Selections palette.)
- Step 3. I choose Intersect Alpha Channel with Selection and invert this selection Select -> Invert. Save the result under the name "background". Continuing with Quick Selection
 , I divide this selection in two other ones, called "near background" and "far background".

- Step 4. I load the selection "lady" and divide it the same way in three other ones, called "skin", "gold" (for the golden jewels) and "skirt". I save my work (beware! don't forget to save it with the lock icon
 , otherwise you'll lose your selections).
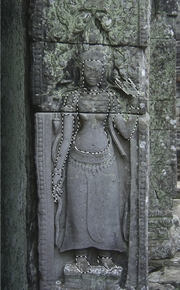
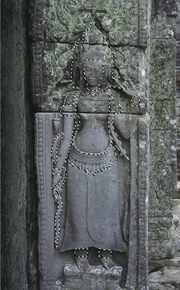
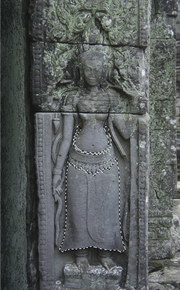
As I intend to put some decoration on every part of the image, I think the best way of working is to begin with the more distant part of the background, than the nearest one, then the skin, then the skirt, and finally the golden jewels. Each part will receive a different decoration from the plug-in.
- Step 5. Suddenly I got the urge to try personal textures for the background - just for fun!
I wanted textures which could hide the texture of the background to some extent. So I got a photo of a bench covered with drawings in a park…
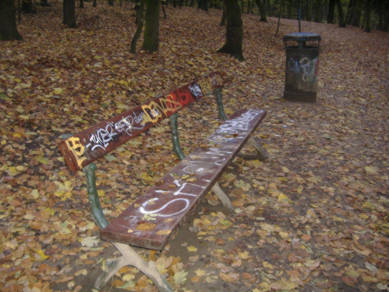
…and cropped it to get a small square with autumn leaves on the ground. I downsized the result to a 100*100 pixels image, then I changed its color with an adjustment layer Hue/Saturation with the settings: Hue -116; Saturation +57; Brightness 0.
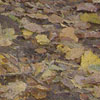
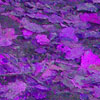
I saved the result as "purper_autumn_leaves.JPG" at maximum quality (100), JPEG file and put it into the directory where you keep your textures. You can create this folder anywhere on the disk, but you should remember the path to it.
- Step 6. Then I cropped the same photo again, but this time around the inscriptions on the bench. I downsized this square to a 100*100 pixels image and added two adjustment layers (Layers -> New -> Ajustment Layer).
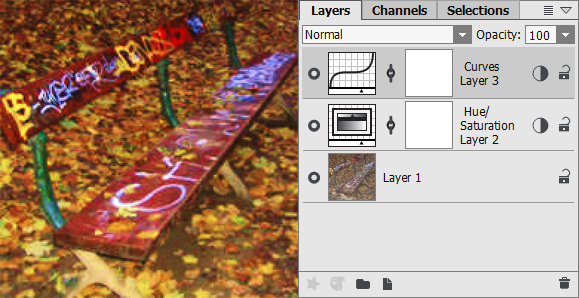
The first one was a Hue/Saturation one, with the following settings Hue: +7, Saturation: +55, Brightness: 0. The second one was a Curves one, with the following settings (composite RGB channel only): 0-0; 86-54; 180-204; 255-255.
I saved the result as "graffiti_on_bench.JPG" at maximum quality into the folder with my personal textures.
- Step 7. Now I can begin with my decorating work. I use Layers -> Duplicate to duplicate the background image. I'll work on this new layer so that I could easily go back in case of error. I activate the duplicate, which I call far background. I load the selection "far background". I call the AKVIS Decorator plug-in (main menu: choose Effects -> AKVIS -> Decorator).
I go into the Texture Library (double left click on the square with a texture under the "color" tab), I click on the button
 and select my custom texture "graffiti_on_bench.JPG". I don't keep the default settings, decreasing the Brightness to 73, and modifying the position of the light source.
I click the button
 to apply the choosen texture to the selected part of the image. As it is a big image, the processing takes several minutes. Then I see the result in the After tab.
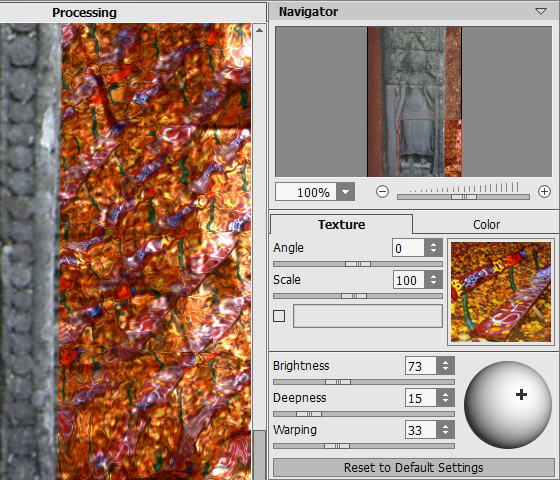
I'm satisfied with it, so I click on the button
 which applies the result to the picture and closes the plug-in. I type Ctrl+D for deselecting the image.
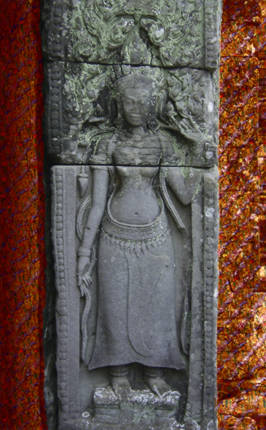
- Step 8. I duplicate the layer far background and I rename this duplicate near background. I load the selection "near background". I call the AKVIS Decorator plug-in.
I go into the Library, click on the button
 , and select my custom texture "purper_autumn_leaves.JPG". I decrease the Brightness to 39, and modify the position of the light source.
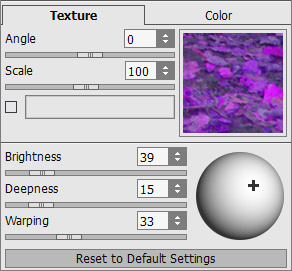
I click on the button
 . I'm satisfied with the result. I click on the button
  for applying the result to the picture and closing the plug-in. I type Ctrl+D for deselecting the image.
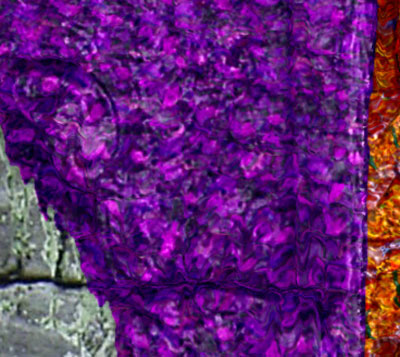
- Step 9. I use Layers -> Duplicate and call the duplicate skin. I decide to give a wooden texture to the skin of the lady. I load the selection of the skin. I call the AKVIS Decorator plug-in.
I open the Library and make several trials with various wooden textures and various settings until I find my solution.
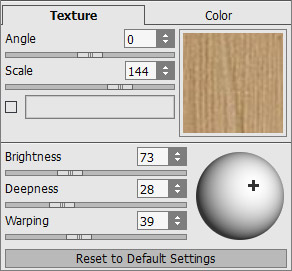
I click on the button
 . I'm satisfied with the result. I click on the button
  for applying the result to the picture and closing the plug-in. I type Ctrl+D for deselecting the image.
- Step 10. Again, I type Ctrl+J and call the duplicate skirt. I load the selection of the skirt. I call the AKVIS Decorator plug-in.
I open the Library and choose a fabric texture with white flowers on a pinkish background. I changed the settings in the following way:
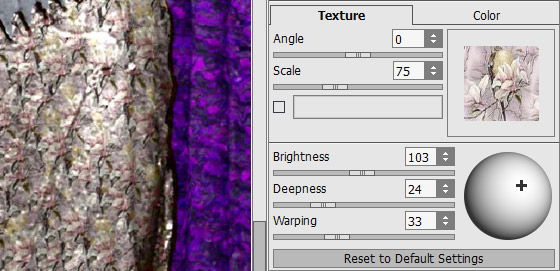
I run the plug-in and finally apply it.
- Step 11. I'm going to deal with the golden jewels of the lady. I duplicate the working layer again and call this duplicate gold. I load the selection "gold", call the AKVIS Decorator plug-in again, and select a metallic texture resembling gold coins, but the color is too coppery (too red). So I decide to replace it by a yellower color. I activate check-box near the color rectangle and a new window opens where I choose the yellow color (RGB: 255,217,0) and close the window with a click on "OK".
I modify the settings too to get a metallic shine - i.e. increasing brightness and deepness.
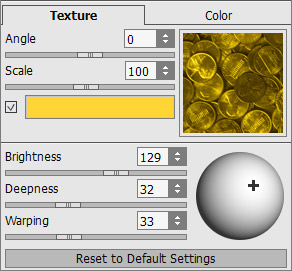
I run and apply the plug-in.
The picture below shows the result and all the layers. I delete the intermediate layers that we do not need any longer. (Remember: I kept them to be on the safe side in case of error!)
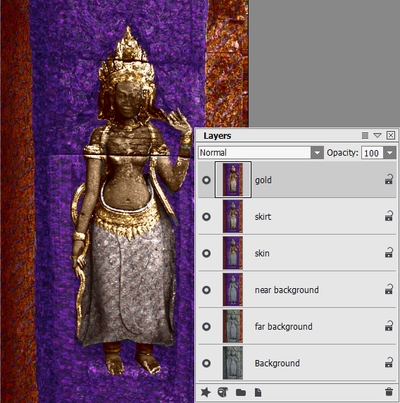
- Step 12. I am not entirely satisfied with my image. But, remember, I kept all my selections, so that I can easily modify the look of each part. After several trials and errors, I choose this way: applying 3 adjustment layers Hue/Saturation on both backgrounds and on the Lady.
It's a very easy trick of the trade. Here's how it can be done:
I load the selection "far background". In the main menu, I choose Layers -> New -> Adjustment Layer -> Hue-Saturation, and I get an adjustment layer limited to the far background. On the same way, I get an adjustment layer for the near background and another one for the Lady.
I chose the following settings for these adjustment layers:
1. The Lady:
- Hue: 0
- Saturation: +30
- Brightness: +52. Far background:
- Hue: -104
- Saturation: -5
- Brightness: -103. Near background:
- Hue: -7
- Saturation: -10
- Brightness: 0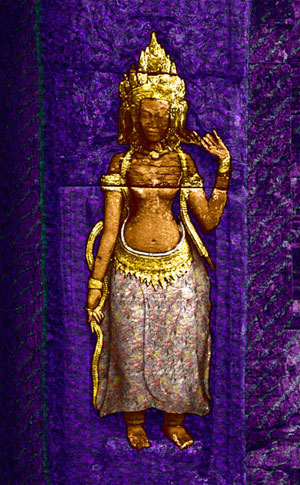
Don't you have a feeling that the lifeless original photo has been transformed into an image of a precious decorative item in the window of an antique shop? This is the magic of the AKVIS Decorator.
