Snow Paradise
The example was made in the old version of SmartMask. Now, you can achieve this effect more easily with the new AI-based tools.
With AKVIS you can make a New Year’s greeting card with your own hands that will please friends and family.
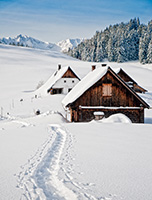
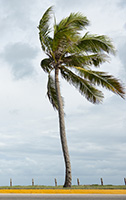
Since it is a winter holiday, there should be some snow on the card, but in this particular harsh winter environment there will be a little tropical paradise. Two completely incompatible things will be combined in one image: a palm tree and snow.
 |
 |
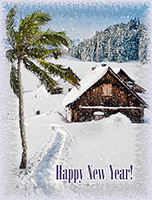 |
| Source Images | Result | |
AliveColors will be used for this tutorial but any graphics editor which is compatible with AKVIS plug-ins could be used.
-
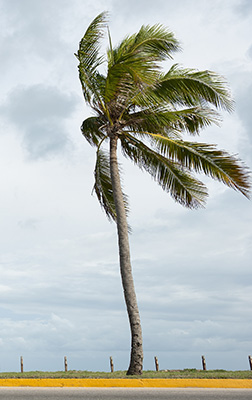
Step 1. First we need a tree. Open an image containing a palm tree in AliveColors.
-
Step 2. Choose the AKVIS SmartMask plug-in (Effects -> AKVIS -> SmartMask).
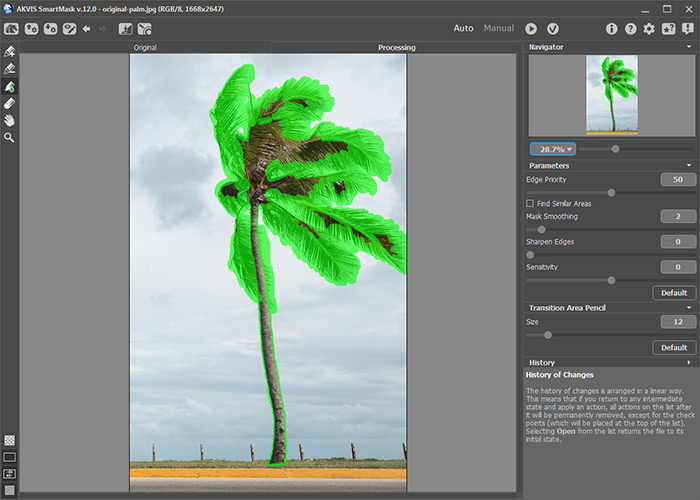
Lets start working in Auto mode. Choose this tool
 and draw a green line around the tree.
-
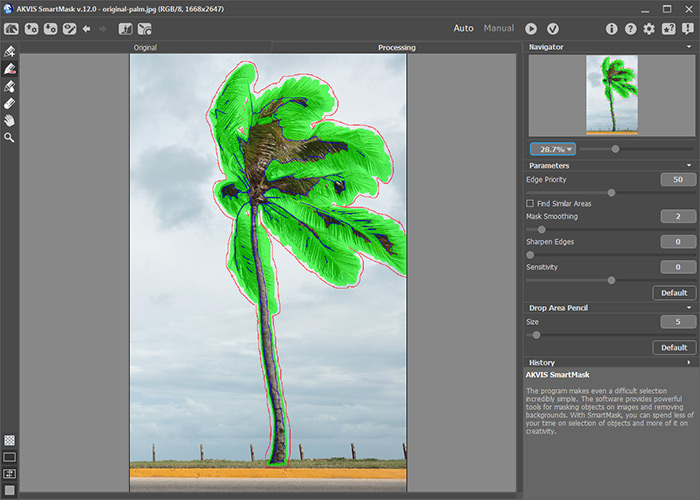
Step 3. Next use the
 and
and  tools. Draw blue lines inside (this area will be kept), red - outside (this area will be removed).
Press
 to begin processing the image.
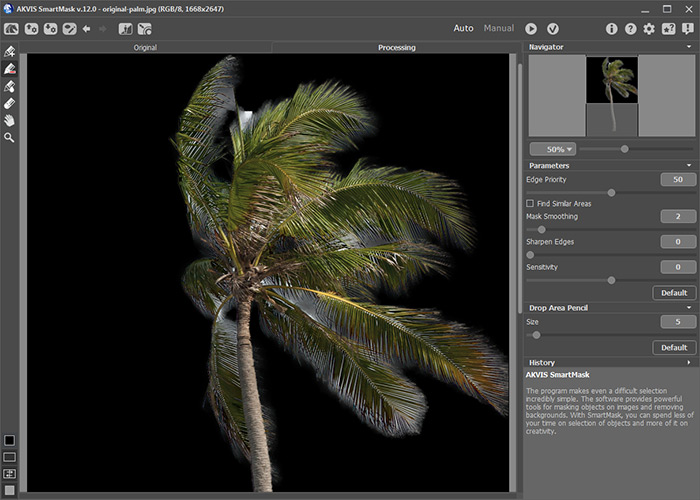
The background was removed, but not completely. Some fragments of the sky remain between the leaves, so continue processing.
-
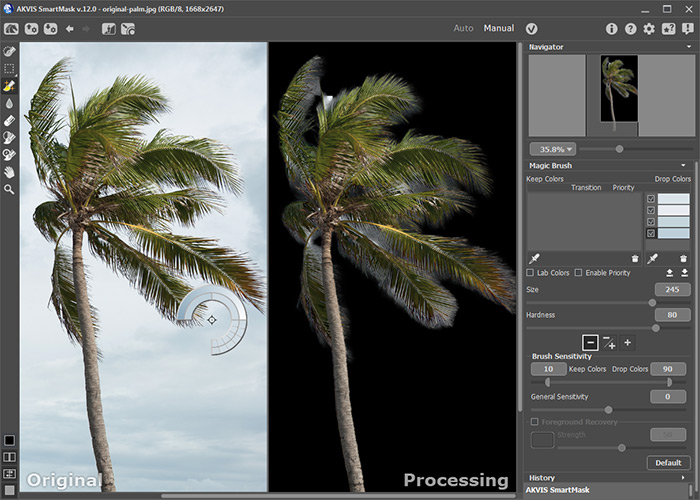
Step 4. Switch to Manual mode. Choose the Magic Brush
 and check the Drop mode. Use the eyedropper under the Drop Colors list and select colors which need to be removed (fragments of the sky). The selected colors will be added to the list.
-
Step 5. Change the brush size and work around the palm tree’s leaves. After processing all that will remain is the tree. Everything else will be removed.
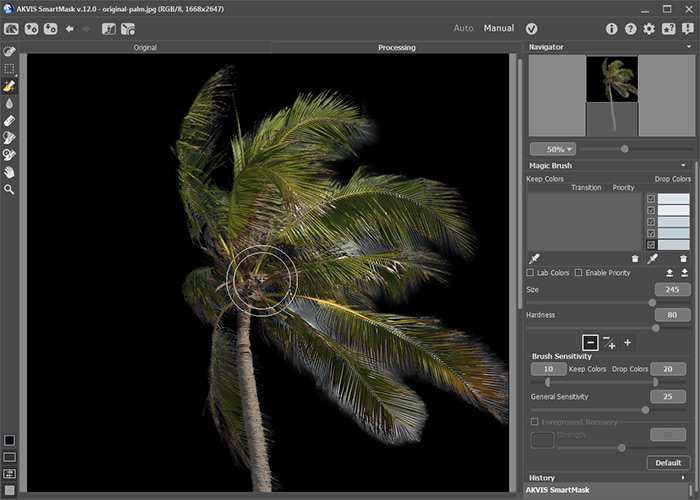
Press
 to close the plug-in and apply the result.
-
Step 6. Now the tree can be placed on a winter background. Copy the tree and paste it to the chosen background. Change the palms’s size (Edit -> Free Transform) and move it to the right place.
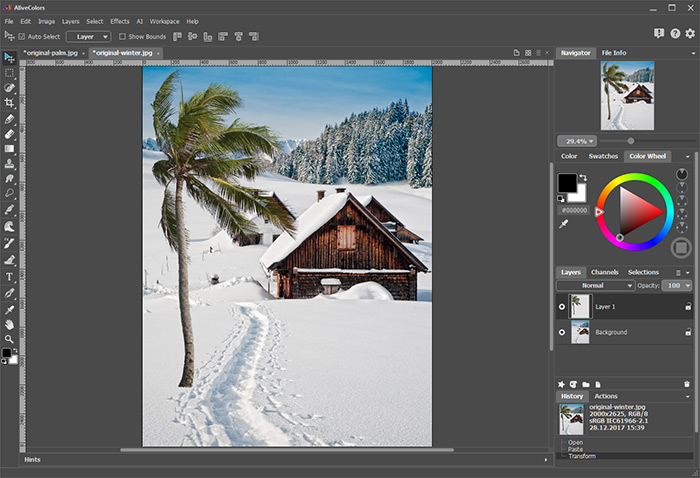
Merge the layers by holding down Ctrl, selecting the desired layers in the Layers palette, and then choosing the command Layers -> Merge Layers from the main menu.
-
Step 7. For more of a winter mood add some falling snow. Start the AKVIS NatureArt plug-in. Choose Rain from the list of effects. Use the
 to select the entire image. Change the settings so that the rain will appear as snow or use the AKVIS Snow preset. Press
  to process the image.
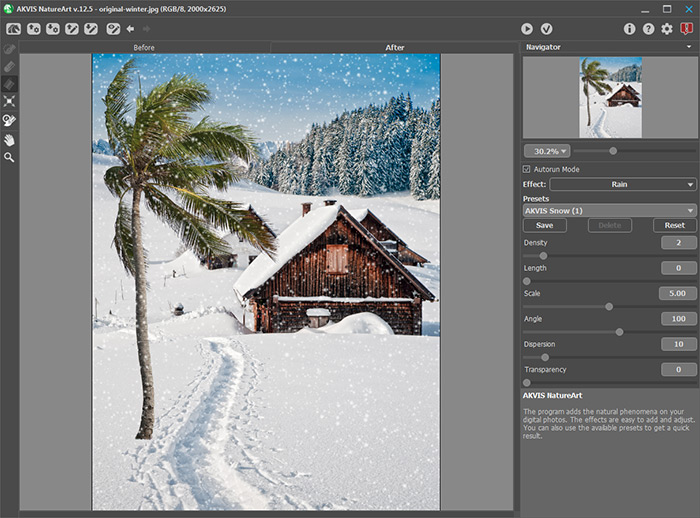
Press
 to accept the result.
-
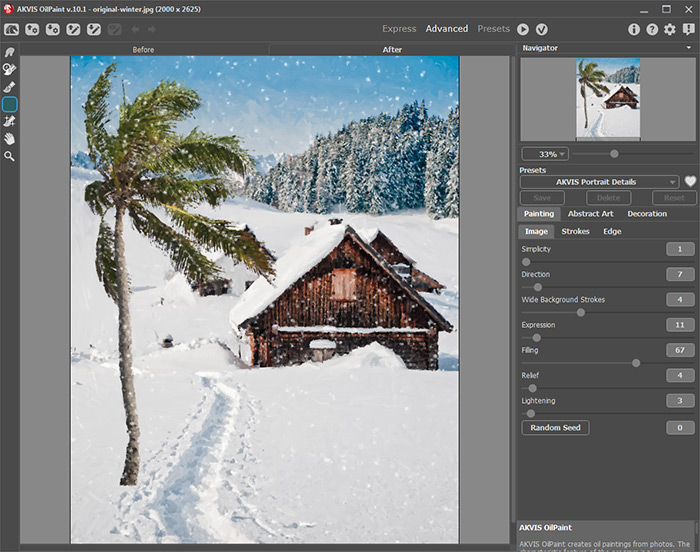
Step 8. The result is a very nice card. Now add an effect to make it appear as if it were painted in oil. Start the AKVIS OilPaint plugin.
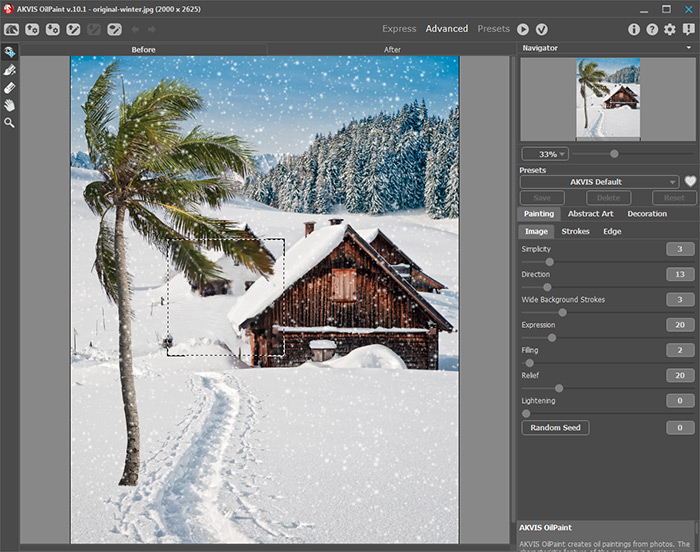
Use the
 tool to draw guiding lines. Adjust the parameters in the Settings Panel to your liking. Press
  to start processing the image.
-
Step 9. And now the final touch - a frame. Start the AKVIS ArtSuite plug-in. Select Frames from the drop-down list and Frost from the list of frames, then adjust the parameters and press
 .
.
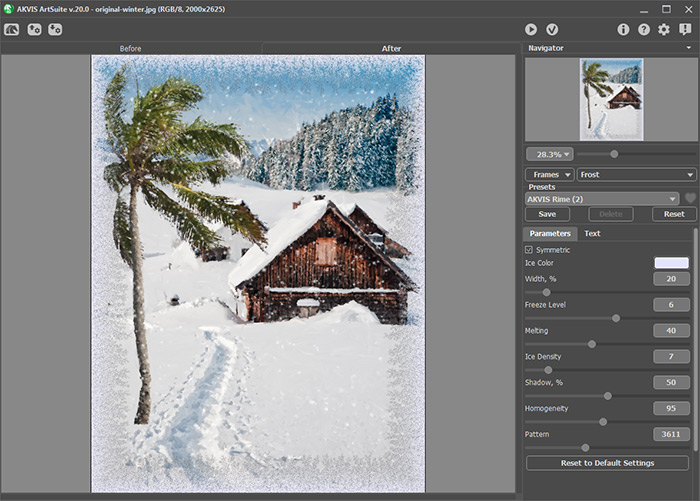
Press
 to apply the result and close the plug-in.
-
Step 10. Now that our image has finally become a greeting card, it's time to add a festive inscription. Click on the Text tool, and write a congratulation. Adjust the font settings and the location of the text as you wish.
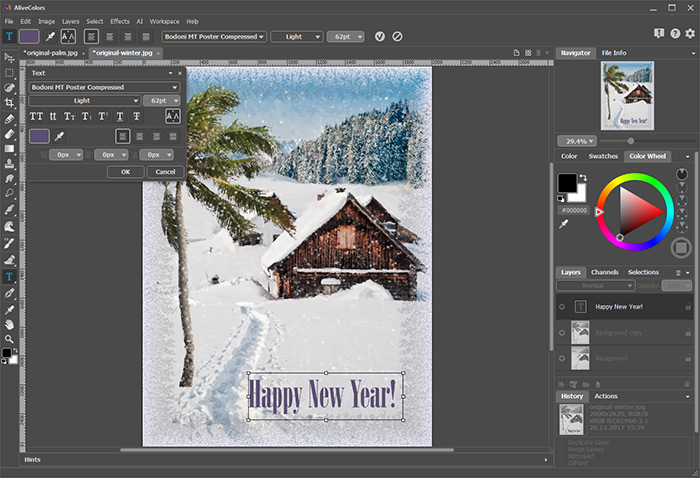
The greeting card is ready!
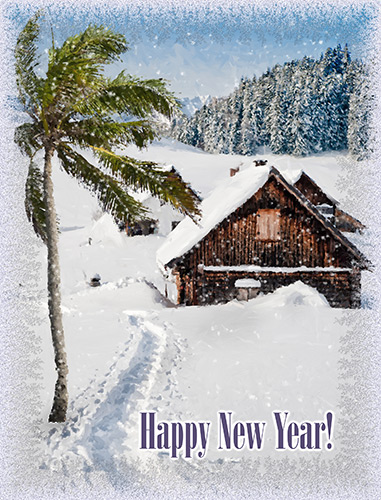
All that remains is to save and print the card.
