Changeable Sky
AKVIS SmartMask AI includes AI-based tools that help you quickly and accurately select complex objects in a photo. In this example, the sky in the image was replaced with a more interesting one using the Point Selection tool and the Custom Background mode.


Step 1. Open the original image in AKVIS SmartMask AI.
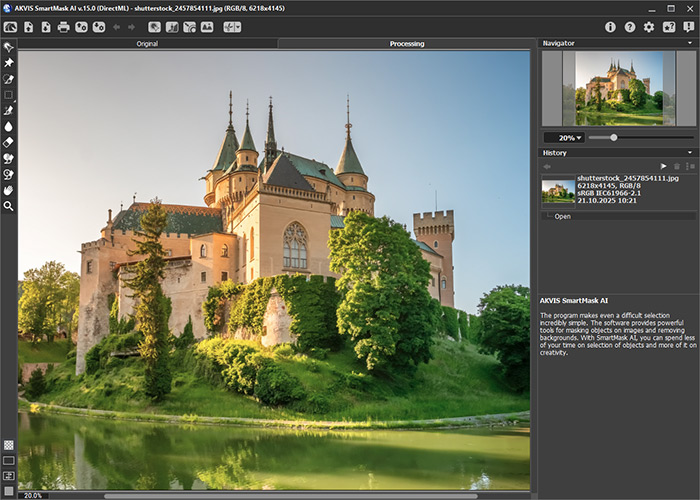
AKVIS SmartMask AI Program Window
Step 2. First, select the old sky. On the Toolbar, choose the Point Selection tool  and place a blue point on the sky.
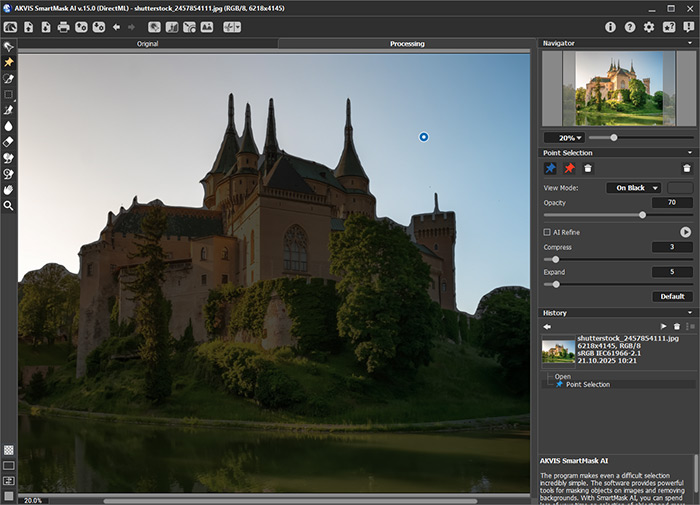
Point Selection
If needed, add more points: mark areas to be selected with blue points, and areas to exclude with red points.
Enable the AI Refine check-box and adjust the Compress and Expand settings to achieve the most accurate selection.
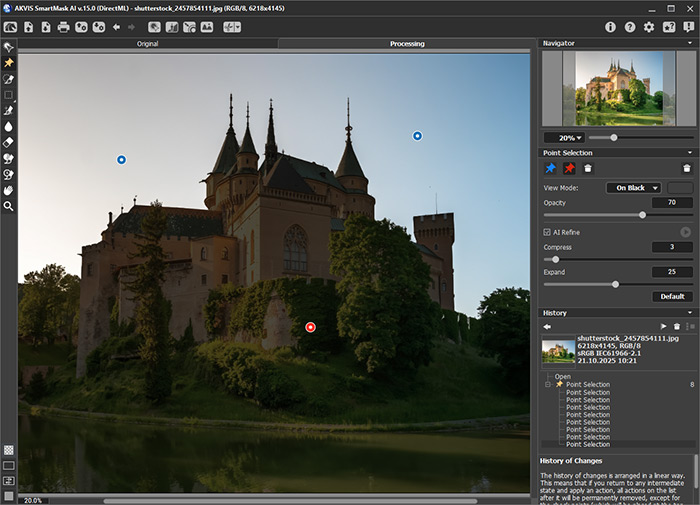
Selection Created
Step 3. On the Control Panel, click the button  and select the command Remove Selected Areas, then choose the Deselect command.
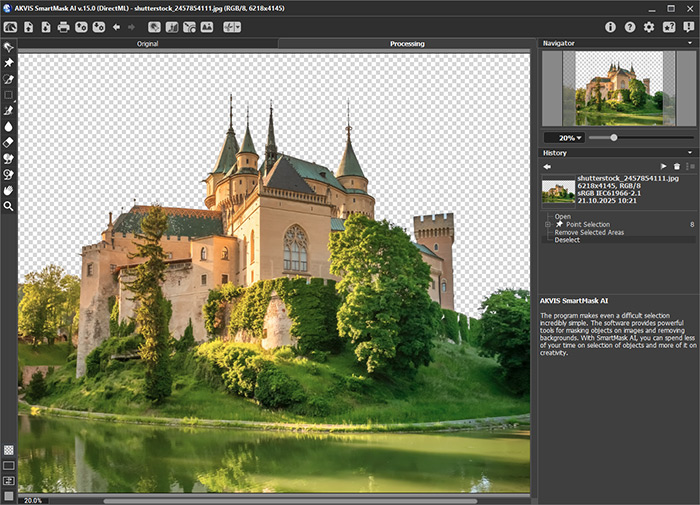
Removing Selected Area
Step 4. On the Toolbar, select the Magic Brush  , set the color sets, and process the complex edges where pieces of the sky remain.
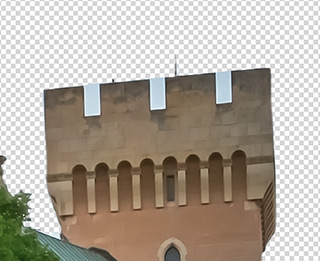
Before Using The Tool
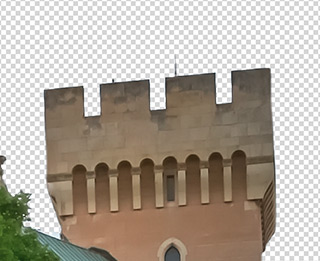
Magic Brush Applied
Step 5. The old sky has been removed; now it's time to add a new one. On the Control Panel, enable the Custom Background  mode and select the image with the new sky. Adjust the position of the inserted background and make necessary corrections.
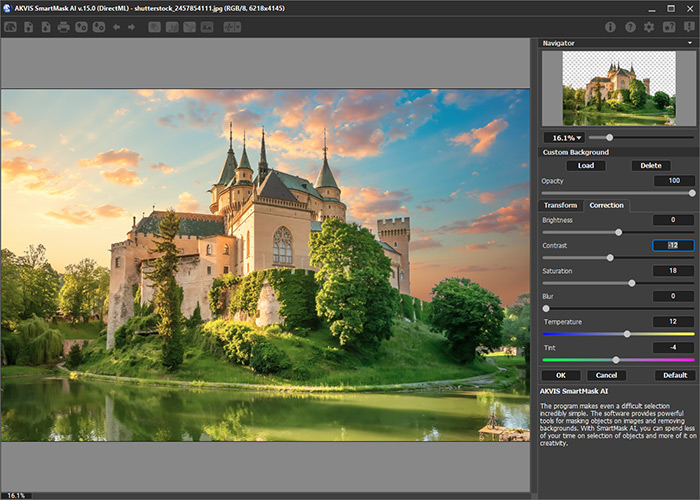
New Background Added
Step 6. If needed, soften the edge between the landscape and the new sky. To do this, activate the Refine Edges  mode and adjust the Feather and Shift parameters.
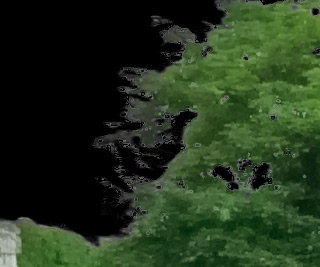
Before Using Refine Edges
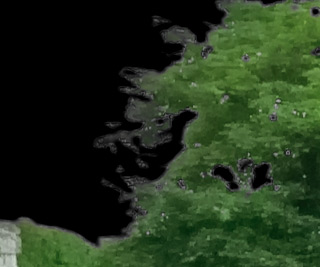
Refine Edges Applied
New sky, new mood!
