Old Version of Oil Painting Effect
AKVIS OilPaint creates oil paintings from photos. This algorithm was used in previous versions of the program. Since version 10.0, the program offers the new photo-to-painting conversion algorithm. You can switch to the old algorithm by selecting the corresponding option in the Preferences.

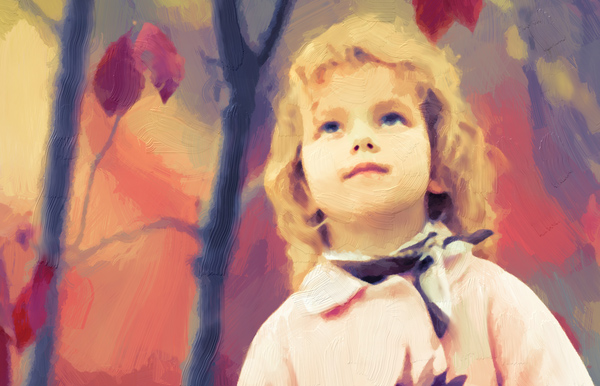
In the Painting tab in the Settings Panel, you can set the parameters of the photo-to-painting conversion.
In the Image tab, adjust the main parameters of the oil painting effect.
Simplicity (1-10). The parameter adjusts the simplification of the image. The higher the value of the parameter, the rougher the brush strokes are, and the more details disappear. Higher values make the result look like a painting, lower values keep it closer to the original photo.
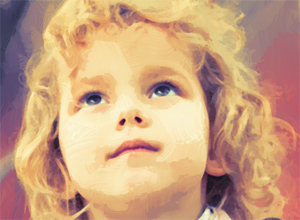
Simplicity = 2
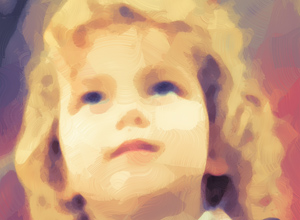
Simplicity = 8
Saturation (0-70). The parameter lets toning the image with brighter colors. At the value = 0 the original colors are used.
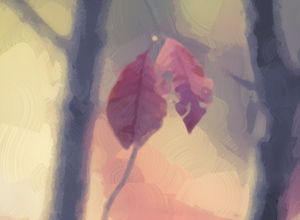
Saturation = 0
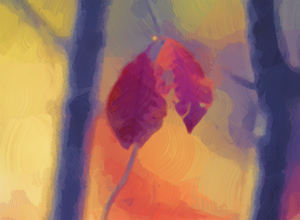
Saturation = 70
Max Stroke Length (1-100). The parameter defines the maximum stroke length.
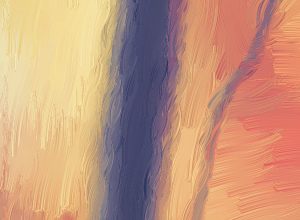
Max Stroke Length = 10
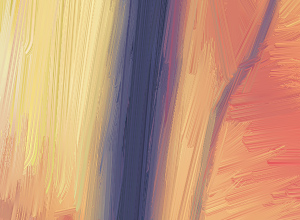
Max Stroke Length = 85
Stroke Thickness (1-20). The parameter adjusts the width of the brush strokes.
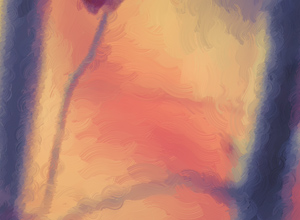
Stroke Thickness = 3
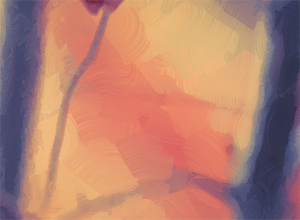
Stroke Thickness = 15
Stroke Intensity (0-50). The parameter adds volume and relief to the brush strokes making them more distinct and perceptible, accentuated and expressive.
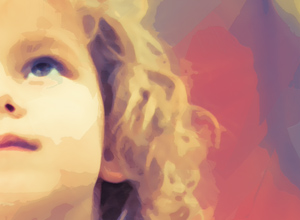
Stroke Intensity = 5
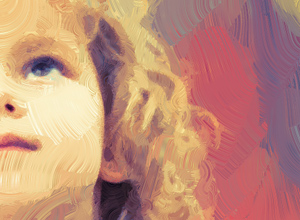
Stroke Intensity = 40
Stroke Curvature (0-50). The parameter changes the stroke form - straight or curved. The complexity and curvature of the strokes depend on the parameter value. The shorter the strokes are, the more they can bend.
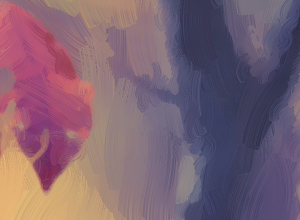
Stroke Curvature = 10
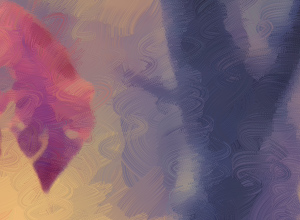
Stroke Curvature = 50
Wide Background Strokes (1-10). The parameter lets you increase the width of the brush strokes in uniform areas, that helps to get more realistic results on backgrounds and close-up portraits.
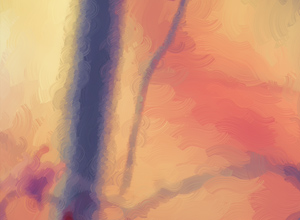
Wide Background Strokes = 2
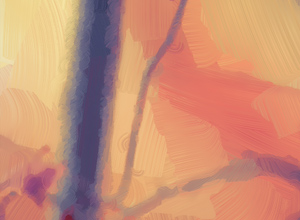
Wide Background Strokes = 10
Random Strokes (1-50). The parameter randomizes the arrangement of the brush strokes.
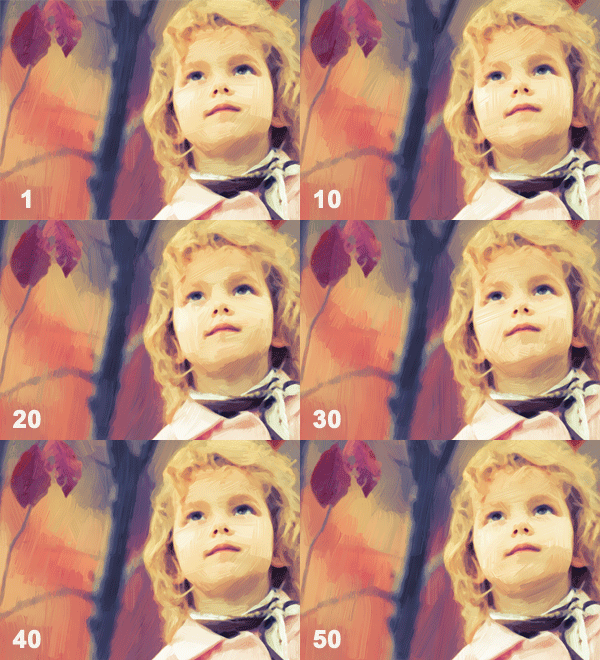
Random Arrangement of Strokes
In the Edge tab, set the parameters of the additional edge processing.
Note: This effect is only available for Home Deluxe and Business licenses.
Add Strokes. Enable the check-box to draw additional strokes on the edges of the image.
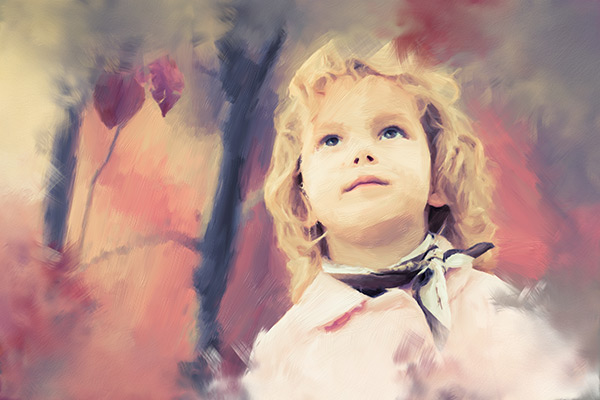
Check-Box Enabled
Number of Strokes (1-100). The parameter determines the number of brush strokes.

Number of Strokes = 10

Number of Strokes = 60
Stroke Thickness (0-100). The parameter adjusts the width of the brush strokes.

Stroke Thickness = 5

Stroke Thickness = 80
Max Stroke Length (10-100). The parameter defines the maximum stroke length.

Max Stroke Length = 10
Max Stroke Length = 55
Edge Smoothness (5-100). The parameter adjusts the transparency of the stroke edges.

Edge Smoothness = 10

Edge Smoothness = 90
Hair Thickness (15-50). The parameter determines the width of brush's hairs in each stroke. At lower values, the brush's hairs are sharp and thin. At high values, they are wide and smooth.
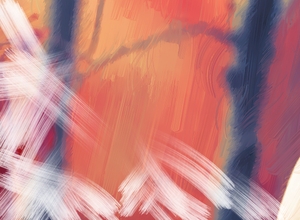
Hair Thickness = 15
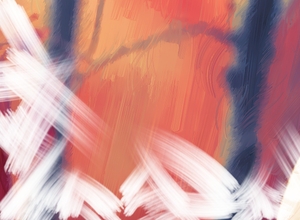
Hair Thickness = 50
Stroke Color. Enable the check-box to draw strokes of a specified color. When the check-box is disabled, the сolor is set using the background color property.

Stroke Color Check-Box Disabled
(background color)
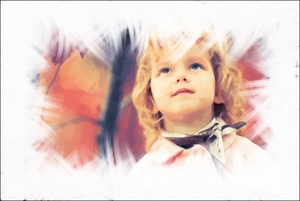
Stroke Color Check-Box Enabled
(white color selected)
Relief (0-100). The parameter makes the strokes look more prominent.

Relief = 10

Relief = 90
Ellipse. Enable the check-box to arrange the strokes in the form of an oval.
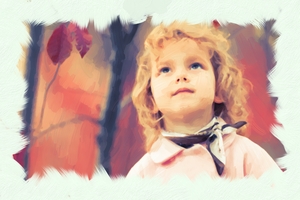
Ellipse Check-Box Disabled
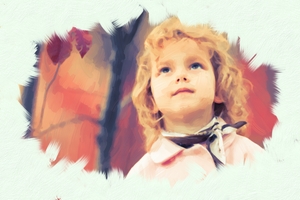
Ellipse Check-Box Enabled
Click the Random button to set the settings randomly.
With the advanced licenses (Home Deluxe, Business) you can also use these tools:
- In the Before tab:
The Stroke Direction tool
 gives you full control over the brush strokes. With this technique, you can achieve truly realistic paintings with human hair, patterns, and textures going in the right direction.
Using this tool you can add your own creative touch to your oil painting.
- In the After tab:
You can use the post-processing tools
 ,
,  ,
,  ,
,  to manually edit the result.
Use these tools at the final step! If you re-run the processing, the changes made with these brushes will be lost!
