Layerwise removal of noise
Jean-Claude Grégoire offers us a tutorial on how to improve a photo with uneven exposure.
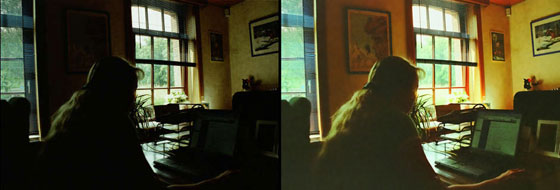
The original photo was too dark. After it was processed with the AKVIS Enhancer plugin, the photo was brighter and more details were visible. However, noise in the darker areas of the picture became much more noticeable.
It's now necessary to reduce this noise.
- Step 1. There are several ways of doing it, e.g. with the Photoshop's Noise Filters (see "Appendix" below). But I've found an easier and better way: the AKVIS Noise Buster plug-in. So I call the AKVIS Noise Buster plug-in (main menu: choose "Filter > AKVIS > Noise Buster").
- Step 2. I start with trying the automatic filtering.
- Note: In the current version just select the preset "Auto Filtering".
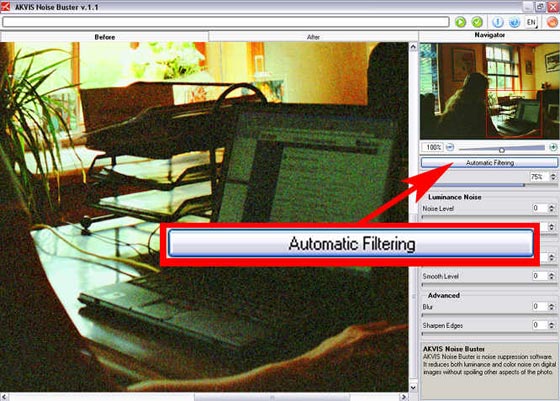
I immediately see that the noise isn't reduced enough in the preview area (square selection in the middle of the AKVIS window).
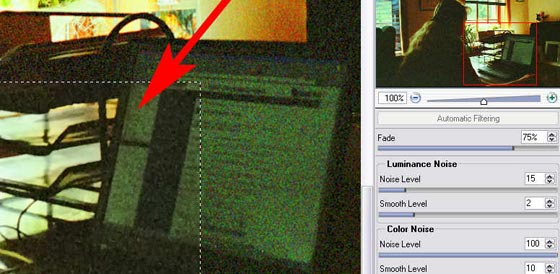
But if I move the red square in the small window (left click and drag) and the preview area in the main one ("click-and-drag" too), I can see that the correction is excellent in the window that looks onto the garden
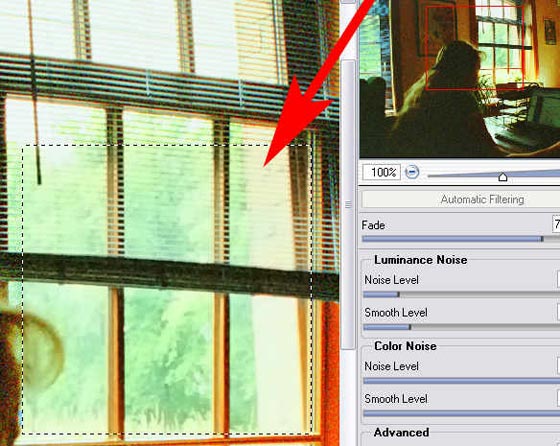
but not on the woman's head.
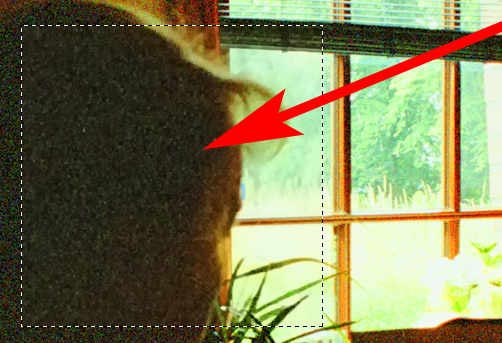
If I play with the Smooth Level slider under Luminance Noise and slide it to maximum, I see that the image remains excellent on the garden and is already better, but not yet perfect, on the woman's head.
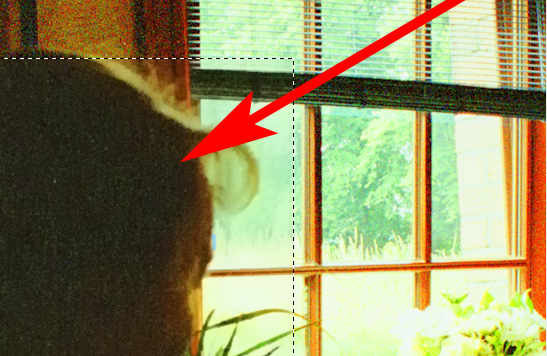
Here I have to put the "Noise Level" slider to 100% to get a good image, but then the garden becomes too blurred.
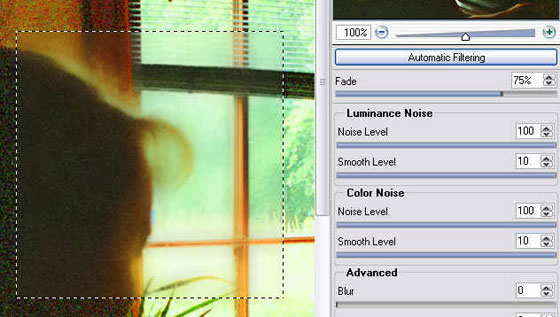
The conclusion is that it isn't possible to get a good correction for the whole image in only one step.
- Step 3. Thus I decide to begin with the Automatic Filtering of the whole image, by selecting again Automatic Filtering, and then successively the "Run"
 and the "Apply"
  buttons.
- Step 4. I examine the result and find that it's only necessary to rework on some areas of the image:
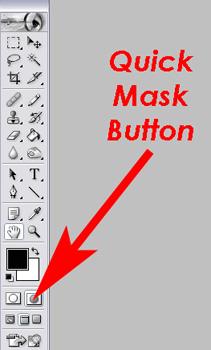
those which still have too much noise. Therefore I need to isolate them from the others, so that I can work on them separately.For isolating the good and the bad parts of the image, I'll begin with selecting the good areas (i.e. the lightest ones). The easiest way to proceed is editing the image in Quick Mask Mode by clicking Edit in Quick Mask.
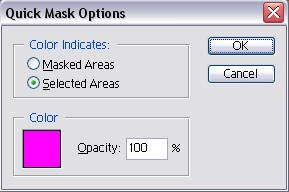
- Step 5. I open a new window ("Quick Mask Options") where I choose the way the mask will work: "Selected Areas" and the opacity 100%. Here I've clicked in the color square for getting the color "RGB 255-0-255" (it's always a good idea to change this color for one which contrasts very much with the overall tonality of the picture).
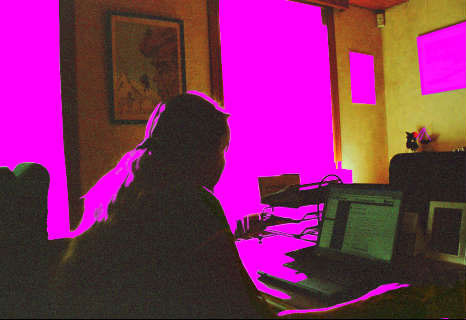
- Step 6. I feel that the lighter areas are easier to select and I paint them over with the pencil and the brush tools - but it can be the opposite with other pictures.
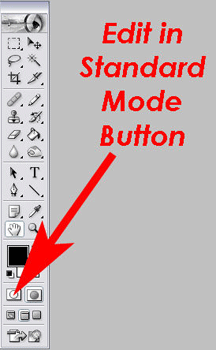
- Step 7. I click the Edit in Standard Mode button on the left of the Quick Mask Mode and I save the selection (main menu: Select > Save Selection or the shortcut Alt+S+S), giving it an evocative name, e.g. "light areas".
- Step 8. As I need a selection of the darker areas of the photo, I press Ctrl+Shift+I for inverting the selection and I save it with an evocative name: "dark areas".
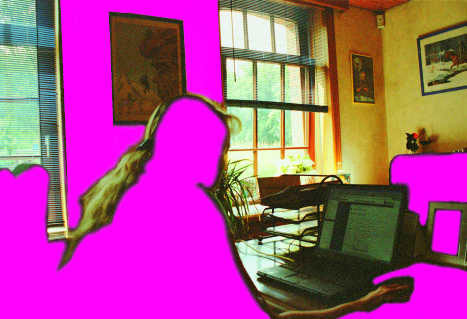
- Step 9. I once again click the Quick Mask Mode Button and get the mask you can see on the photo below. So I can return to the Standard Mode again for the next step.
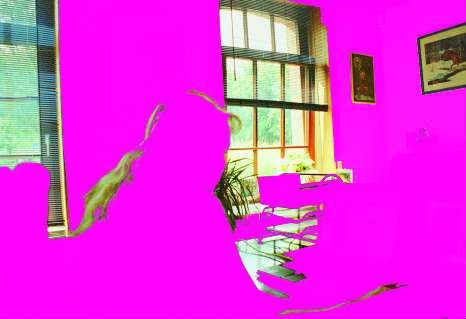
- Step 10. I don't quit the selection and press Ctrl+J on the keyboard. This action makes a copy of the image, limited to the selection, on a new layer. I name this new layer "dark areas".
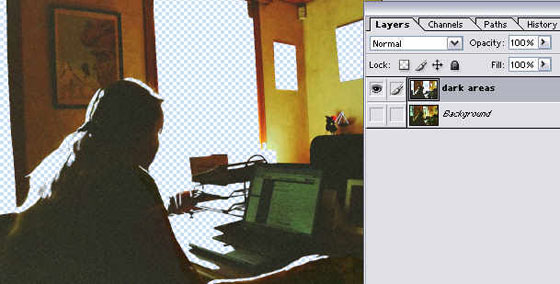
- Step 11. I activate this "dark areas" layer and I call the AKVIS Noise Buster plug-in again. I press the button Automatic Filtering and then play with the sliders until I find good settings for the painting on the wall, above the woman's head.
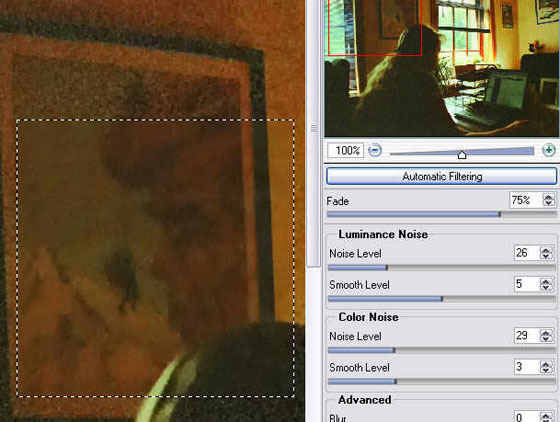
- Step 12. Then I successively click both Run and Apply buttons as in step 7 above.
The result is better for the bad parts of the image in general and has not affected the garden and other good parts of the image
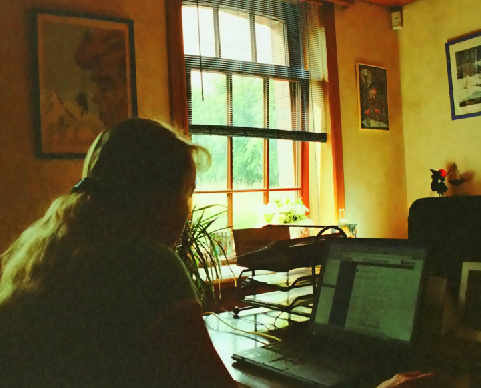
But if I zoom on this image, I see that the darker areas are not yet corrected enough: there are still some "clouds" left, which are particularly visible on the woman's head.
- Step 13. So I make a new selection of these darker areas in Quick Mask Mode - with the brush and the pencil tools - and I save it under another name, e.g. "dark areas #2".
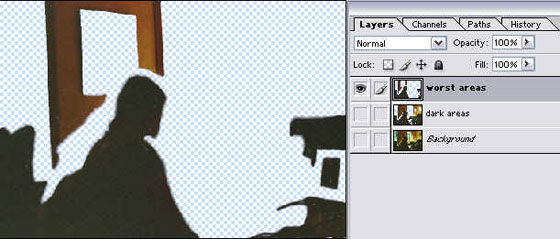
- Step 14. I don't quit the selection, activate the corrected layer "dark areas" and press Ctrl+J on the keyboard. This action makes a copy of the darker areas of the image, limited to the selection, on a new layer, which I call "worst areas" .
- Step 15. I activate this "worst areas" layer and I call the AKVIS Noise Buster plug-in once again. I select Automatic Filtering and then play with the sliders until I find good settings for the head of the woman.
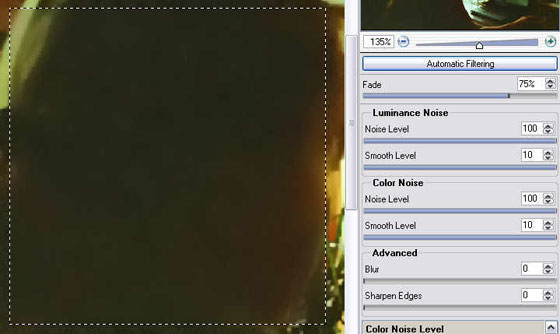
Then I successively click both Run and Apply buttons, etc. (as described in step 7, above). The "clouds" in the darker areas have come out.
- Step 16. I activate all the layers again and can see that the result is very good.
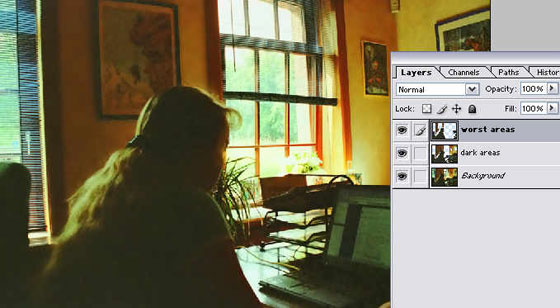
- Step 17. I flatten the image and save it. Maybe it's not a "chef d'oeuvre", but nevertheless it's a very good picture!
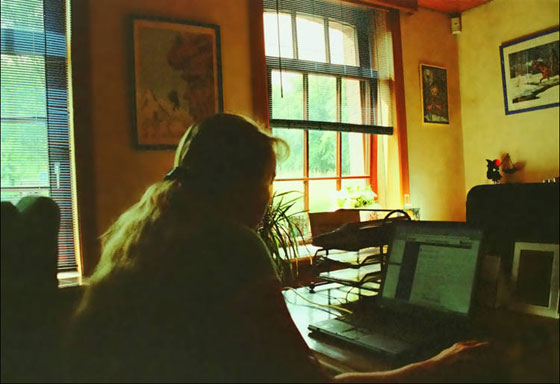
- Step 18. Now I can print it on very good Glossy Picture Paper for inkjet prints - the printed image size is 6.227 * 4.267 inches or 15.82 * 10.84 cm. If I print the image on the same paper before the application of the AKVIS Noise Buster plug-in, I clearly see the difference (to see the difference better, save this picture on your hard disk, then look at it in a very dark room).
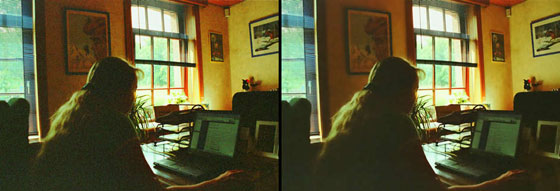
- Step 19. Fig. shows the difference before and after processing - as described above - with the AKVIS Enhancer and the AKVIS Noise Buster plug-ins.
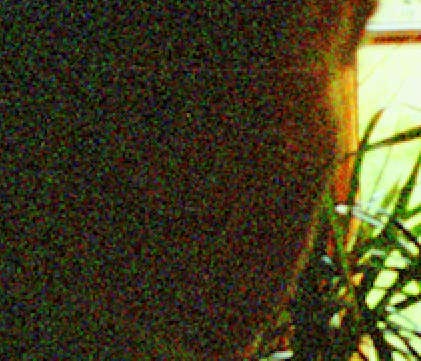
Before getting the AKVIS Noise Buster plug-in, I had tried to get rid of the noise I got on step 3 above, with the help of the Photoshop noise filters alone. I'd got the best results by applying successively the filter Noise > Median on both layers "dark areas" and "worst areas", with the Radius "4 pixels" and "12 pixels" respectively.
Fig. 32 is a zoom which clearly shows that I've got a better result with the AKVIS Noise Buster plug-in, which is easier to work with, than with the Photoshop's noise filters (Photoshop's Median on the left side, Noise Buster on the right one).
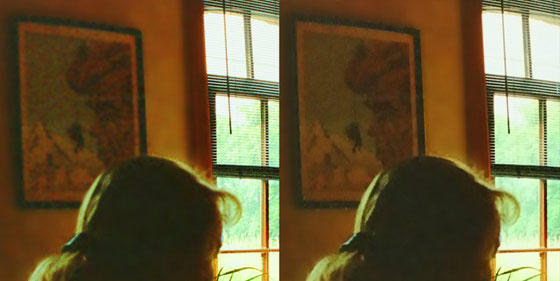
Noise reduction with Photoshop Median filter and AKVIS Noise Buster
Click the image to view a larger version in a separate window
