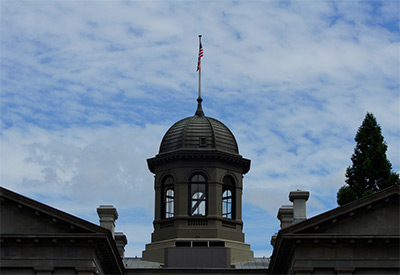
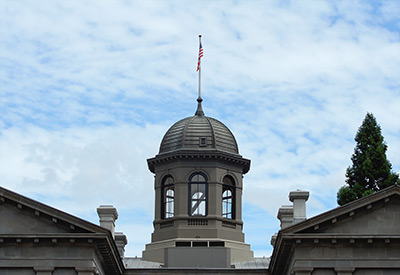
Lightening Dark Photos
The author of this tutorial is Nur Roy. He writes:
"If you take a photo under dim light, there is a good chance you will have noise on your image. Sometimes our digital images look dirty, not good for printing because of noise problems. No one likes to print fuzzy images.
However, you can still save these images by using noise removal software. In this example, I used AKVIS Noise Buster AI."
This tutorial was made in the AliveColors image editor but can be repeated in Photoshop or any other photo editor compatible with the AKVIS Noise Buster AI plugin.
-
Step 1. First, let's make the dark image lighter. Open the photo in AliveColors. In the main menu of the editor, select the item Image -> Adjustment -> Levels, since it gives the best result on this image (you can also use the Curves, Brightness/Contrast commands or the Enhancer plugin).
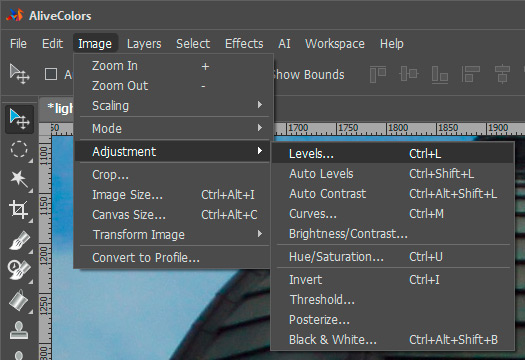
In the Settings Panel, adjust the parameters to achieve the desired effect. As they change, the photo becomes lighter or darker. All changes are displayed in the main window. To apply the new settings, click the OK button.
-
Step 2. After lightening the photo, the noise became very obvious.
There are two types of noise on images. Luminance noise, which appears as various grainy pixels, and chroma (color) noise. Color noise can be seen as random red and blue pixels on the image.
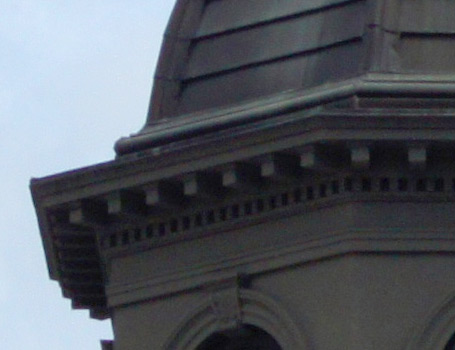
AKVIS Noise Buster AI reduces both luminance and color noise on digital images.
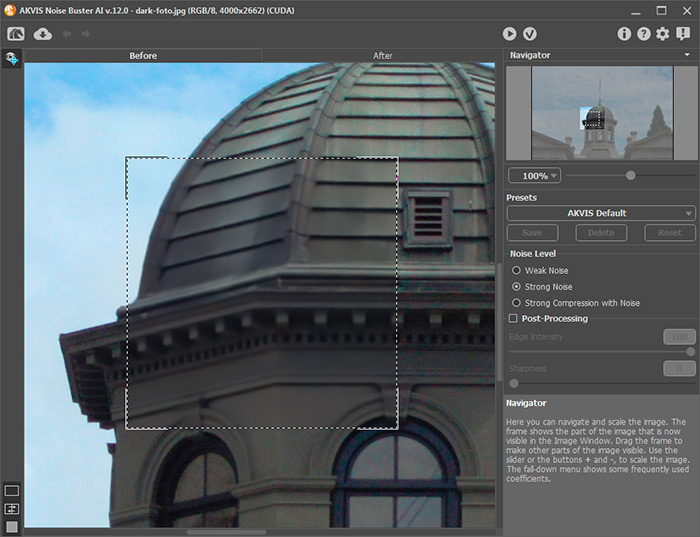
I chose the AKVIS Noise Buster AI plug-in from the Effects menu.
-
Step 3. You can choose one of the presets or your settings. You can preview your changes and then apply them all at once. Press
 to process the entire image.
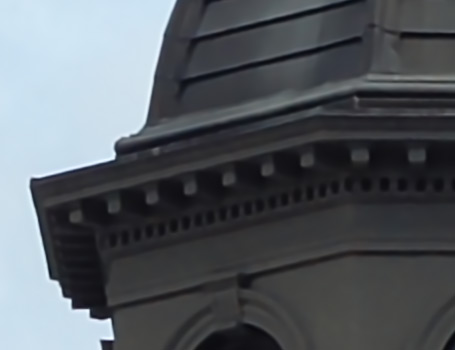
When AKVIS Noise Buster AI makes changes to a large photo, it works a bit slowly, but that can be expected for the amount of work.
Next press
 to apply the changes.
Here you can see how the photo looks after processing.

As the author writes: "In my opinion, the software is easy to use and worth buying in order to save your bad-looking photos!"
