How to Use the Program
AKVIS Draw creates a work of art from a photo giving it a hand drawn look. The software is available in two versions: as a standalone (independent) program and as a Photoshop plug-in filter.
To make a pencil drawing out of a photo follow the instructions:
- Step 1. Open an image.
- If you work with the standalone edition:
The dialog box Select File to Open appears if you double-click on the empty workspace of the program or if you click on the button
 . You can also use the hot-keys: Ctrl+O on Windows, ⌘+O on Mac; or just drag the image into the workspace of the program.
The standalone version supports JPEG, RAW, PNG, BMP, WEBP, and TIFF file formats.
- If you work with the plugin:
Open an image in your photo editor by calling the command File -> Open.
Call the plugin from the menu of the editor:
In AliveColors: Effects -> AKVIS -> Draw;
in Adobe Photoshop: Filter -> AKVIS -> Draw;
in Corel PaintShop Pro: Effects -> Plugins -> AKVIS -> Draw;
in Corel Photo-Paint: Effects -> AKVIS -> Draw.The workspace is arranged according to the chosen interface mode: Parameters or Presets.
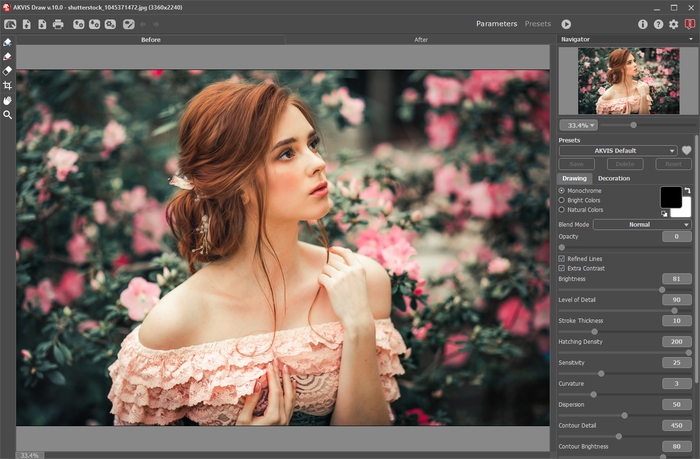
AKVIS Draw Window- Step 2. Before applying the effect, in the standalone version, you can use the Crop tool
 to trim a part of the picture. If you use the plugin, you can do this in your image editor.
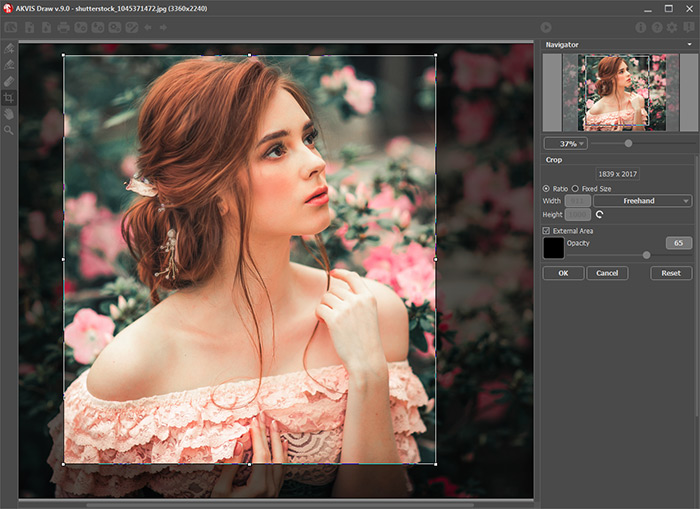
Crop Tool- Step 3. Adjust the settings of the photo to sketch conversion in the Drawing tab.
You can apply one of the ready-to-use presets or change the parameters to your liking.
The result will be immediately shown in the After tab.
By default, the Autorun Mode is enabled: any changes are displayed automatically. You can disable this mode in the program's Preferences. Then you will have to press the button
 each time to convert the image into a pencil sketch.
You can interrupt the process by clicking on the Cancel button right to the progress bar.
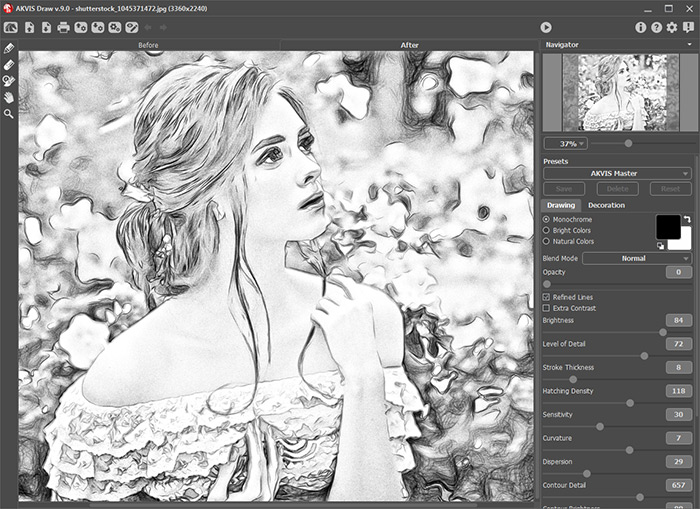
Convert the image into a pencil sketchYou can process only certain areas using the tools
 and
and  .
.


Define the effect area- Effect Area
 . Use the blue pencil to draw an outline within the areas that will be converted to a drawing.
- No Effect Area
 . Use the red pencil to outline the parts of the image that will remain in their original state.
- Eraser
 . Use this tool to edit the outlines drawn by the pencils. The tool can operate in three different modes:
- Erase all strokes;
- Erase only red strokes;
- Erase only blue strokes.
Adjust the Size of the tools in a pop-up box that appears when right-clicking in the image.
- Step 4. You can edit your drawing with the post-processing tools - Pencil
 , Eraser
  , and History Brush
  in the After tab. The tools' options are shown in a pop-up box which appears after right-clicking on the image.
Attention! Use the post-processing tools at the final step! If you re-run processing with the new effect settings, the changes made with the tools will be lost.
The History Brush
 is only available for the Home Deluxe and Business licenses.
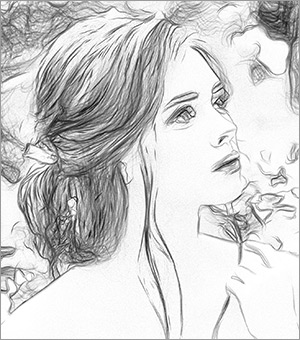
Processing Result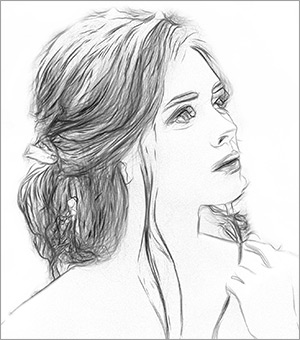
Using Eraser- Step 5. To make your drawing even more impressive, you can use the Decoration options: adjust the canvas, apply a frame, and add text to your image.
Hint: The order of the application of Canvas/Frame/Text depends on the position of the tabs. Drag the tabs to change the order.
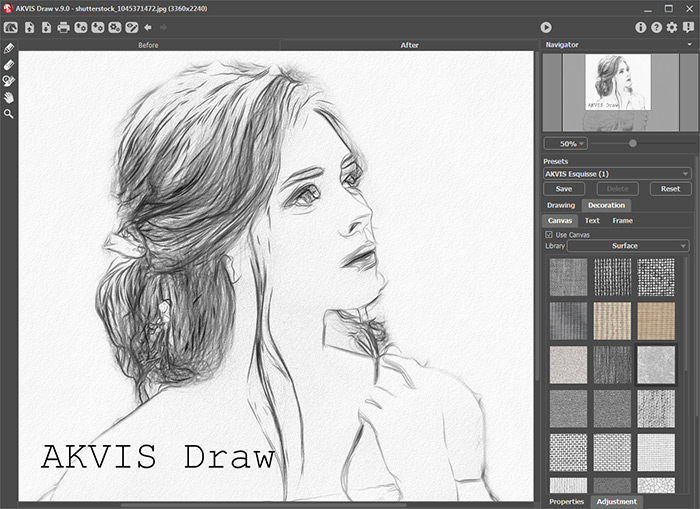
- Step 6. It is possible to save the settings you like as a Preset and use them in the future. A preset contains the settings of all tabs.
Click on a heart icon
 /
/ near the preset name field to add the preset to Favorites or to remove it from this group of presets.
- Step 7. In the standalone version, you can also print your picture with
 .
.
- Step 8. Save the processed image.
- If you work with the standalone edition:
Click on the button
 to open the Save As dialog box. You can use the hot-keys: Ctrl+S on Windows, ⌘+S on Mac.
Enter a name for the file, choose the format (TIFF, BMP, JPEG, WEBP or PNG) and indicate the target folder.
- If you work with the plugin:
Press the button
 to apply the result and close the plugin window. The AKVIS Draw plugin will close and the picture will appear in the workspace of the photo editor.
Call the Save As dialog box using the command File -> Save As, enter a name for the file, choose the format and indicate the target folder.

Result - Step 2. Before applying the effect, in the standalone version, you can use the Crop tool
