Little Marie: A Pencil Sketch from a Photo
The author of this tutorial is Jean Piron.
When drawing a real portrait, the first step is to create a rough pencil sketch which gets filled in with more and more detail. The author of the example does the opposite - firstly, he turns the photo into a colored pencil drawing and then simplifies it even more using AKVIS Draw.
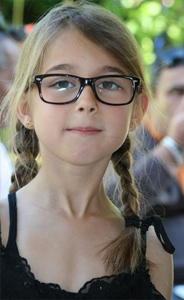
- Step 1. Choose a portrait photo.

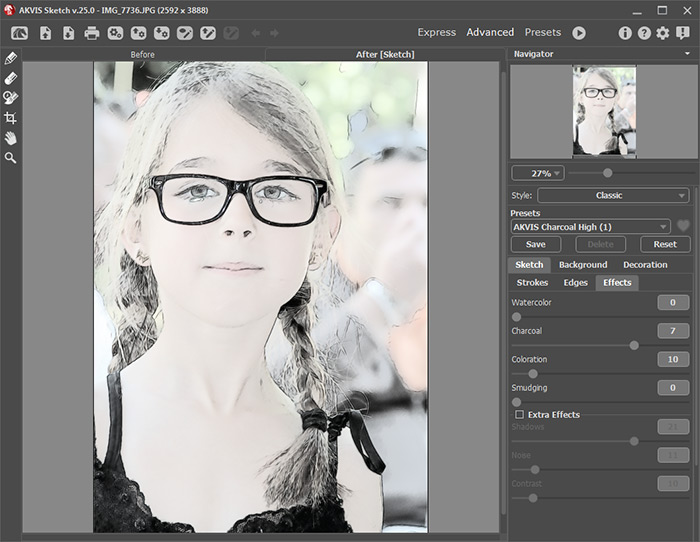
Source Photo - Step 2. Start AKVIS Sketch and create a pencil drawing.

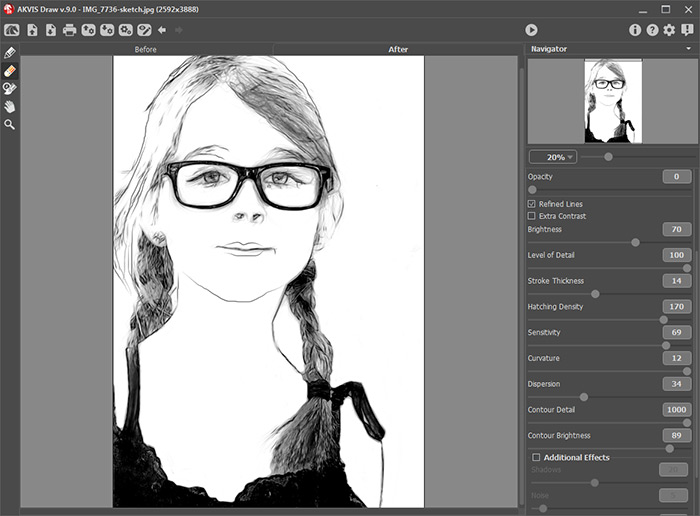
Program Window of AKVIS Sketch - Step 3. Start AKVIS Draw. Open the newly created drawing and adjust the settings. You can remove unnecessary details using the Eraser tool
 .
.

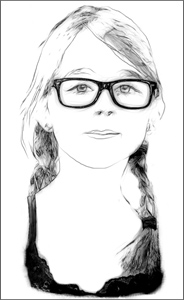
Program Window of AKVIS Draw - Step 4. After the background has been edited, save the image. The portrait sketch is now finished!

Result

Original Image

Result
