How It Works
AKVIS Chameleon is an efficient tool for photo collage creation. This ingenious software makes the process easy and entertaining. Earlier one had to thoroughly select an object before pasting it into a new background; with this software this tedious part of work drops out. You can concentrate on the creative part and forget about complicated selection techniques.
The software has five modes: Montage mode, Chameleon mode, Blend mode, Emersion mode, and Double Exposure mode.

Learn how to create photo collages with Chameleon:
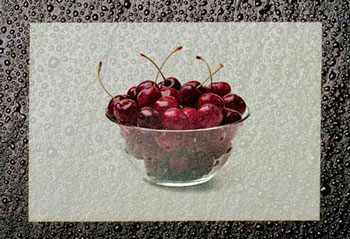
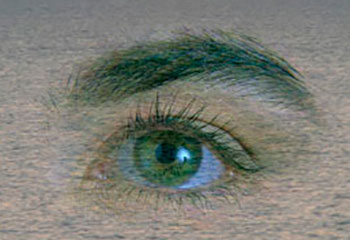
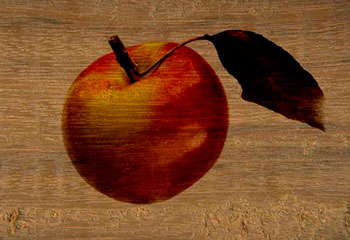
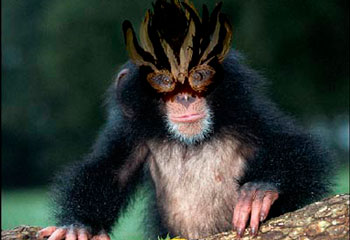
Examples:


Chameleon v. 12.1 - Free 10-day Trial

