Toy World
Tilt-Shift effect makes a photo of a full-scale object or scene look like a toy. Usually this effect is achieved with special lenses, but we will obtain the same result using AKVIS Refocus AI.
For best results, use a photo where the point of view is several meters above the subject or scene. There should be many small objects in the scene: buildings, people, cars, etc. The sky should not be visible.
We'll show you two ways to create a tilt-shift image in AKVIS Refocus AI: using Tilt-Shift mode and using Refocus AI mode.
Method 1. Image processing in Tilt-Shift mode.
- Step 1. Select the Tilt Shift mode in the drop-down menu in the Settings Panel.
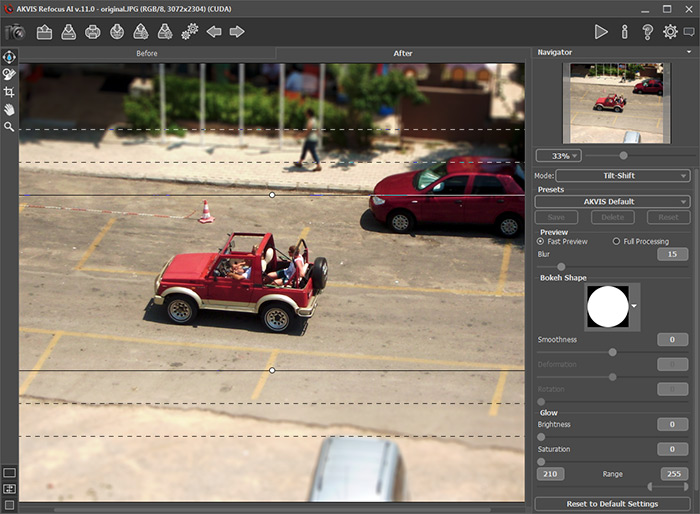
Default Settings of Tilt-Shift Mode - Step 2. Define the blur effect area with the markers that appear over the image in the After tab when the tool
 is active.
- Step 3. Choose one of the ready-to-use presets or adjust the parameters to your liking.
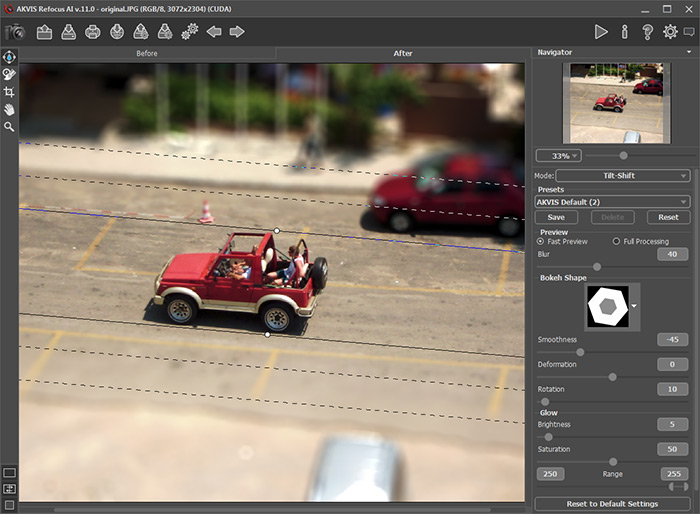
Adjusting Tilt-Shift SettingsHere is the result:

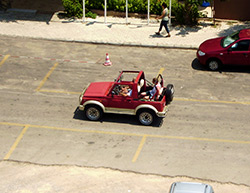
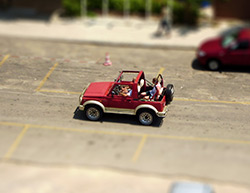
Result: Tilt-Shift Effect
Method 2. Image processing in Refocus AI mode.
This time we chose a photo of a small square taken from a ferris wheel.
- Step 1. Select the Refocus AI mode in the drop-down menu in the Settings Panel.
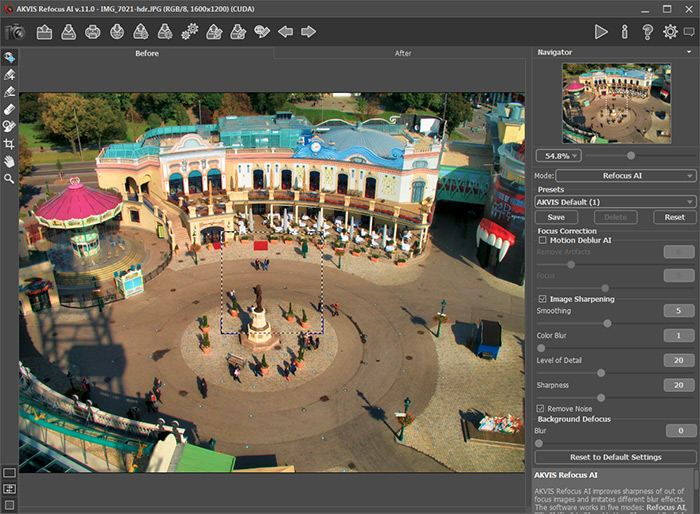
Refocus AI Mode - Step 2. Using the preview area, select the image sharpening settings.
- Step 3. Activate
 and draw blue lines around the area that will be sharpened.
Then select
  and draw red lines within the area that will be blurred.
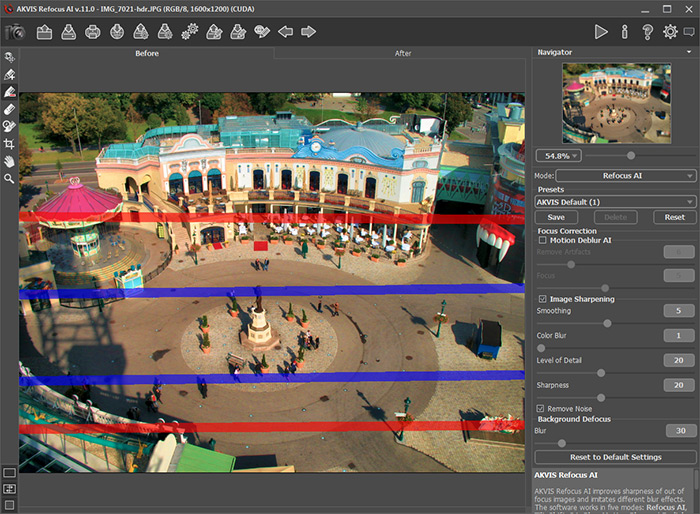
Selecting Areas - Step 4. Adjust the Blur parameter for the red area.
- Step 5. Press
 to process the entire image
Here is the result:

Tilt-Shift Effect Created in Refocus AI Mode
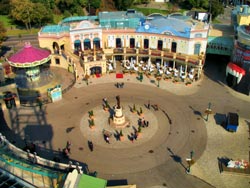
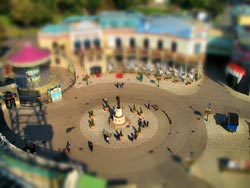
As you can see, it's easy to make a Tilt-Shift effect with AKVIS Refocus AI!
