Glow Lines Effects
AKVIS Neon transforms a photo into a drawing created with glowing lines. The program brings outstanding visual effects to images making them look like painted with light.
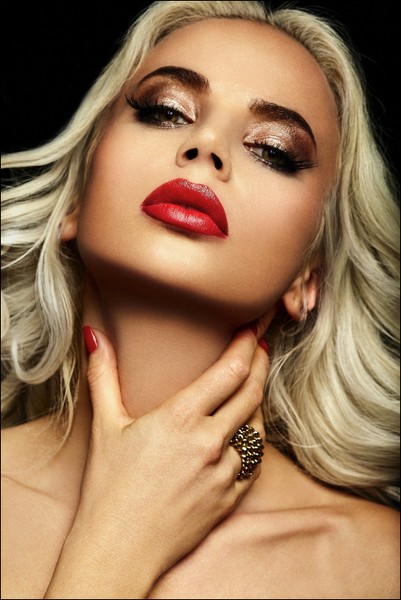
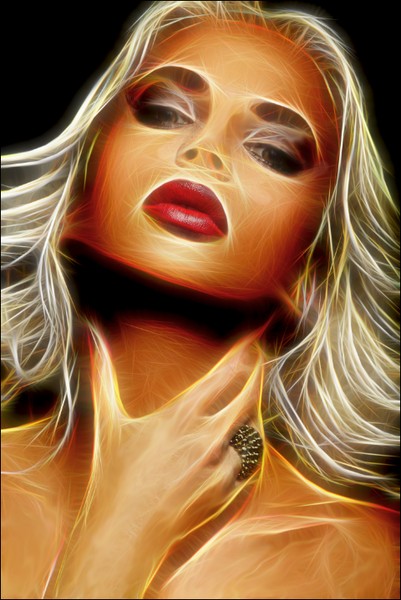
Adjust the effect settings in the Image -> Effect tab.
Along with the basic parameters, you can use the auxiliary settings to boost the effect. The configurations of these two groups operate in a similar mode but will be applied at different stages of the image processing.
Detail / Extra Detail (0-100). The parameter defines the amount of lines which create a drawing.
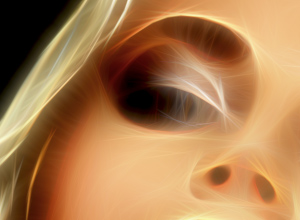
Detail = 15
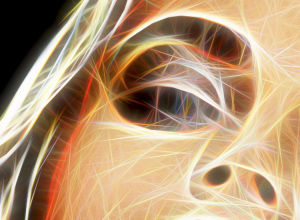
Detail = 70
Color Variety (0-100). When increasing the parameter, additional colors and shades will appear in the image. The higher the value of the parameter, the brighter and more saturated they become.
At the Detail value = 0, changing the parameter does not affect the image.
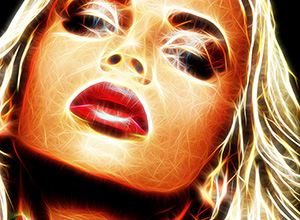
Color Variety = 30
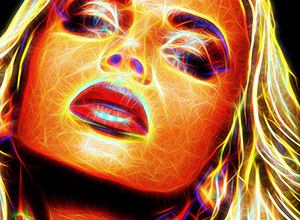
Color Variety = 90
Glow Intensity / Extra Glow Intensity (1-100). The parameter lets you adjust the strength and brightness of the glow effect.
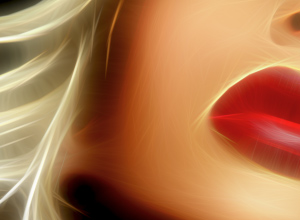
Glow Intensity = 20
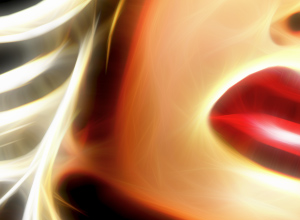
Glow Intensity = 80
Image Blur / Extra Image Blur (2-25). The parameter modifies the degree of smoothing of the image. It simplifies the image and reduces the influence of the edges and contours of the original picture on the result.
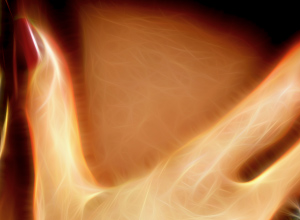
Image Blur = 5
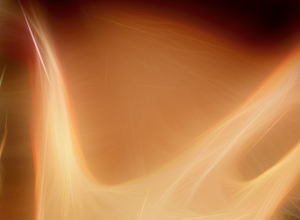
Image Blur = 15
Darken / Extra Darken (0-100). The parameter adds darker shades to the image and fills the areas with black.
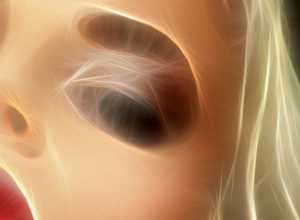
Darken = 15
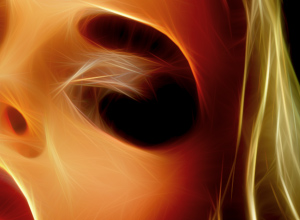
Darken = 60
Sharpen Detail / Extra Sharpen Detail (0-100). The parameter strengthens the sharpness of the lines.
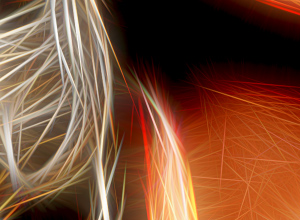
Sharpen Detail = 10
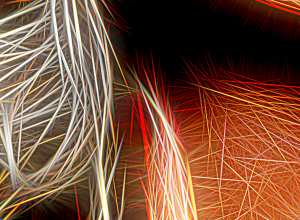
Sharpen Detail = 60
Inversion / Extra Inversion. If this check-box is enabled in any group of the parameters, the image appears more blurry, and the Darken option works contrariwise, i.e. lightens the image. With a double inversion, when both check-boxes are activated, light glow lines turn into dark contours.
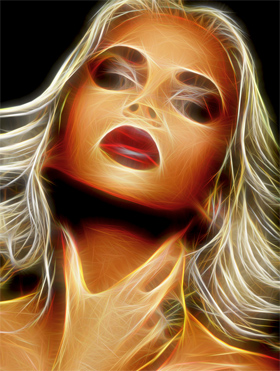
Without Inversion
(both check-boxes are disabled)
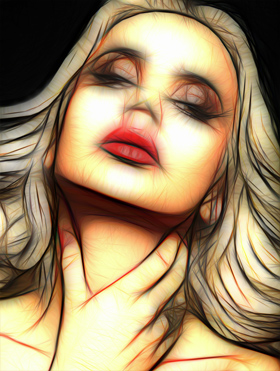
Double Inversion
(both check-boxes are enabled)
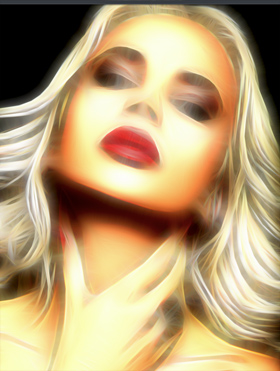
1st Inversion
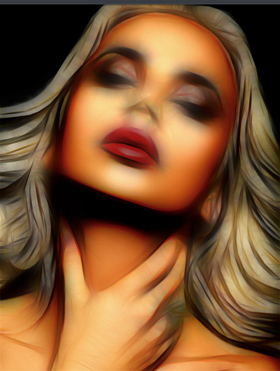
2nd Inversion
(one of the check-boxes is enabled)
The Adjustment tab is used for quickly tuning the obtained result.
Brightness (-100 to 100). The parameter defines how the image is illuminated. At higher values the image is brighter while at lower values it is darker.
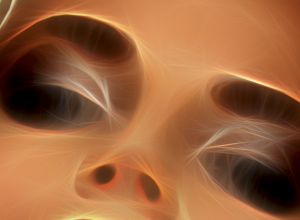
Brightness = -50
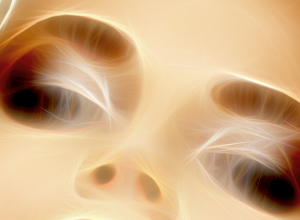
Brightness = +50
Contrast (-100 to 100). The parameter increases (at values greater than 0) or decreases (at values less than 0) the difference between light and dark areas of the image.
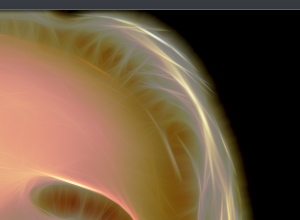
Contrast = -50
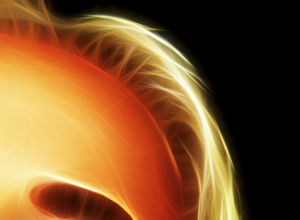
Contrast = +50
Saturation (-100 to 100). The parameter changes the intensity of color from a neutral gray to the brightest color.
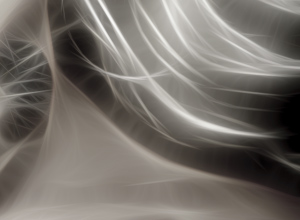
Saturation = -80
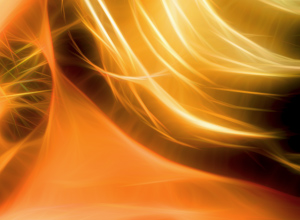
Saturation = +80
Colorize (0-100). This option lets you add a color tint to the image. You can select a color from the dialog box which opens by double-clicking on the color plate or pick from the image with the eyedropper that is activated by a left-click on the plate. Adjusting the parameter you can change the degree of color mixing. The maximum value gives a monotone, single color, effect.
Note! This feature is available only for Home Deluxe and Business licenses.
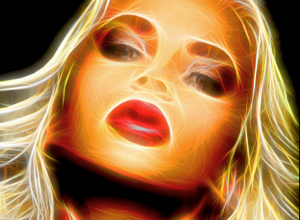
Original Colors
(the check-box is disabled)
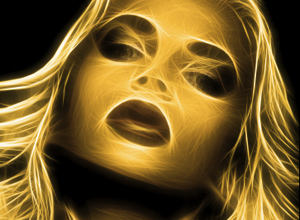
Adding Yellow Tint
(the check-box is enabled, value = 90)
The Hue group contains the settings to manipulate colors without affecting the image brightness.
Shift in Light (-180 to 180). The parameter changes only light pixels.
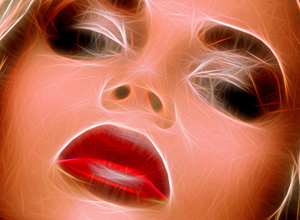
Shift in Light = -90
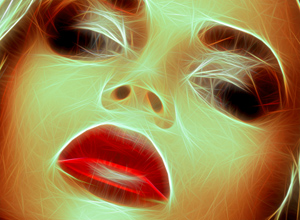
Shift in Light = +90
Shift in Dark (-180 to 180). The parameter changes only dark pixels.
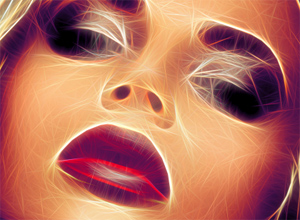
Shift in Dark = -90
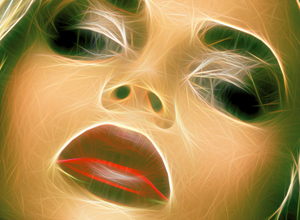
Shift in Dark = +90
Total Shift (-180 to 180). The parameter adjusts all the colors in the image.
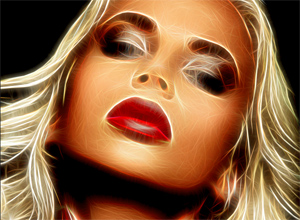
Total Shift = 0
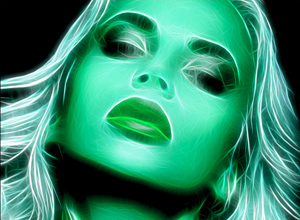
Total Shift = 125
With the Hatching parameters you can add the pencil hatching effect to the image.
Intensity (0-100). The parameter sets the strength of the effect.
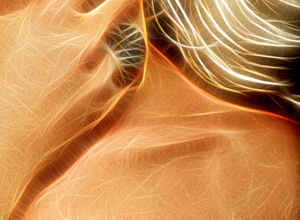
Intensity = 35
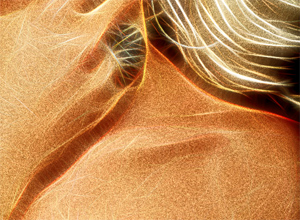
Intensity = 100
Stroke Length (0-100). The parameter changes the length of the strokes that allows you to achieve different results: from stippling with dots to hatching with long straight lines.
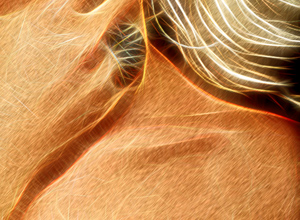
Stroke Length = 30
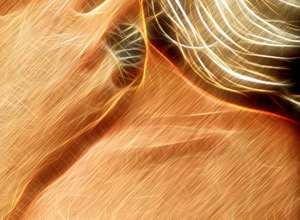
Stroke Length = 100
Angle (-90 to 90). The parameter sets the pitch angle of the strokes (in degrees).
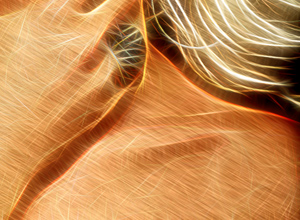
Angle = 30
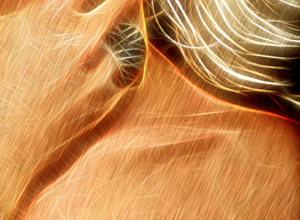
Angle = -65
The settings of the Deformation tab allow you to reshape and distort an object. The effect makes the image look more expressive and playful.
Attention! Deformation effect is only available for Home Deluxe and Business licenses.
Strength (0-100). The intensity of the effect. At 0, there is no deformation.
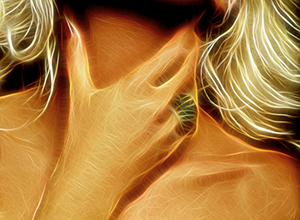
Strength = 30
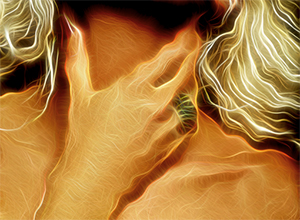
Strength = 100
Deformation Size (5-100). The size of distortions.
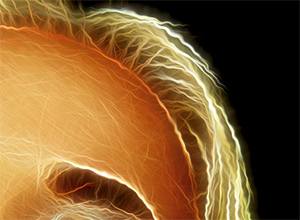
Deformation Size = 10
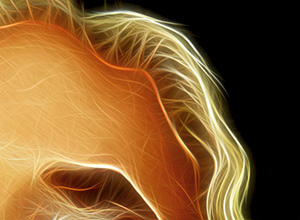
Deformation Size = 80
Random Seed (0-9999). This is the starting number for the random number generator that defines the shape of distortions.
