Sleeping Dog: Selecting Image Processing Mode
The author of the example is José Luis Alcover Lillo (Spain).
With AKVIS Enhancer you can improve photos with muted colors, fix too dark or too light images. The program also helps to correct the problem of excess or lack of contrast in images.
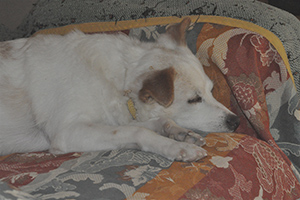
Original Image
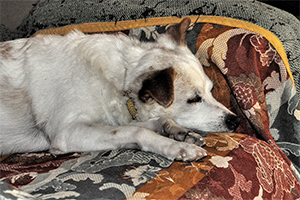
Result
This photo was taken in low light conditions, so it is not very clear, and has a low contrast and dull colors.

AKVIS Enhancer has three processing modes: Improve Detail, Prepress, and Tone Correction.
We will try all of them to compare their effect.
In Improve Detail mode, you can boost difference between light and dark areas and make the picture sharper and clearer.
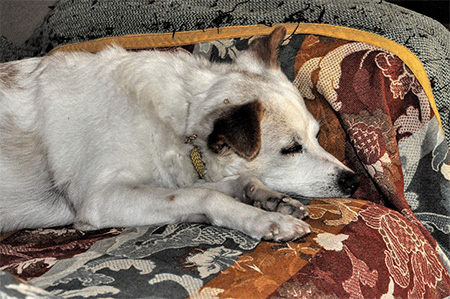
Choose the AKVIS Default preset. The image has become more contrasting and dramatic.
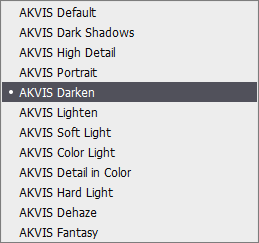
The program offers a number of presets which can be very useful. You can change the settings to achieve the desired effect, and then save them as a preset.
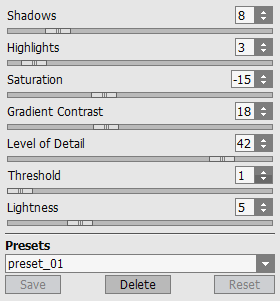
Using Prepress mode you can increase the sharpness of the picture. Usually it is used for preparing images for printing or publishing.
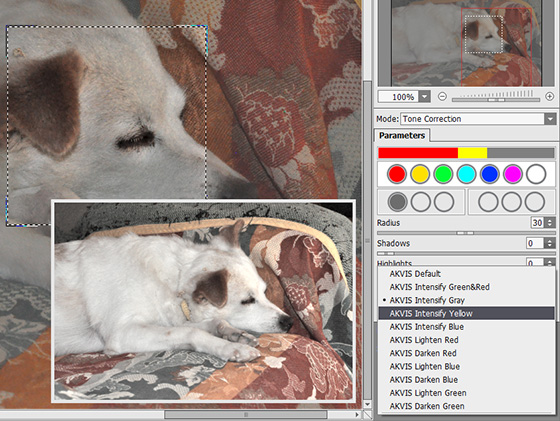
In Prepress and Tone Correction modes, all changes are displayed in a quick preview area. Click within it to compare before and after states. Move this area to analyze different parts of the photo.
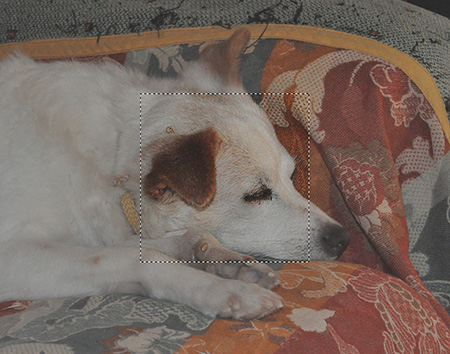
You can also compare the edited image with the original one by switching between the Before and After tabs.
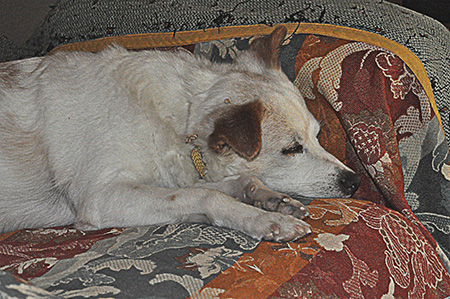
With Tone Correction mode you can improve the appearance of the photo by editing colors in the entire image or in its specific parts.
Process the picture with the AKVIS Intensify Yellow preset to enhance light colors.
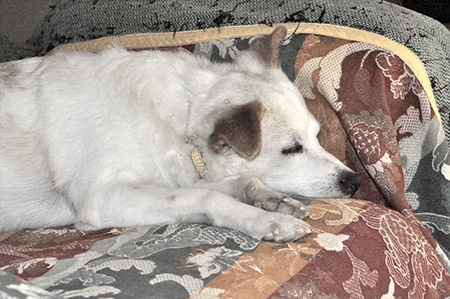
Moving the cursor over the list of the presets you will see an instant result for each in the pop-up window. This helps to quickly choose the desired effect.
Compare the results made with three image processing modes:

Original Photo

Improve Detail

Prepress

Tone Correction
