Tools and Their Options
In AKVIS Charcoal, different tools become visible depending on the active tab, Before or After.

Toolbar, Before tab

Toolbar, After tab
The tools in the program are divided into the groups: pre-processing (Before tab), post-processing (After tab), and additional tools (Before and After tabs).
Hint:
Use the buttons  and
and  to undo/redo the operations made with the tools:
 ![]() ,
,
![]() ,
, ![]() ,
, ![]() ,
, ![]() .
.
Pre-Processing Tools (on the Before tab):
- Quick Preview
 switches on/off the preview window. It is a square frame outlined with the "marching ants" that displays changes made in the Drawing and Decoration tabs.
You can drag the preview square to any position with the left mouse button or with the double click. This lets you quickly preview the effect in different areas of the image. To compare the result of automatic conversion with the original picture, click and keep mouse pressed within the preview area.
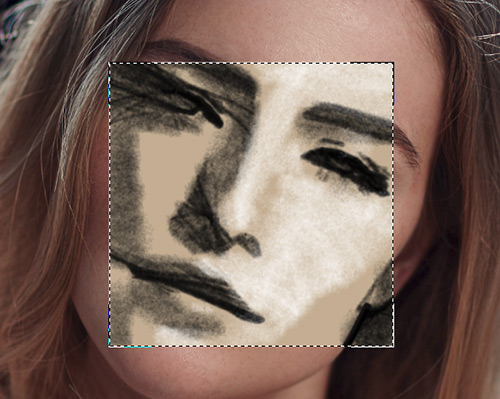
Preview WindowYou can adjust the preview window size in the program’s preferences
 .
.
- Crop
 (in the standalone version) lets you cut off unwanted areas in the image. The tool is useful when you want to improve the image composition, straighten a crooked photo, turn a horizontal photo into a vertical one and contrariwise.
You can change the crop area by dragging the sides and the angles of the bounding frame.
To apply the result and remove the areas outside the frame, press OK or use Enter. To cancel the operation and exit the tool, press Cancel or use the Esc-key. To restore the original area keeping the tool active, press Reset button.
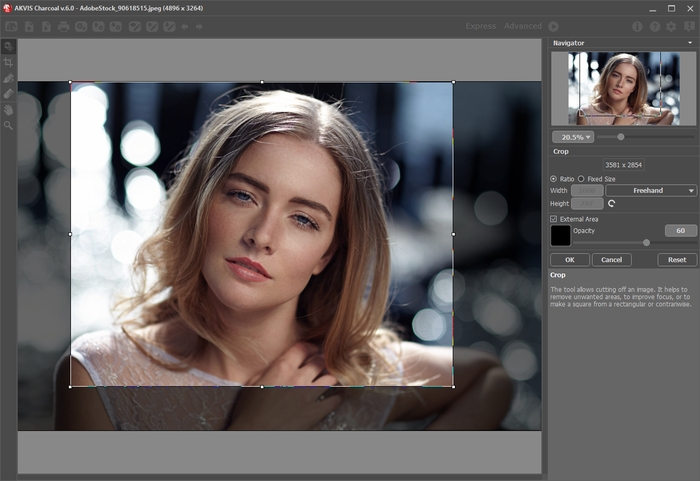
Crop ImageAdjust the crop options:
You can choose the size of the crop rectangle using the Ratio or Fixed Size options.
If the External Area check-box is enabled, you can change the color and opacity of the outer parts.
-
Stroke Direction
 gives you full control over the strokes. With this technique you can achieve truly realistic drawings with patterns and textures going in the right direction.
Note: This feature is only available for the advanced licenses (Home Deluxe, Business).
Add the guiding lines with this tool, and the program will re-make the drawing following the new direction. The changes will be shown in the preview window. To re-start the image processing, click on the button
 .
.
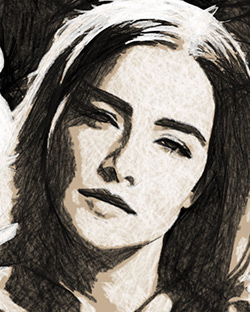
Automatic Strokes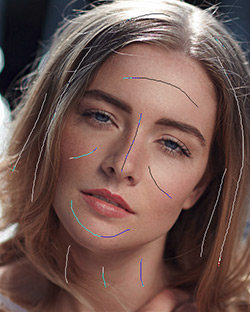
Guiding Lines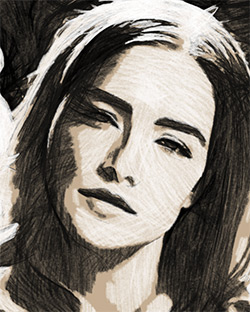
Changed DirectionHint: You can save
 and load
  the guiding lines created with this tool.
Loaded lines automatically adapt to the image size. - Eraser
 lets you edit and remove the guiding lines drawn with the Stroke Direction tool
  . The size of the eraser can be adjusted by right clicking on the image.
Post-Processing Tools (on the After tab, for Deluxe/Business):
Attention! The post-processing tools ![]() ,
,
![]() ,
,
![]() ,
, ![]() are only available under the Home Deluxe/Business licenses, on the After tab. Use them at the final step. If you re-run the image processing
are only available under the Home Deluxe/Business licenses, on the After tab. Use them at the final step. If you re-run the image processing  , the changes made with the post-processing tools will be lost!
The tools’ options are shown in a pop-up box which appears after right-clicking in the image.
- Using the Charcoal
 and Chalk
  tools you can strengthen the hand-made effect and draw soft textured strokes with colors selected in the effect settings.
Size (5-200). The maximum line width which can be drawn with the tool.
Strength (1-100). The impact of the tool.
Show Original (0-80). When increasing the parameter, the original image becomes visible through the effect. This parameter is auxiliary, it is useful for more precise drawing with the tools and does not affect the result.
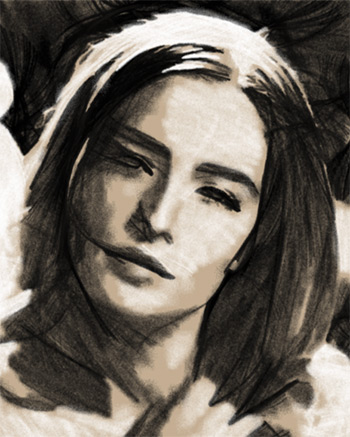
Charcoal & Chalk Effect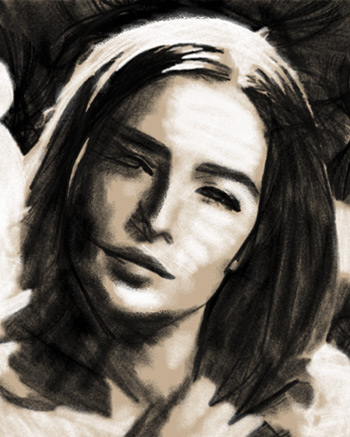
Using Tools - Eraser
 lets you erase the charcoal and chalk lines, both generated with the program and drawn with the tools.
Size (1-1000). The maximum width of the transparent line which the eraser leaves behind (in pixels).
Hardness (0-100). The amount of blurriness of the brush's edge. As the value of this parameter increases the edge of the brush becomes harder. Near 100% the border between erased and unerased areas will be more distinct; at lower values the boundary between these areas will be smoother.
Strength (1-100). The amount of influence on an image. As this parameter's value is increased, the degree of transparency left by the brush increases.
Show Original (0-80). When increasing the parameter, the original image becomes visible through the effect. This parameter is auxiliary, it is useful for more precise drawing with the tools and does not affect the result.
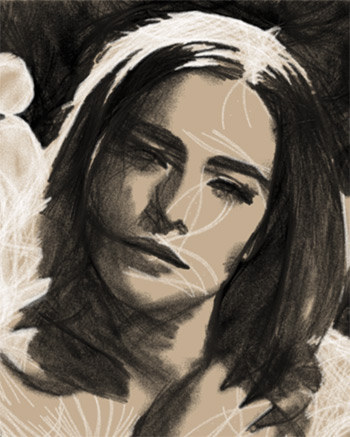
Charcoal & Chalk Effect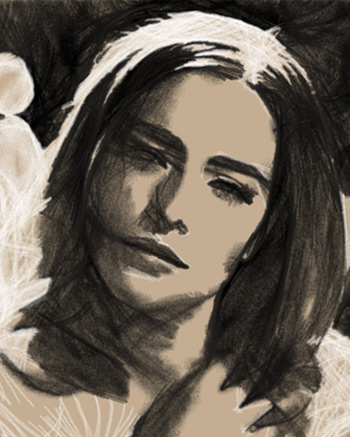
Using Eraser - History Brush
 lets you fade the charcoal and chalk effect and restore the image to its original state or to the processing result.
You can choose the mode of the tool: edit all changes or only the tools keeping the effect.
The tool's parameters:
Size (1-1000). The maximum width of a line made by the brush.
Hardness (0-100). The blurriness of the tool's edges. The less the value the more blurry the tool's edges become. At value 100% the border between the brush's edges and the background is very distinct; at lower values the transition between these areas is smoother.
Strength (1-100). The degree of restoration to the original state. At lower values there will be less restoration and more blending with the effect; at value 100% the image will be restored more completely.
Restore to Original. If the check-box is enabled, the tool lets weakening the drawing effect, as well as the result of the post-processing tools. If the check-box is disabled, the brush edits only the tools but does not affect the result of the image processing.
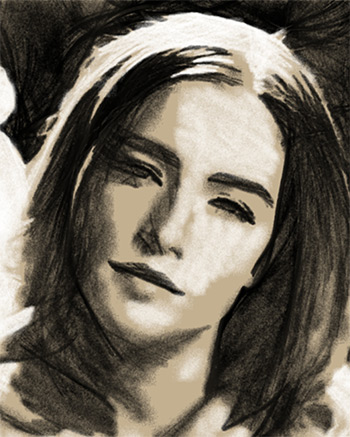
Before Using The Tool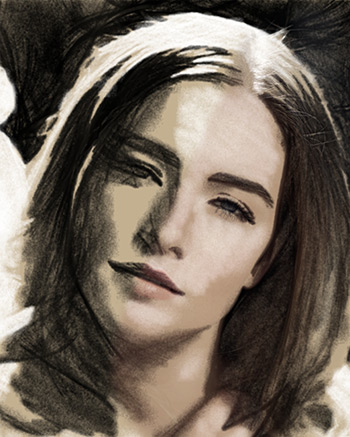
Using History Brush
Additional Tools (available on both tabs, for all licenses):
- Hand
 lets you scroll the image when it does not fit within Image Window at the desired scale. To use it click on the button, bring the cursor over the image, and while keeping the left mouse button pressed move in the desired direction. The hot-key is H.
Double-clicking on the tool’s icon
 on the Toolbar makes the image fit the window.
- Zoom
 lets you change the image's scale. To zoom in left click on the image. To zoom out left click with Alt on the image. The hot-key is Z.
Double-clicking on the tool's icon
 makes the image scale to 100% (actual size).
