Digital Photo ABC: Shooting in Various Conditions
The quality of your photos is influenced not only by the optics or matrix quality, but also the correct choice of manual shooting parameters. Once we've decided to step aside from auto mode let’s look into some settings that can improve picture quality.
White balance – white balance mistakes make photos yellow or blue depending on the lighting conditions. It's all a matter of perception: our brain is able to correct what our eyes see. It knows precisely that a piece of paper is white – that's why it interprets it as white. A good camera will also try to adjust to the lighting conditions by changing color balance according to them. But not every processor can interpret the lighting conditions correctly, which results in color distortions of a picture. To adjust the balance precisely in any conditions there's a clean sheet WB setting. It is performed differently in different cameras but the meaning of it is always the same: you show your camera which color should be white in these particular lighting conditions.
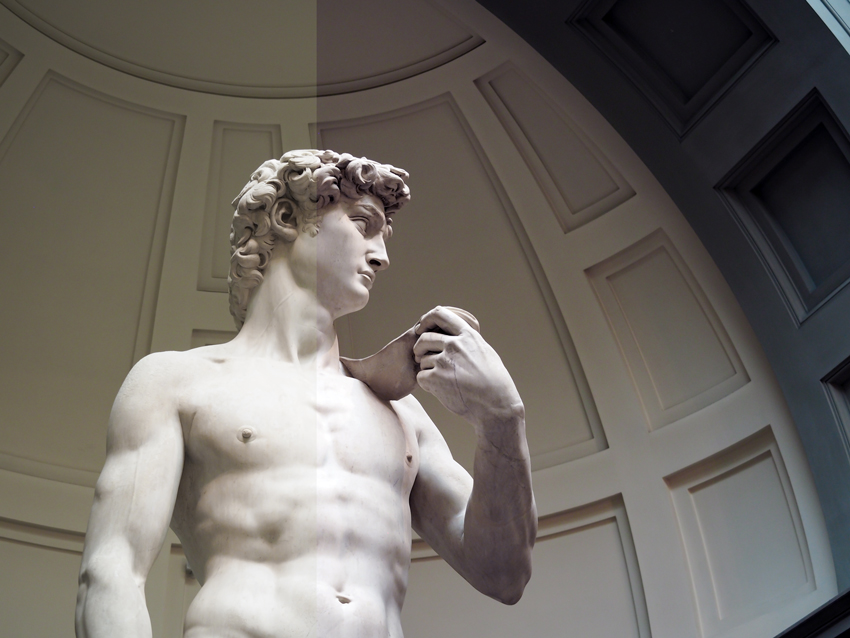
White Balance
ISO Speed – another important parameter needed for good shots. Literally, matrix speed can be understood as the ability to make good pictures in different lighting conditions: the lower the speed is the more light is needed (the amount of light is metered in standard ISO units and takes values within the range of 50 to 1600). The speed of the matrix and film do not differ. What is more, the effect of increasing this parameter is the same – more grain in the picture. You can set different speed values in your digital camera just as you chose specific film for specific shooting conditions. But digital capture is a bit different from film: you should not be too enthusiastic about high speed values (higher than 200 for example) as the overall light of the picture can be increased by other means.
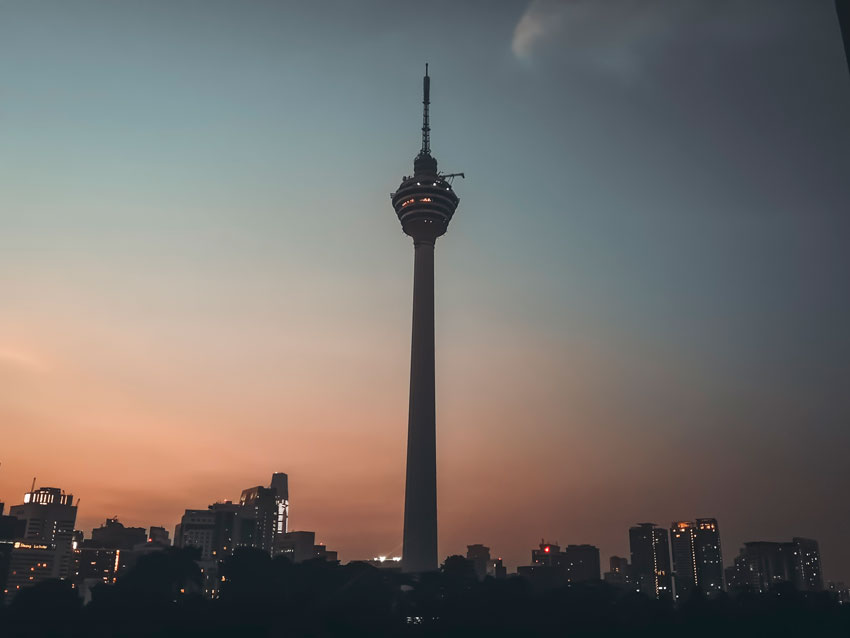
Noise Due to High Iso Setting
Exposure correction is the most effective means of lightening the final image. Values are between –2 and +2 usually. When the value is positive - the picture becomes lighter, when it is negative - darker. Unlike ISO speed that also influences picture quality at limited light, exposure correction only increases the amount of light in the image without adding any grain.
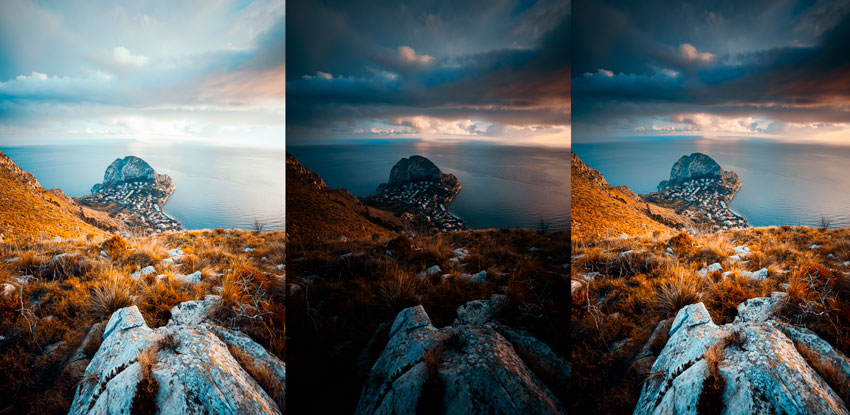
Three Photos with Different Exposures
Auto bracketing – to continue the Exposure correction topic let's recall bracketing. When bracketing mode is chosen the camera automatically sets exposure compensation values in a series of pictures: from lesser to larger. For example, in a series of three shots one will be taken in a normal mode and two others would be taken with modified exposure. This feature is especially useful for beginners who have heard of the possibility of exposure correction but did not understand its meaning fully.
Focus or, to be more precise, camera focus area. It's the place where the camera focuses, that is the place it considers the most important and starting from which it calculates the distance between the object and the camera. There are a lot of ways to focus, e.g. by the center or by several points in the picture. In some cameras there's an option even to shift the focus point from the center into another part of the picture frame. Manual focus is also very useful to have: you can specify exact distance to the object you shoot. Such an option will also let you take nonstandard photos like shooting a web or glass that automatic focus won't even notice.
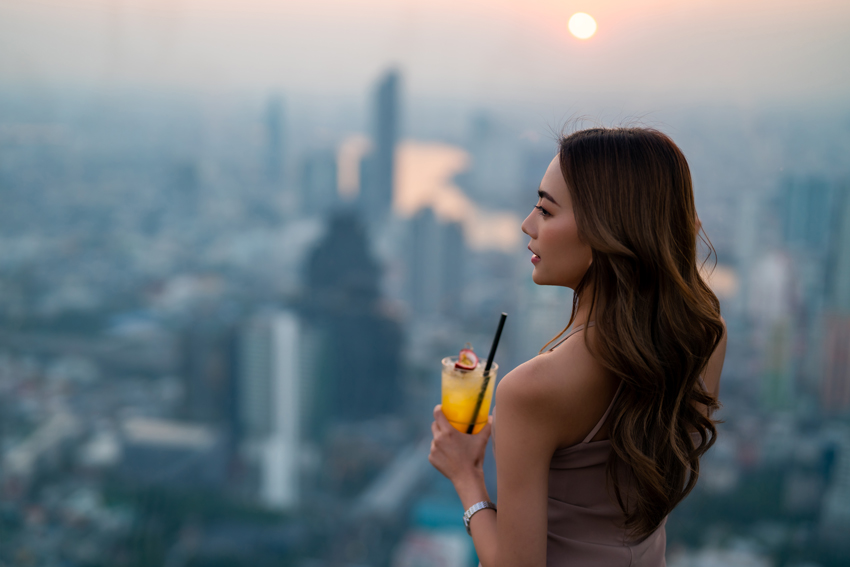
Object in Focus
One more useful parameter: depth of field – it is the part of space in front of the camera that would be distinct in the picture. When shooting a landscape, for example, the picture should be distinct all throughout almost to infinity (in reasonable limits, of course), and in portraits this parameter should be minimal with a distinct and focused model and the background blurred to maximum.
Exposure and aperture – these notions come together as a rule. Exposure is the time the shutter stays open: the quicker it closes the less light hits the matrix, which means a darker picture. Aperture also influences the degree of light in the picture: the wider it is the lighter the picture. Experiments with these two values can give some unpredictable results. Long exposure, for instance, will come in handy in shooting fireworks: you'll be able to capture the whole path of the sparks. Playing with aperture settings you can manage the depth of field (to take some object with the background blurred as much as possible for example).
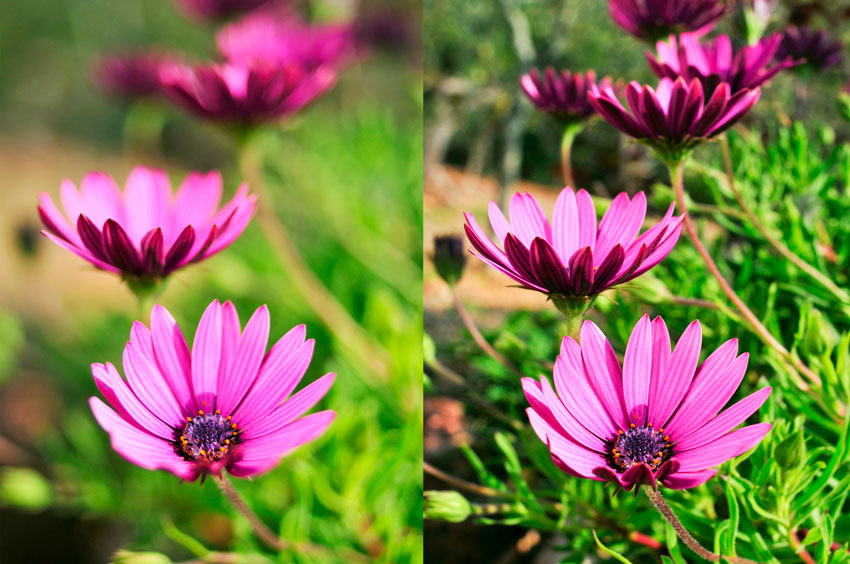
Different Apertures: f/2 vs. f/22
A good way to understand whether your picture would be light or dark, dull or bright is to be able to read the image Histogram that is the diagram of the image parameters. In fact, a histogram may show if there is a want of some color in the picture. Some cameras are able to show a histogram during the capture process and that can help you to organize the picture better. For example, when you notice some irregularities or voids in the histogram you will have an option of shifting the camera a bit or changing perspective in order to smooth the diagram.
To learn to take quality pictures you need only two things: experience and an original view of the world surrounding you. As digital cameras need almost no consumables nothing prevents you now from getting more and more shooting experience. It is worse with originality. The thing is, we, by mere instinct, tend to put the subject into the center of the picture or right under direct sunlight. This means the end of any originality. But most interesting photos come from nonstandard conditions. That is, on learning to capture beautiful photos in good light start with nonstandard photo experience. And we will just give you another group of photo terms with proper explanations.
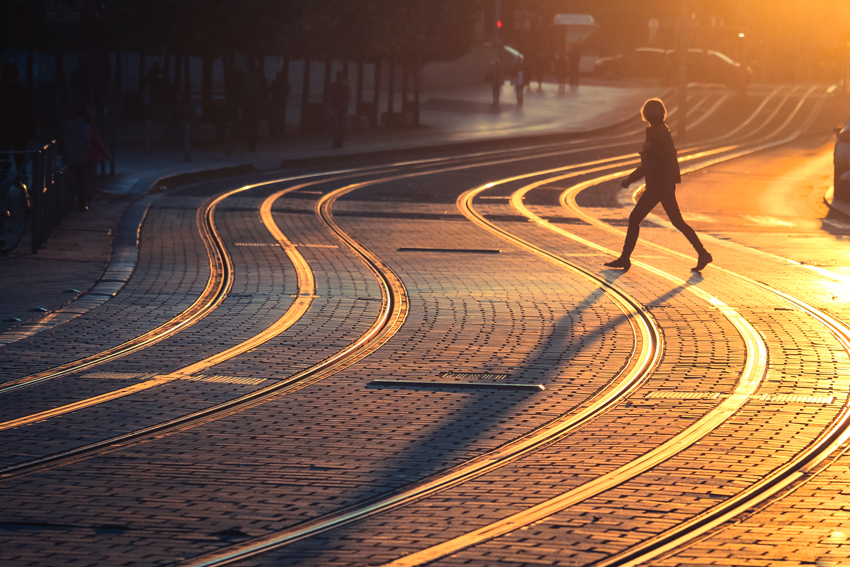
Perspective Photography
Macro mode – is, very likely, one of the most popular and well known types of staged photography. Many beginners are bewildered by the possibility of capturing objects in close vicinity to the camera, as not every film camera can focus at such a short distance. Macro mode is also notable by the ability to make a day-to-day object (a wild flower, for instance) a main subject of a photo. The only sharp object in macro photo is the subject of it (like in portraits) and the background is always blurred.
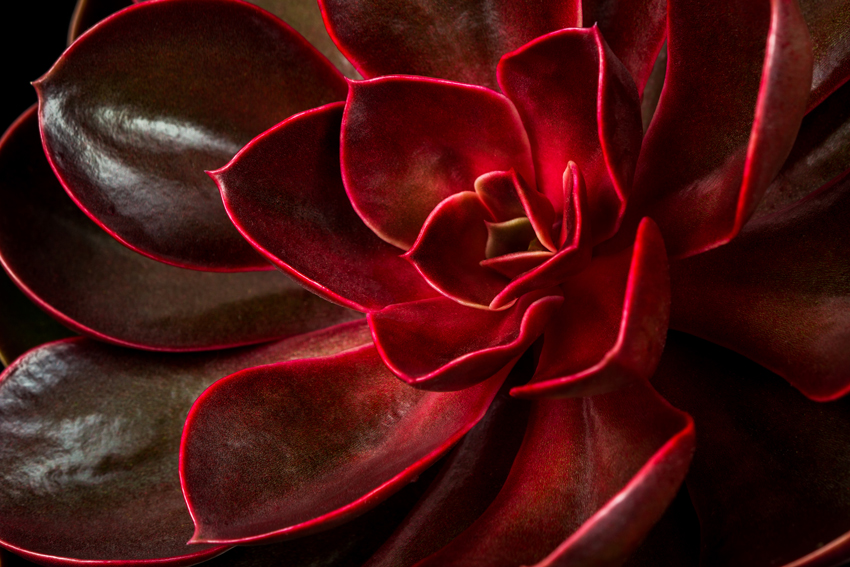
Macro Photo
Locking light – is used when capturing bright subjects, it is very often used also for creating spectacular advertisements. Locking light is a special direction of lights when you shoot against the light source, like photographing a tree against the sunset with the sun right behind it. The brighter the light source the more interesting the photo will be. Try to use this photo technique on a beach and all people on a picture would look very tanned.
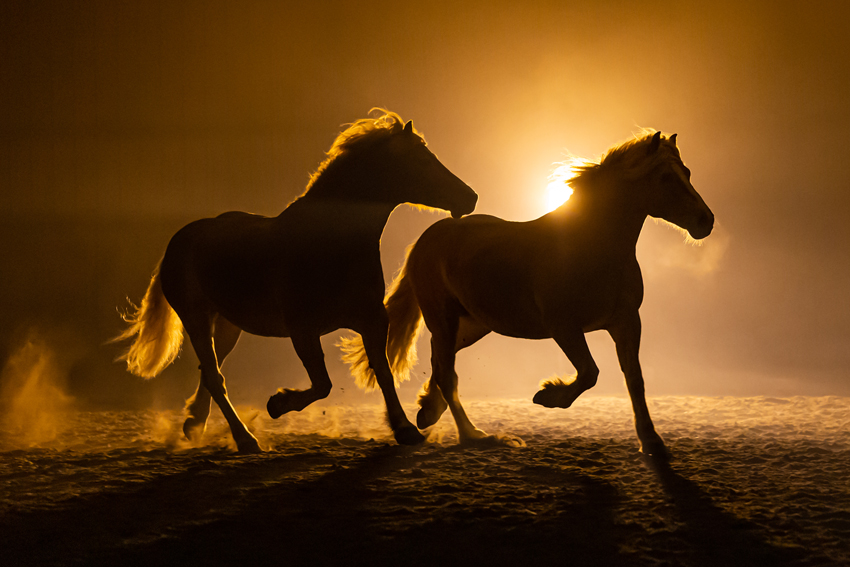
Locking Light