Winter Magic: Dance of Snowflakes
Do you want to create a Christmas mood even in summer? The AKVIS Neon Video plugin will make your video shine, and snowflakes from AKVIS NatureArt will create a magical swirl around the ballerinas.
The example was created in Adobe After Effects.
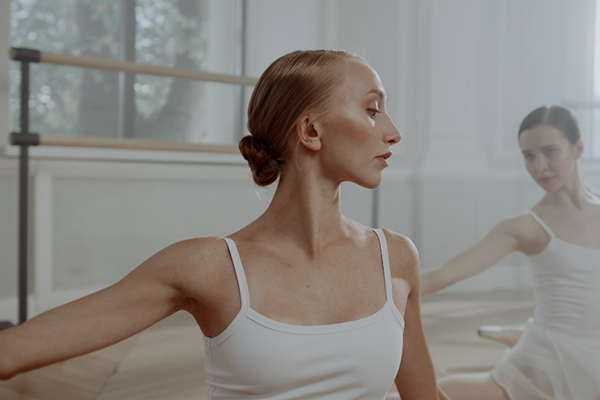
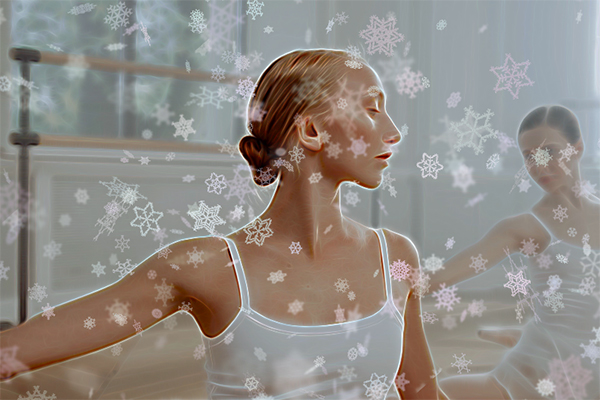
- Step 1. First, let's create snowflakes. Open AKVIS NatureArt and select the Snow effect from the drop-down list. Note that this effect is only available for Home Deluxe and Business licenses.
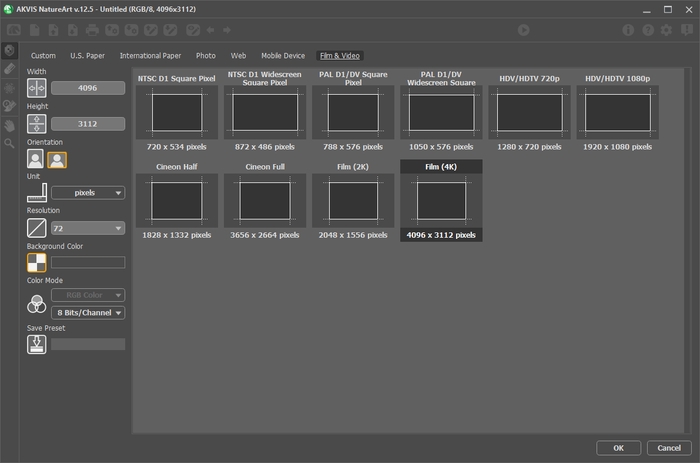
Click
 to create a new image. Select Transparent Background
  . Set the size and orientation as in the video frame.
Draw with the Snow Brush tool
 , filling the empty background with snowflakes. It's recommended to enable the Random Shape check-box in the Structure tab.
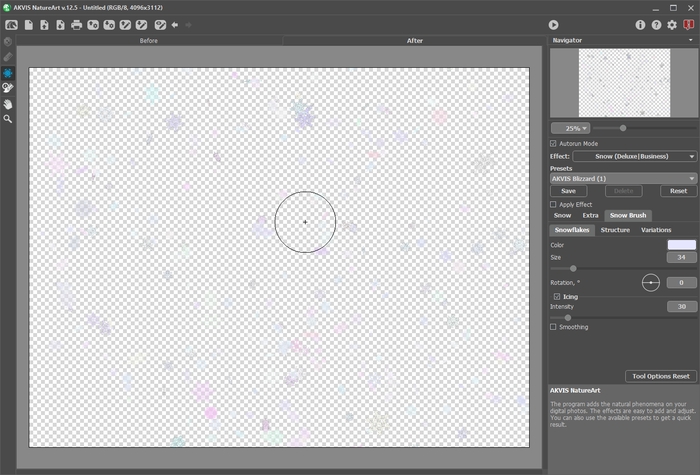
Create at least three of such images with beautiful snowflakes and save them
 using different names as PNG files (with transparency).
- Step 2. Open the video editor and import the video, snowflake files, and music using the command: File -> Import -> File....
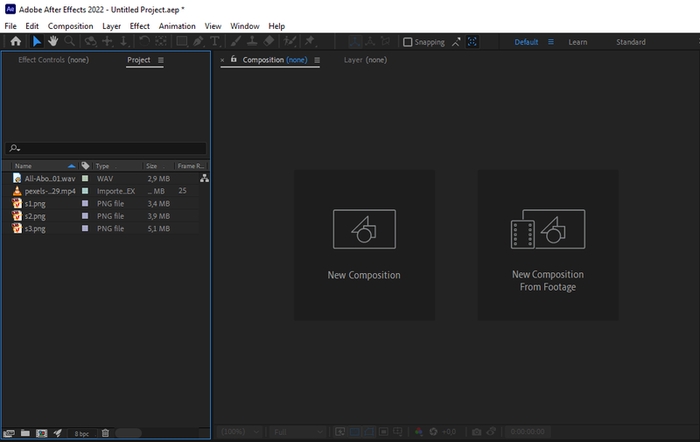
Create a composition (Composition -> New Composition).
Drag files into the Timeline at the bottom of the window. Arrange the layers in the following order: first snowflakes, then video. The video requires creating two layers.
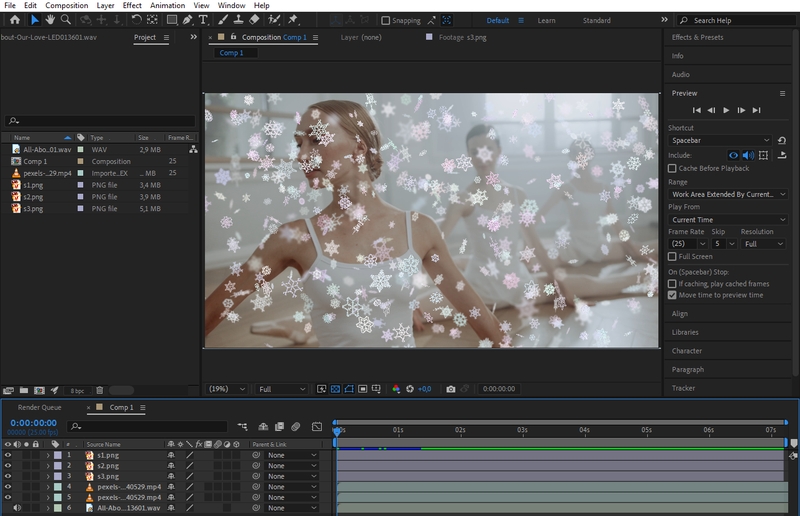
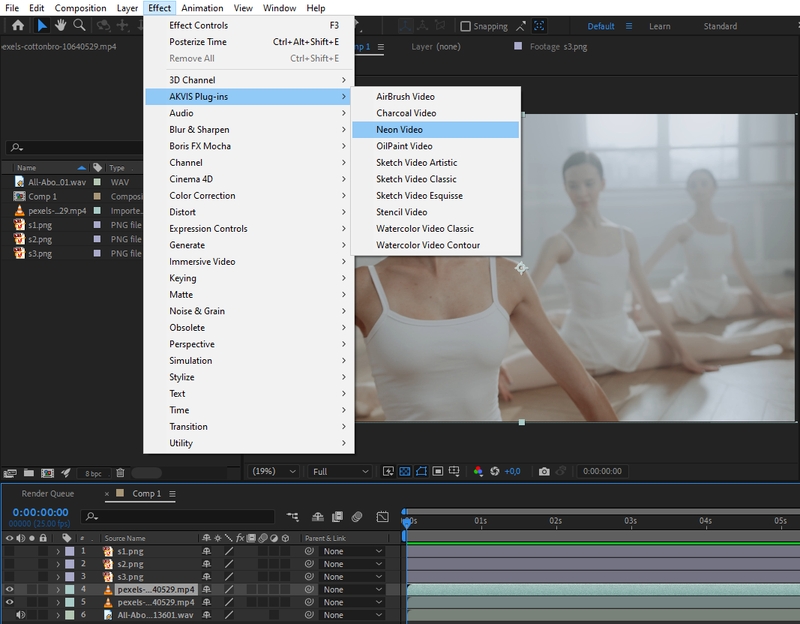
- Step 3. Turn off the visibility of the snowflakes (the eye icon next to each layer) and switch to the video layer. Apply a neon effect to the layer: Effect -> AKVIS Plug-ins -> Neon Video (or drag the Neon Video effect from the Effects & Presets panel into the layer).
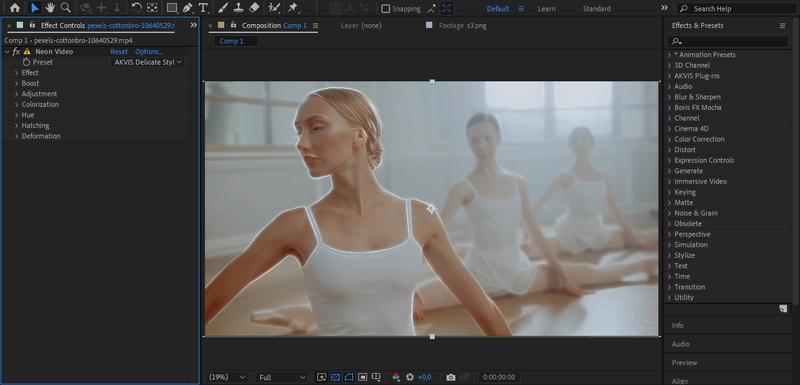
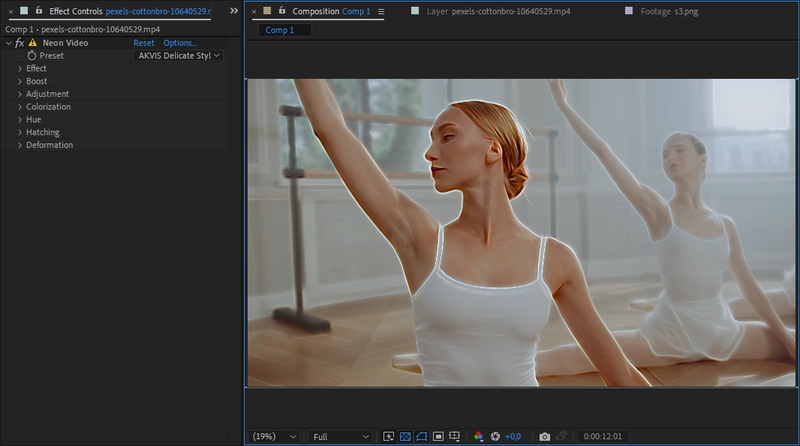
In the Effect Controls panel, select a preset or change the effect parameters as you wish. For this video, we used the AKVIS Delicate Style preset.
- Step 4. To increase the shine and highlight some details, mix a neon layer with the bottom layer. To do this, in the context menu of the layer, select the appropriate blending mode - for example, darkening (Blending Mode -> Darken).
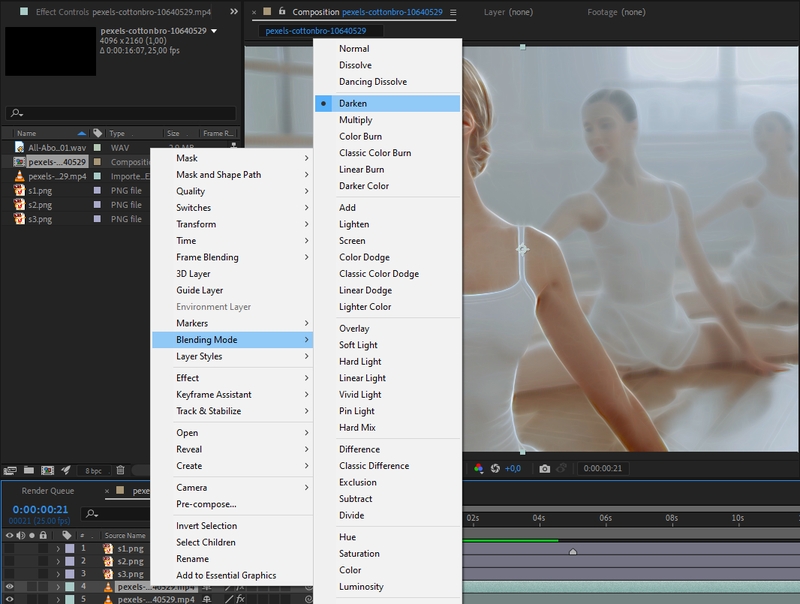
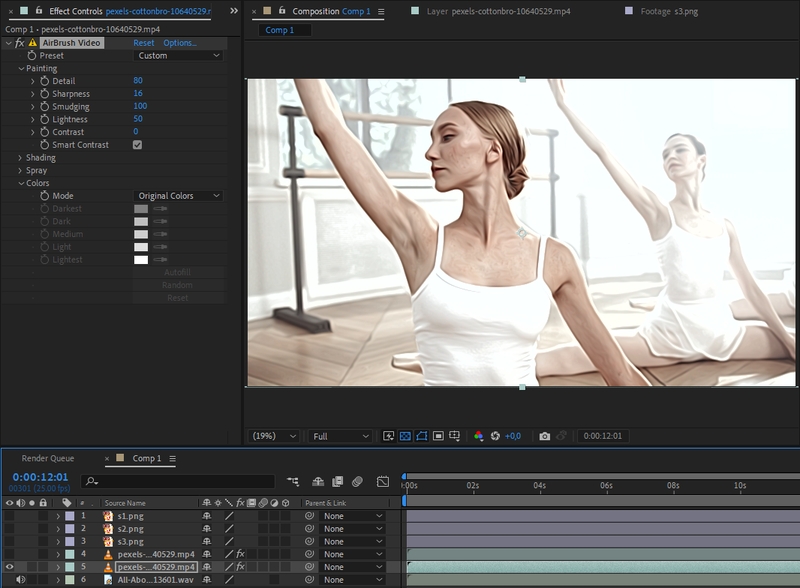
Switch to the bottom layer and apply an airbrush drawing effect to it: Effect -> AKVIS Plug-ins -> AirBrush Video. In the effect settings, set Lightness to 50 and select Original Colors.
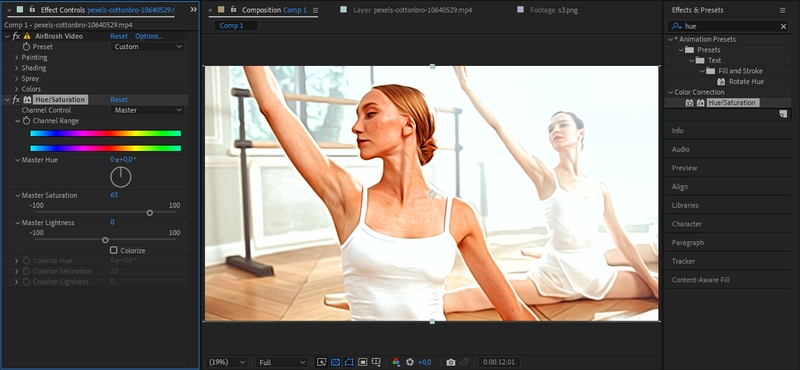
You can add some brightness using the Hue/Saturation effect:
This is what the combination of effects looks like:
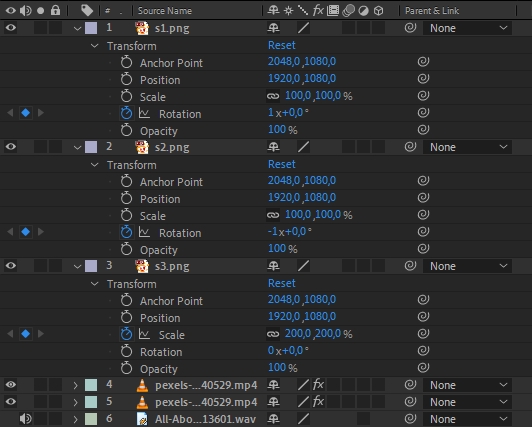
- Step 5. All that remains is to create a swirl of snowflakes. Select the top layer with snowflakes, turn on the stopwatch in the layer properties and set the rotation to 360 degrees clockwise. For the middle layer, set the rotation to 360 degrees counterclockwise. The last layer will be scaled to 200%.
- Step 6. Select the File -> Export -> Add to Render Queue command to export the video file. In this example, we applied Posterize Time = 8.
