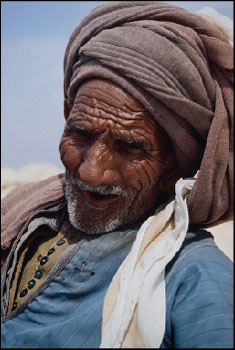
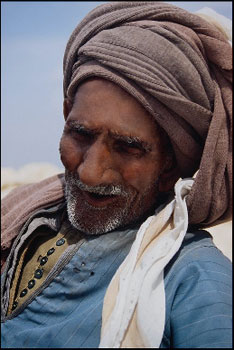
Removing wrinkles
Note: The example was made in the old version of AKVIS Stamp.
Starting from version 4.0 the program is called AKVIS MultiBrush.
The cloning tool used in this tutorial is now called Chameleon Brush.
- Step 1. Open the photo of an old Bedouin in your photo editor. The furrows on his forehead emphasize his experience, however add no beauty to the old man's face. We will make his face younger in a few steps.

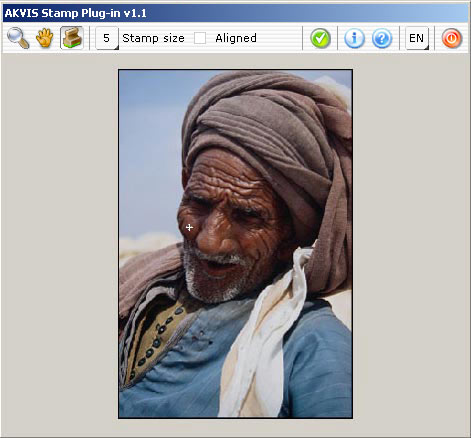
- Step 2. Call the plugin. In Adobe Photoshop, you should select the menu item Filter - AKVIS - Stamp, in Jasc Paint Shop Pro - the menu item Effects - Plugins- AKVIS - Stamp; and in Corel Photo-Paint - Effects - AKVIS - Stamp.
- Step 3. Select the Stamp tool and adjust its size (approximately 5).
- Step 4. Deactivate the check box Aligned so that every time you apply the stamp the pattern is taken from one and the same starting point.
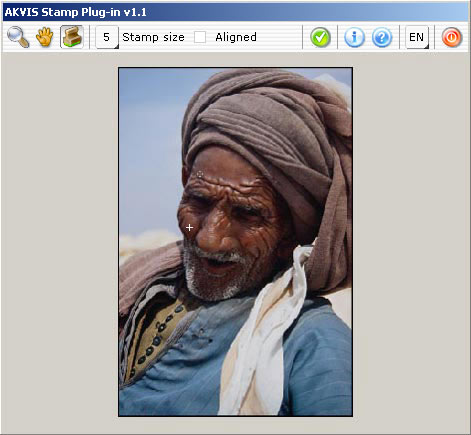
- Step 5. Press the Alt key (Option in Mac) and use the left mouse button to sample the source area. In this example we can sample some area on the nose or on the cheek between the wrinkles.

- Step 6. Process the skin covered with wrinkles applying the stamp by strokes or by left clicks.

- Step 7. Apply the result of retouching and close the plugin window.

