Funzionamento
AKVIS Chameleon è un programma per la fusione di immagini. Il software è facile e divertente da usare e non richiede la selezione precisa degli oggetti. Chameleon adatta automaticamente gli oggetti inseriti alla gamma cromatica della foto (proprio come fa un camaleonte) fondendoli in maniera armonica.
Il software ha cinque modalità: Montaggio, Camaleonte, Fusione, Emersione e Doppia esposizione.

Scopri come creare collage dalle foto con Chameleon:
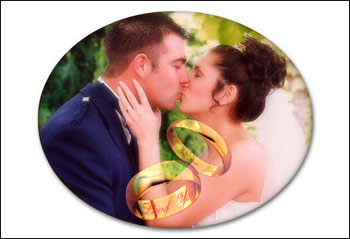
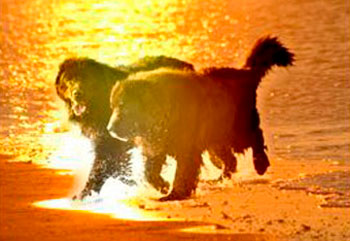
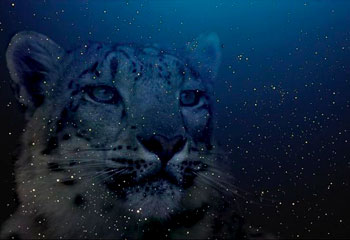
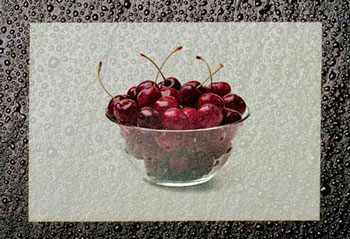
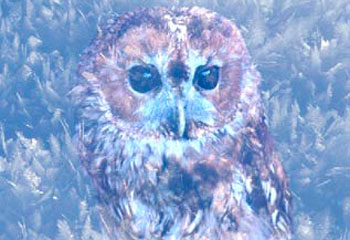
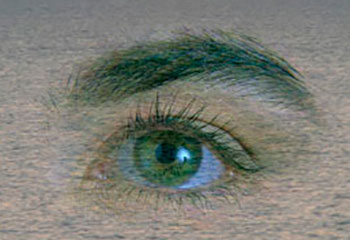
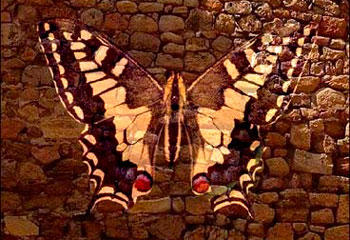
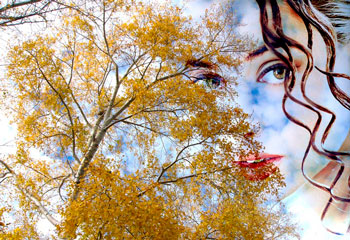
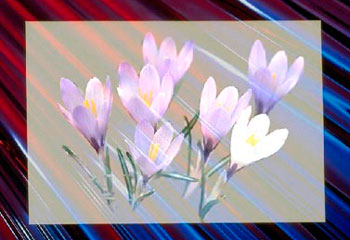
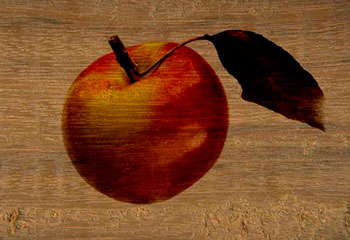
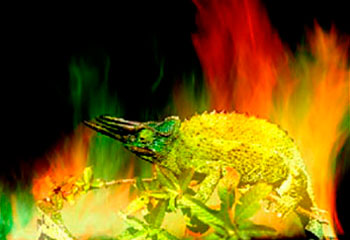
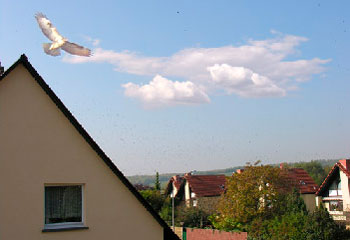
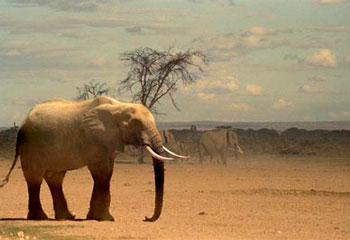
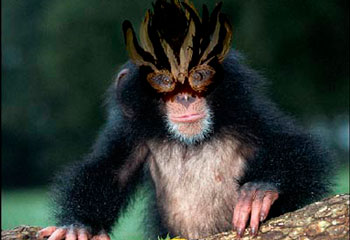
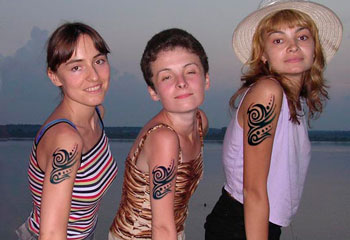
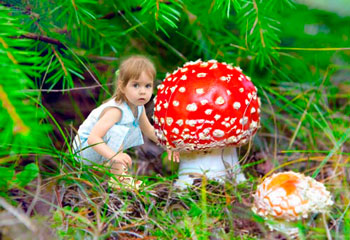
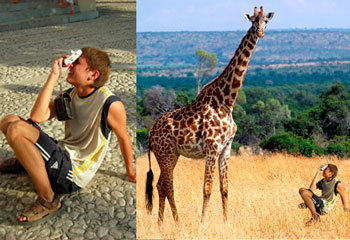
Esempi:


Chameleon v. 12.1 - 10-giorni di prova gratuita

