Changing Color of Your Car
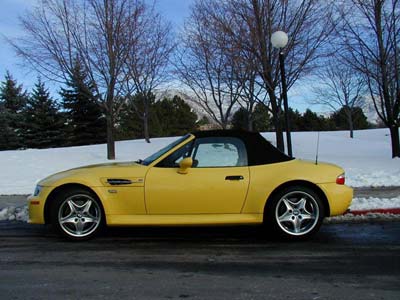
You can colorize this car yourself using the half-finished materials that we give you. Download an archive containing the original image and the file with the strokes (*.strokes). Read the instruction here to see how it works.
This example shows how to replace colors on a color photo keeping other colors unchanged.
We will apply AKVIS Coloriage AI to change the yellow color of the car body, while other colors (the color of the roof, headlights, wheels, the sky, the snow, etc) will stay the same.


We use the plugin version in this tutorial, but you can take the standalone program and do the same to achive this result.
Follow these instructions:
- Step 1. Open the original color photo with the car.

- Step 2. Call the AKVIS Coloriage AI plug-in. For this purpose in AliveColors select the menu item Effects –> AKVIS –> Coloriage AI; in Adobe Photoshop select the menu item Filter –> AKVIS –> Coloriage AI; in Corel Photo-Paint - select the menu item Effects –> AKVIS –> Coloriage AI.
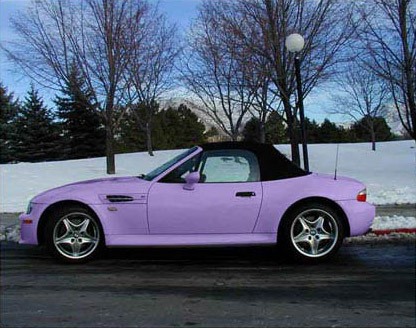
- Step 3. In the Classic mode, select a color for the car body. You should take into account that the original color of the car body is light-yellow, therefore the resulting color will also be light. In this case it is impossible to get a dark-blue or a vinous color. Select a light color from the Color (or Swatches) palette, for example, lilac.
- Step 4. Select the Pencil tool
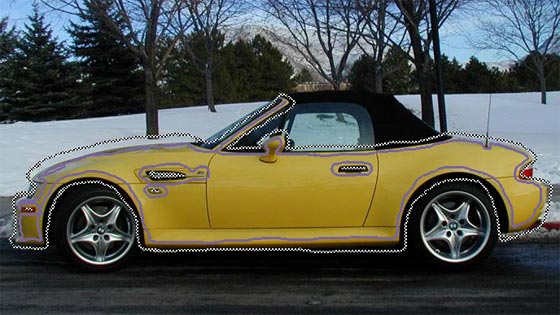
 and draw an outline within the car body following the shape of its boundaries. As some car details that fall into the contour should not be painted (the air pipe, the door-handle, etc) you should outline them with the color selected for the body.
- Step 5. Select the Keep Color Pencil
 and draw a closed outline around the car body. The contour should be drawn around the boundaries of the car body and pass all objects that are contiguous to the car body, but the color of which should stay the same (for example, the background, headlights, roof, windows, wheels of the car). The contour must be closed. We will use the same tool to mark the air pipe, the door-handle and other details that fall into the contour of the car body.
Hint: If you make a selection in the image editor it will be transferred to the plug-in and displayed as the outline made with the Keep Color Pencil. So you will only need to draw the color strokes inside the selection using the Pencil.

- Step 6. Press the button
 . The result of the colorization will be shown in the After tab.

- Step 7. Apply the result of the colorization by pressing the button
 .
.
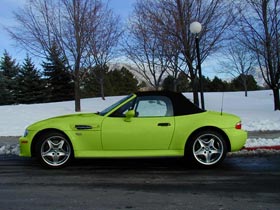
Below are other versions of colorization of the car body.


