Restore a film with AKVIS Retoucher and ... a little of patience
Note: This tutorial was created in the old version of Retoucher. Learn here how to use the new version with all its features! Though it processes images in a similar way, new Retoucher offers selection and retouch tools and advanced features.
The author of the example is Jaime Vegas. The description of the example is written by the author:
In the 70s my father-in-law was filming with a "super 8" camera. Years later he decided to put together his old movies and transfer them to a VHS tape. Some movies were damaged ... and the damage was still visible in VHS. Now he wants to digitize them and asked me to help him (that's what sons-in-law are for). However, he was not content with the result, he wanted me to remove the scratches.
In the following example I will use Corel Photo Paint with AKVIS Retoucher, plus VirtualDub for the final touch-up.
 |
 |
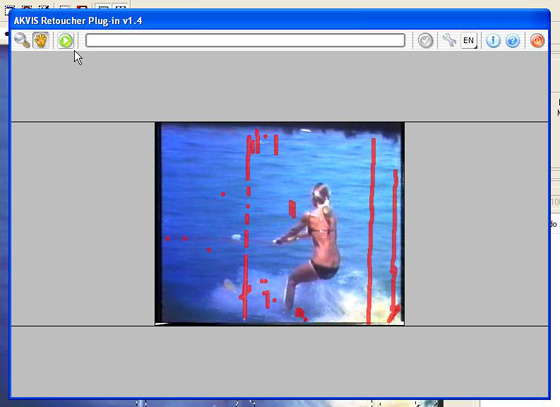
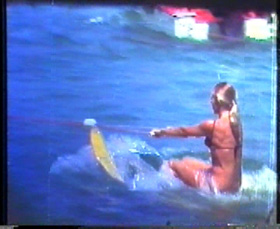
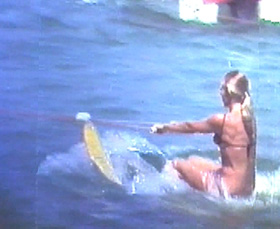
We will start with a shot of 5 seconds, captured in AVI without compression. All the shots are damaged and covered with marks and scratches, as you can see in the following examples:

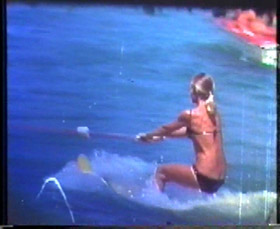
Here you can download the shot in mpeg format: original.mpg (905KB).
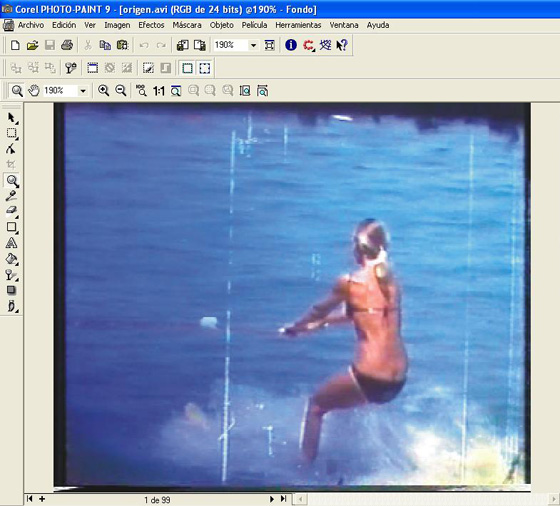
- Step 1. Open the AVI file in Corel Photo Paint and you will see the first shot of 125. You've got much work ahead. But we will cope with it.
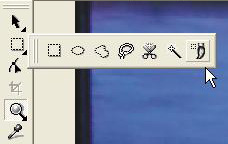
- Step 2. Select Brush Mask Tool.
Adjust the size of the brush and start painting over the scratches and other defects (do not forget to press the "shift" key every time you start selecting a new defect).
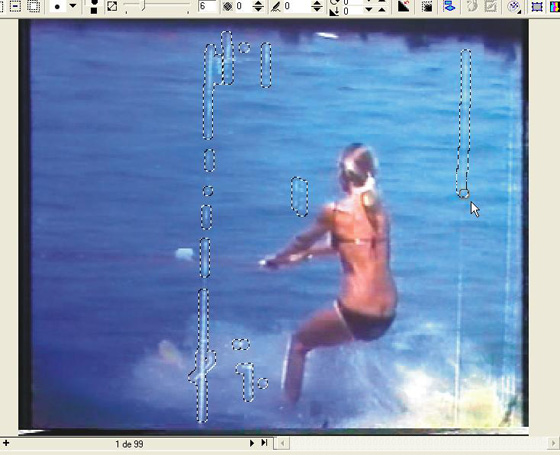
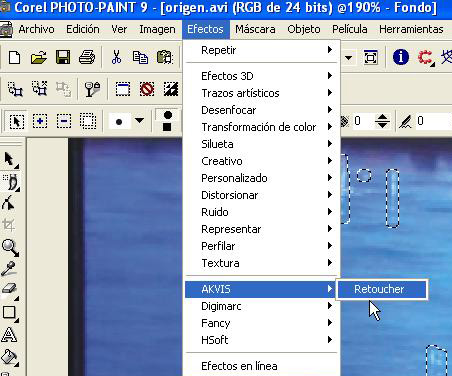
- Step 3. When you have "masked" all the defects, open the menu Effects and select AKVIS Retoucher.
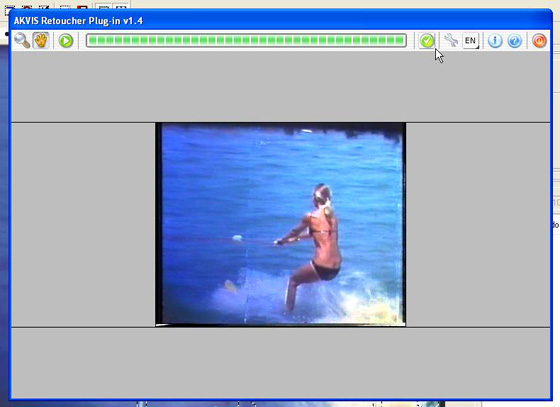
- Step 4. Select the green icon on the left upper corner of the program window, and you will see how the red marks disappear and with them disappear the scratches from the shot.
When AKVIS Retoucher has finished his work, select the green icon in the right upper corner to return to Corel Photo Paint.
- Step 5. Remove the mask (select Remove in the menu Mask). You will see the restored shot. If you are satisfied, go on to the following shot, and start again from step 2. Repeat 125 times :)
When you have all the shots restored, save the AVI file (although it is convenient to save the work from time to time, before finishing it; in fact, you can save when you want, leave the work and resume it later, from the last shot retouched).
- Step 6. The final stage. After the previous operations, you will have 5 seconds of video. Miraculously all the ugly scratches and marks left by the rusty mechanisms of the old projector on the long-suffering movie of the "super 8" movie have disappeared. It seems that my father-in-law liked the girl as he would watch the movie again and again).
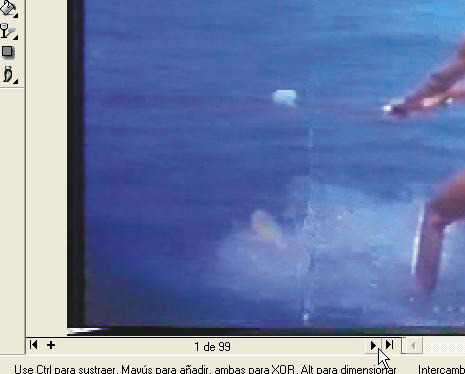
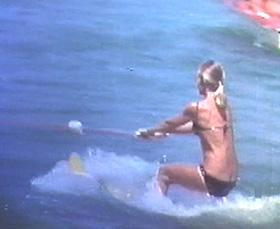
See the two shots as examples of retouching operations.
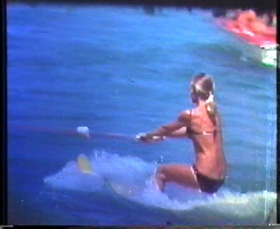
Here you can download the finished video: after-retoucher.mpg (905KB).
You can touch up the photo using the filters of VirtualDub. Use the "cropping" tool to remove shortcomings of the borders; the "resizing" tool to recover the size lost with the "cropping"; a soft application of the noise reduction filter; a little of "sharpen" to make the image clearer and, perhaps, reduce the color saturation. This video editing depends actually on the taste of the author.
You can download the result here: final.mpg (905KB).
Retoucher v. 12.1 - Free 10-day Trial

