Retouching a Wedding Photo
Note: This tutorial was created in the old version of Retoucher. Learn here how to use the new version with all its features! Though it processes images in a similar way, new Retoucher offers selection and retouch tools and advanced features.
 |
 |
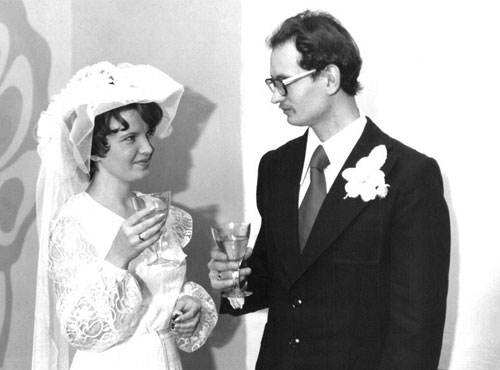
This photo is already 30 years old but is in good condition. The beauty of the moment is marred only by some small spots (most likely this was caused by dust on the scanner), the dark horizontal line running across the middle of the photo (a camera defect), and a crease from a fold on the bottom right corner.
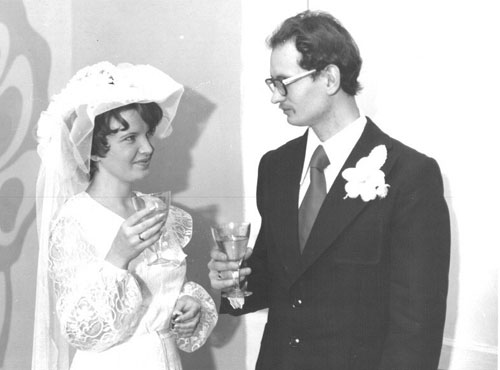
Before we start the AKVIS Retoucher plug-in, we need to select the defects on the photo which we want to remove. To select these spots and scratches you can use any of the selection tools of your graphics editor.
The most convenient way to select fine details in Adobe Photoshop is, in our opinion, to use Quick Mask mode (read more about this useful tool).
In Quick Mask mode (to switch to it press the button ![]() in the Tool Panel) you can use the Pencil tool to paint over the spots and scratches. If the parameters of Quick Mask mode are set to their default settings, the defects will be painted over by a translucent red color.
in the Tool Panel) you can use the Pencil tool to paint over the spots and scratches. If the parameters of Quick Mask mode are set to their default settings, the defects will be painted over by a translucent red color.
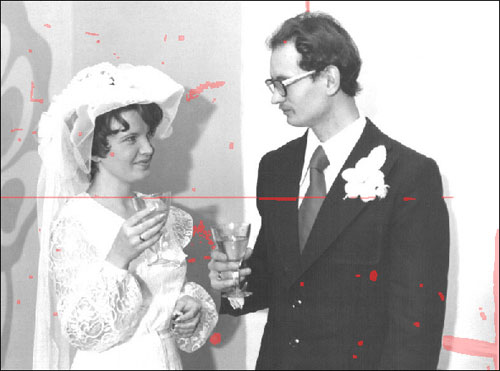
For the painted areas to become selections, you need to leave Quick Mask mode. Press the button ![]() on the Tool Panel to return to Standard Mode, and invert the selection by choosing Selection -> Inverse in the menu and then.
on the Tool Panel to return to Standard Mode, and invert the selection by choosing Selection -> Inverse in the menu and then.
Take note of Quick Mask modes’ settings. If they are still set to default settings (Masked Areas is checked), it is necessary to invert the selection. If Selected Areas is checked, inverting the selection is not necessary.
To open the Quick Mask Options window, double-click on the Quick Mask button in the Toolbar.
Now that the defects are selected,

we can call the AKVIS Retoucher plug-in.
In Adobe Photoshop do this by selecting from the menu Filter -> AKVIS -> Retoucher.
When AKVIS Retoucher plug-in’s window appears, all the previously selected defects will be marked with a red color.
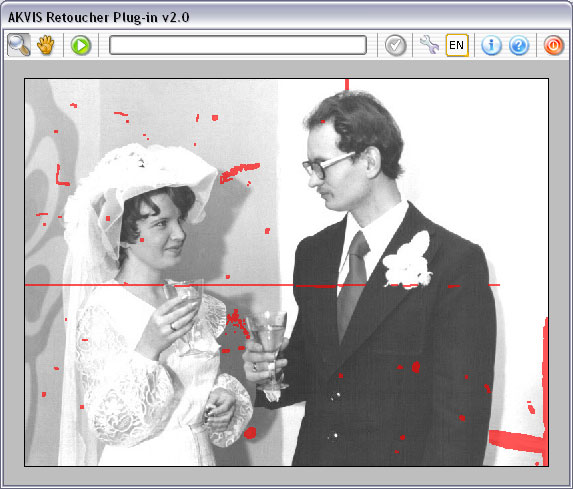
To start the retouching process, press the button ![]() .
.
Now just observe the red areas disappear along with the defects.
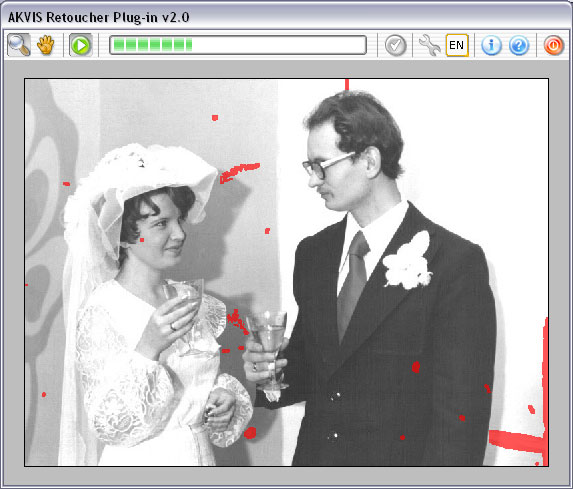
When the retouching process is complete, press the button ![]() to apply the results and close the plug-in window.
to apply the results and close the plug-in window.
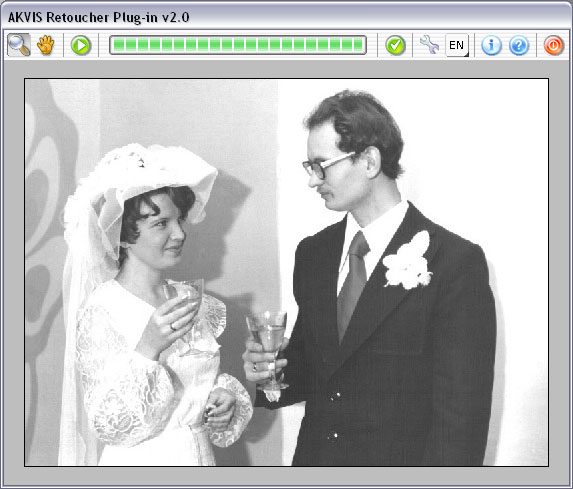
The defects have been removed and now nothing distracts from how their eyes are lovingly transfixed upon each other.
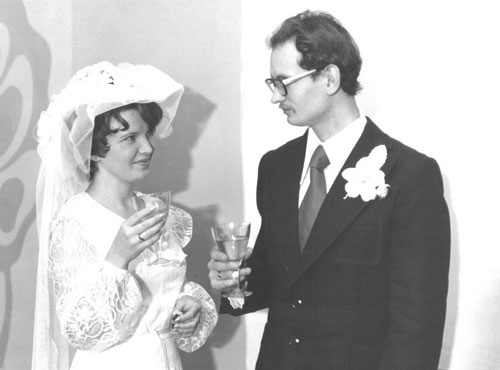
To complete the retouching process we will increase the contrast of the picture with the Levels tool. Choose the menu item Adjustments -> LevelsAdjustments -> Levels eft side of the histogram.
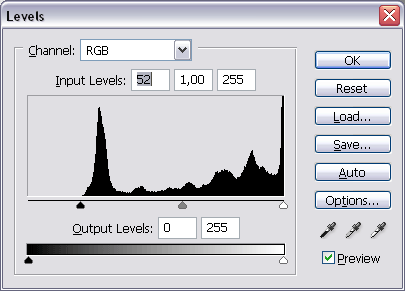
Now just press the OK button and the retouching is finished.
