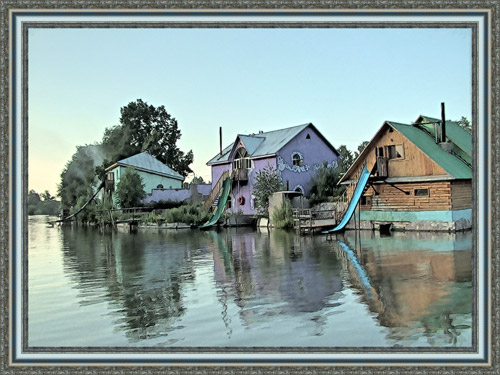
Fun Slides in the Countryside: Create a Realistic HDR Image
In this tutorial we will show you how to generate a realistic looking HDR image from a series of shots taken with different exposure settings.
Original shots:
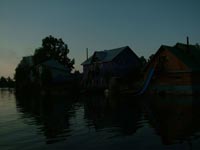
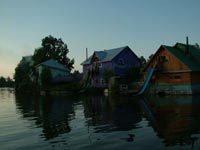
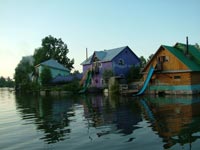
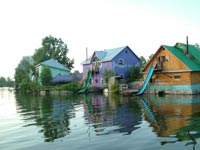
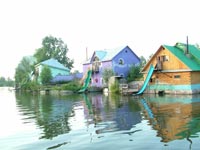
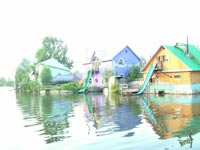
Result:
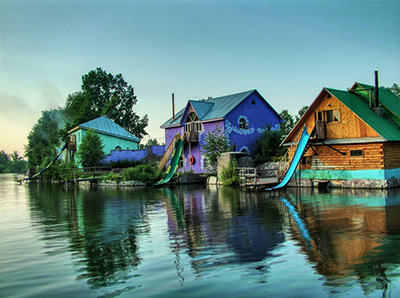
-
Step 1. Run AKVIS HDRFactory and open a series of shots: click on
 and select the files. Or you can just drag the images into the workspace of the program.
You will get an HDR-image generated at default parameters (with the AKVIS Default preset). The result will be shown in the After tab.
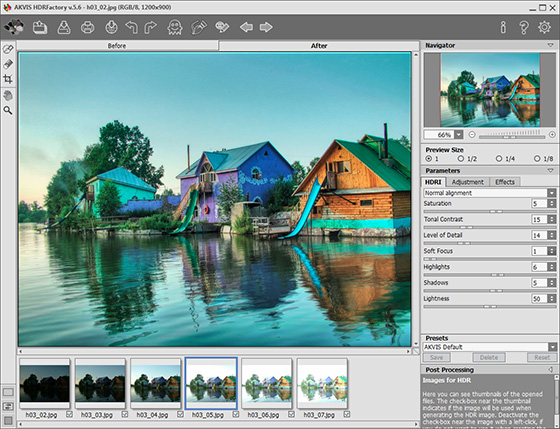
If you wish you can adjust the Tone Mapping parameters but we use the default settings.
-
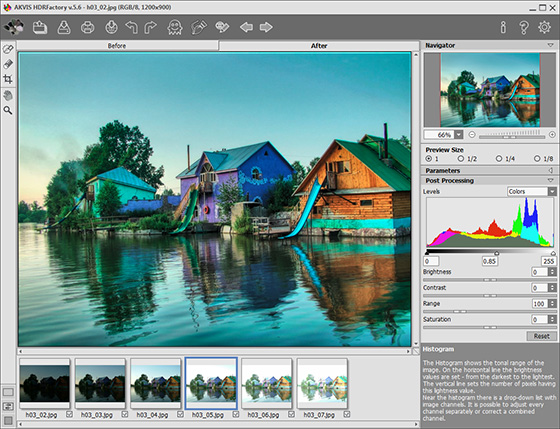
Step 2. Now switch to the Post Processing panel. Increase the image contrast by moving the gray point to the right.
-
Step 3. Save the result by clicking on
 .
.

The photo is ready. You can continue editing, if you like.
For example, turn the photo into a watercolor drawing using AKVIS Sketch...
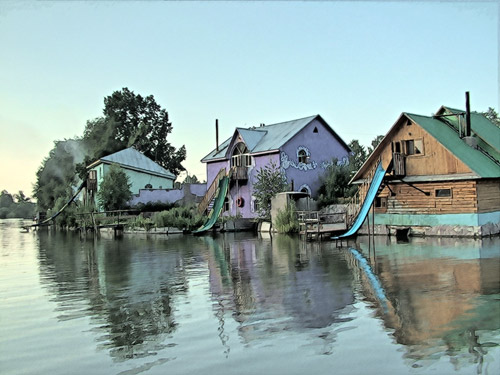
...and/or add a photo frame to the image using AKVIS ArtSuite.
