Painting & Photography with AKVIS filters
The author of the tutorial is Serge Fleury. He writes:
An artist whose paintings I appreciate a lot has a very personal technique: having accomplished the biggest part of his canvas with gouache, he underlines the outlines by re-drawing them in ink over painting. This technology inspired me to treat some photographs by bringing a personal touch there.
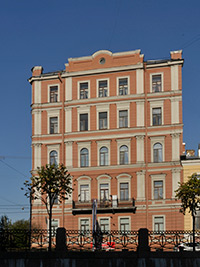 |
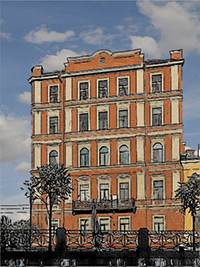 |
This tutorial was created using Adobe Photoshop and three AKVIS filters: SmartMask, ArtWork and Sketch.
But this technology can be used with any software supporting layers and AKVIS filters as additional modules (plug-ins).
Before starting to work with the software, it is useful to think about the way we will proceed to define all the elements we need.
As any other picture manipulations, it must be non destructive in order to allow coming back to the original image any time we need.
Thus, we shall use the layers of Photoshop, every element of our composition being accomplished as one layer.
Besides the basic layer ("Background") which will contain the original picture, we shall have:
- a "Painting" layer;
- a "Drawing" layer;
- a "Sky" layer.
Each of these layers will have its own settings and will be totally independent from the other layers.
- Step 1. The original image is:
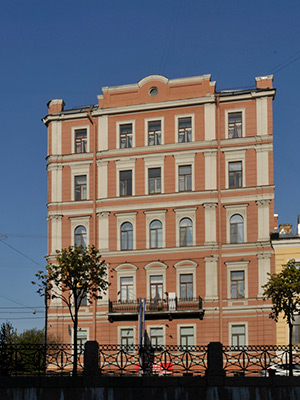
Original ImageWe open it in Photoshop.
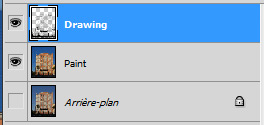
- Step 2. Open the Layers window and duplicate the original picture twice giving to the layers the names "Paint" and "Drawing". We take the opportunity to unselect the original image layer ("Background"), because we shall not use it any more.
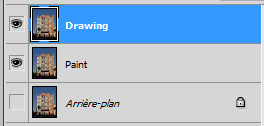
Besides, when we are working on a layer, we shall unselect the other layers in order to display the active layer only (the one we are working on).
First, we shall work on the "Paint" layer and we will transform it into a painting.
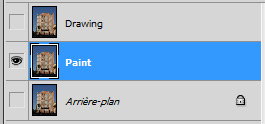
- Step 3. Call the AKVIS ArtWork filter.
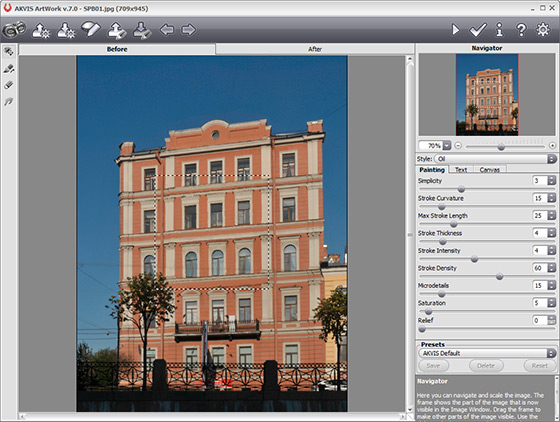
It is now possible either to choose a preset defined in the filter, or to choose your own parameters according to the subject and your personal taste.
In this case, I choose: Style: Oil, Preset: AKVIS Expressive.
The result will be:
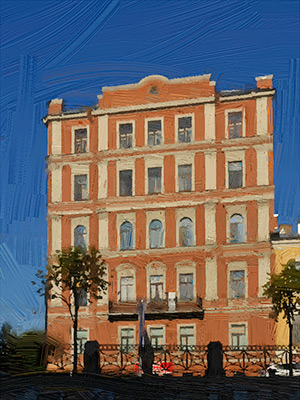
- Step 4. Now we are now going to draw with "ink" over this "painting".
It is very easy: you just need to transform the painting in a drawing...
Select the "Drawing" layer...
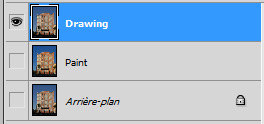
...and call the AKVIS Sketch filter.
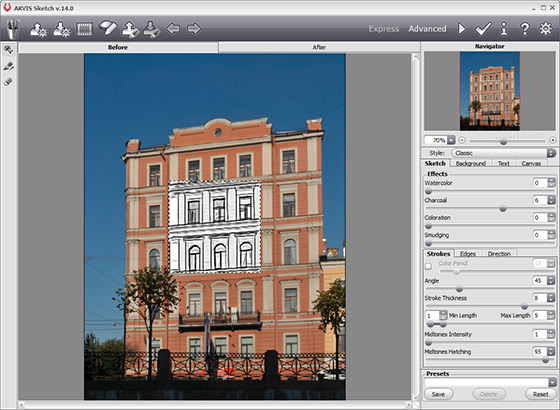
The objective is to get a very simple drawing (almost only outlines) with a very high contrast (a black drawing on a white background with almost no halftones).
In our case, the following settings should work:
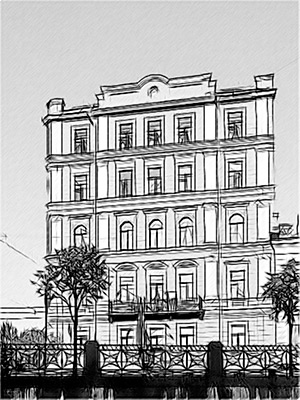
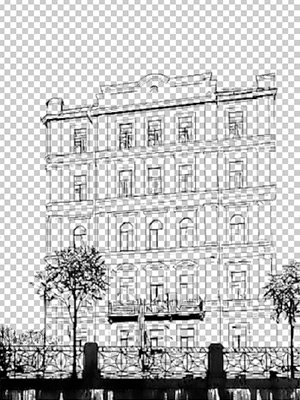
Now we should create a layer where only the main lines will show up, everything else being totally transparent.
- Step 5. To do so, we will use the Magic wand tool in Photoshop. Select a white area (the "paper" on which the drawing is done) with a Tolerance of around 50 and Contiguous pixels unchecked. Once the selection is done, delete the selected areas (Del key).
This should do the work. But if (according to your original image and the parameters you selected in AKVIS Sketch) you still have grey areas, you can try again with a higher value.
Remove all unwanted elements (like electrical cables) with the Eraser tool. We can also erase some parts of the drawing if we don't need them.
Now the "drawing" looks like this:
Now, if we display simultaneously the "Paint" and the "Drawing" layers, we will have an overview of the combined effects:
It seems already very interesting:
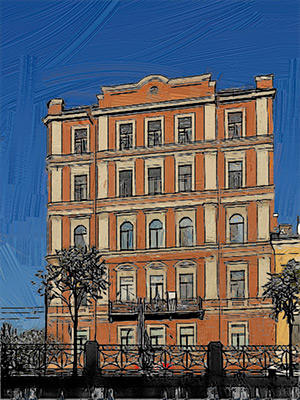
- Step 6. But we want to go a little bit further by inserting a purely photographic element - the sky. We are going to create a new layer for this element. Where to place it?
The sky plan is behind everything and it is therefore necessary to create it under the "Paint" layer, just above the "Background" layer. (Don't forget the initial image "Background" is only there for security purpose and is not involved in our final project).
Let us select the "Background" layer. We create a new empty layer and name it "Sky".
So, we now have the following stack of layers:
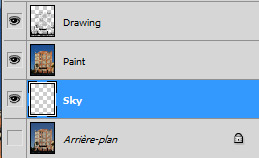
We select the "Sky" layer (which is completely empty) and fill it with an image of the sky (either by Import, or copy, or any other function in your software). This can be a photo you shoot yourself, or some part of an image databank.
In our case, we use the PhotoShop function Import. We shall re-size the imported image so that it fills the "Sky" layer.
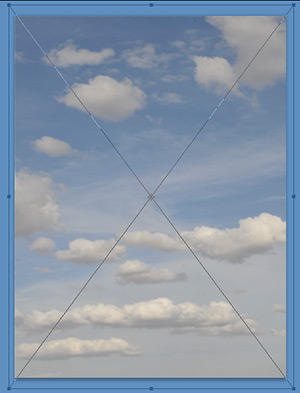
- Step 7. Now, we have to cut the sky area in our "Painting" layer and keep only the building. To do so, use the AKVIS SmartMask filter.
In the working pane of SmartMask, we shall choose the Automatic mode since the difference between the building and the sky is distinctly marked.
The area representing the sky should be removed, so identify it with the red pencil
 . The area with the building that we want to keep will be identified with the blue pencil
  .
.
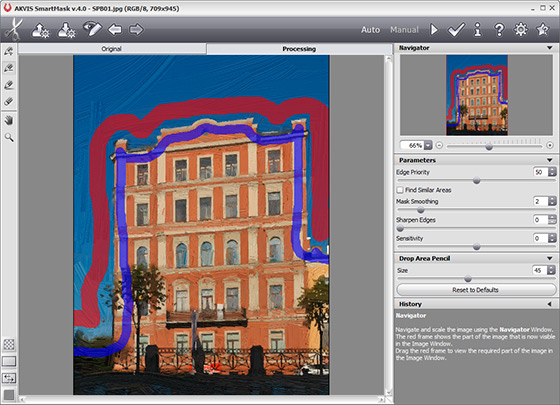
We now click the
 button in the upper right part of the working pane to start processing:
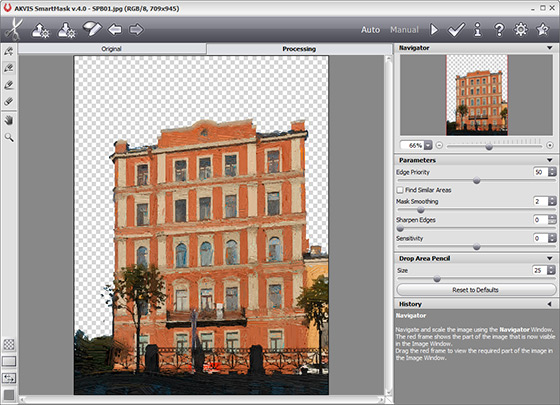
The sky has completely disappeared from the "Paint" layer.
- Step 8. Go back to Photoshop, simultaneously select the "Sky", "Paint" and "Drawing" layers and our final image is there:
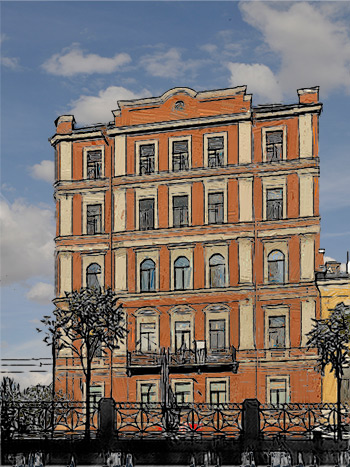
Each layer is independent from the others, so we can define a tuning layer for each one (in our project, we shall use curves). So, we can adjust separately the density of each element.
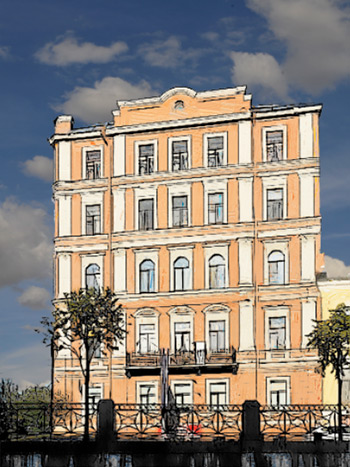
Or even choose to hide some layer
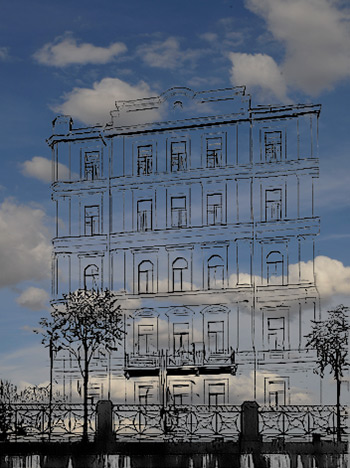
For each layer, there is an extensive number of options and parameters, either in AKVIS filters or in Photoshop (or in the other software you frequently use). So, the number of combinations is only limited by your imagination or your preferences.
We have finished our work. I would recommend you saving the image twice:
- as a composite image with all the layers (it would be a PSD or a TIF file in Photoshop). Thus, you can call back the image later and work on any layer.
- as a flat image. Merge all the layers in one and save it as a JPEG file. This is the way to have an image you can print or display on the web. But this image will only allow applying global changes.
If your software allows it, you could also define each layer as a dynamic object. This would allow coming back at any time on each layer and modifying the parameters you have applied earlier.
Of course the multiplicity of the layers will increase the size of your image, but these techniques will allow you to come back at any time to the original image.
- Step 6. But we want to go a little bit further by inserting a purely photographic element - the sky. We are going to create a new layer for this element. Where to place it?
