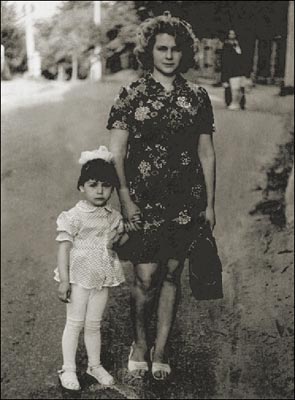
Restoration of a torn photo
We will demonstrate you how to use AKVIS Retoucher and Adobe Photoshop tools to restore a torn photo. In addition, the photo is underexposed and we won't pass this defect over.
 |
 |
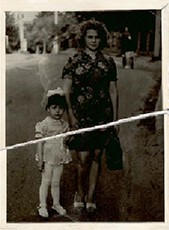
We will restore this torn black and white photo.
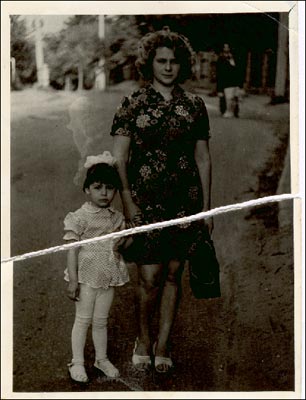
First of all we will try to reduce the gap between the two parts of the image. We will use ![]() Magnetic Lasso Tool to select the lower part of the image.
Magnetic Lasso Tool to select the lower part of the image.

Then we use the ![]() Move tool to move the lower part of the image upwards so that it joins the upper part. The gap becomes less visible.
Move tool to move the lower part of the image upwards so that it joins the upper part. The gap becomes less visible.
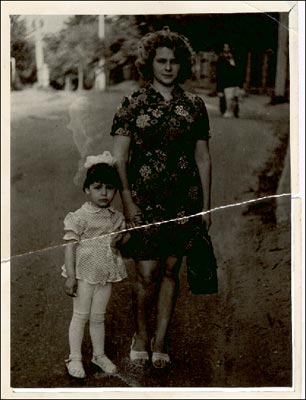
We crop the white photo frame using the ![]() Crop Tool so that the photo has regular borders.
Crop Tool so that the photo has regular borders.
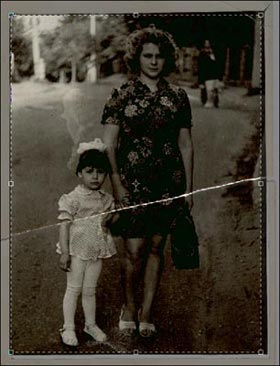

We switch to Quick Mask mode, pressing the button ![]() in the Toolbox or the hot key Q. We paint over the rupture in Quick Mask using a hard edged pencil or brush.
in the Toolbox or the hot key Q. We paint over the rupture in Quick Mask using a hard edged pencil or brush.

We switch back to the Standard mode pressing the button ![]() in the Toolbar or the hot key Q, and invert the selection by calling the command Select-Inverse from the menu or by pressing the key combination Ctrl+Shift+I.
in the Toolbar or the hot key Q, and invert the selection by calling the command Select-Inverse from the menu or by pressing the key combination Ctrl+Shift+I.
Now we can launch the program AKVIS Retoucher (Filter - Akvis- Retoucher) to restore the rupture line.
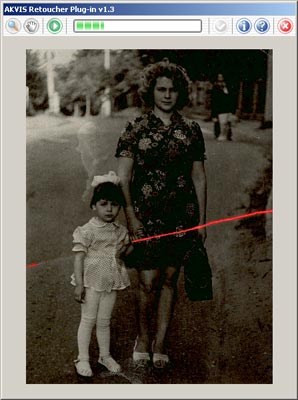
After Akvis Retoucher application the rupture line disappears but you can note a slight trace of the defect. To cover up the traces of retouching we will use Adobe Photoshop tools.
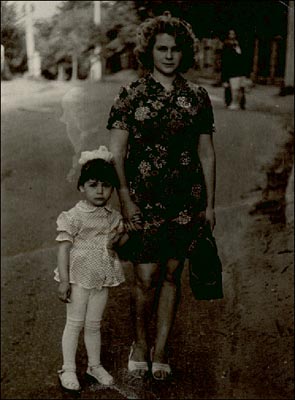
First we call the command Image - Mode - Grayscale to temporarily convert the image into grayscale. Later we will switch back to the original color range.
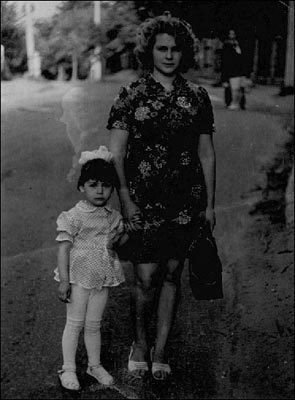
To continue editing the photo we convert it into RGB mode (Image - Mode - RGB).
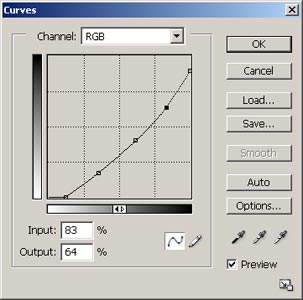
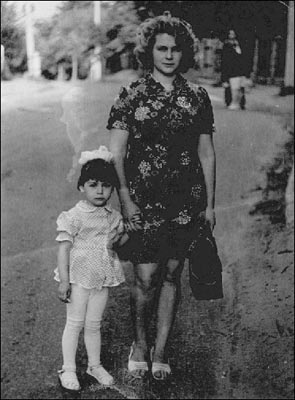
Then we adjust the color rendering by using the command Image - Adjustments - Curves so that the image becomes brighter.
We use ![]() Blur Tool and
Blur Tool and ![]() Clone Stamp to remove the rupture trace and the stain above the girl.
Clone Stamp to remove the rupture trace and the stain above the girl.
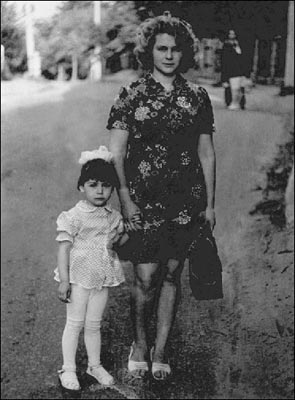
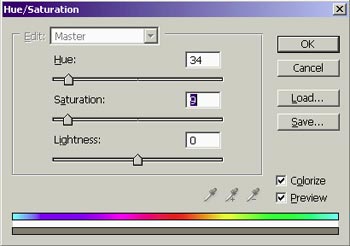
Now we can restore the initial color range. We open Hue/Saturation (Image - Adjustments - Hue/Saturation) dialogue box. We set new values for the parameters Hue (34) and Saturation (9) and activate the check box Colorize .
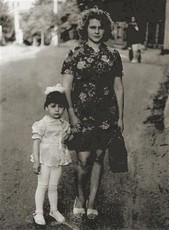
After all these manipulations we get a restored photo without a trace of ruptures and stains and with an enhanced exposure.
