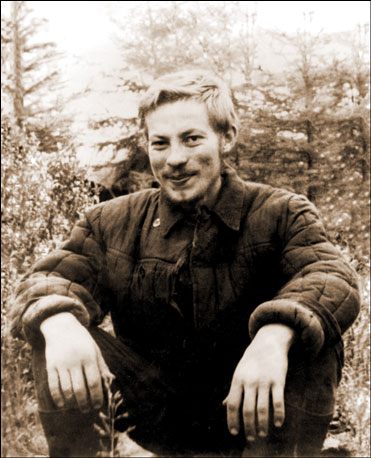
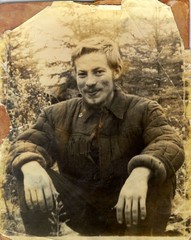
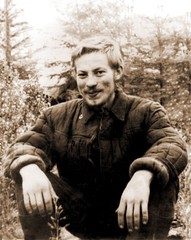
Badly damaged photo
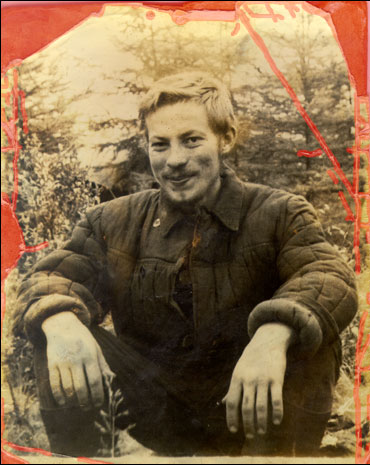
In the following example we will retouch a badly damaged photo. The photo is not only covered with numerous scratches and small defects, but its edges are jagged and torn. At first glance it seems that this photo is in such a state of disrepair that it is almost impossible to restore.
- Step 1. Open the photo in AliveColors. See the photo of the geologist in detail. The sad state of the photo suggests that it accompanied the author in all his traveling. The background is hardly visible but we can presume that the photo was taken in a forest.
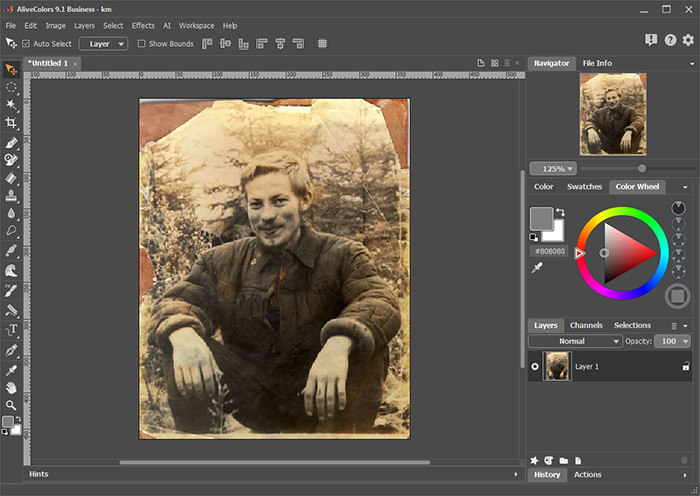
We will try to improve the photo using AKVIS Retoucher plug-in.
- Step 2. Call AKVIS Retoucher plug-in by selecting the command Effects -> AKVIS -> Retoucher in the menu. Then we should select the damaged areas of the image. You can do it with Selection Brush
 .
.
- Step 3. To start the restoration process press the button
 in the Control Panel of Retoucher.
The AKVIS Retoucher plug-in restored the missing parts of the background using the information about the surrounding pixels.
If needed, you can continue retouching the photo by selecting uneven parts and starting the plug-in once again.
When the plugin is through with its job, press
 to apply the result to the image.
- Step 4. You can touch up the photo using the retouching tools of AliveColors:
 - Blur (K);
 - Chameleon Brush (S);
 - Smudge (K).
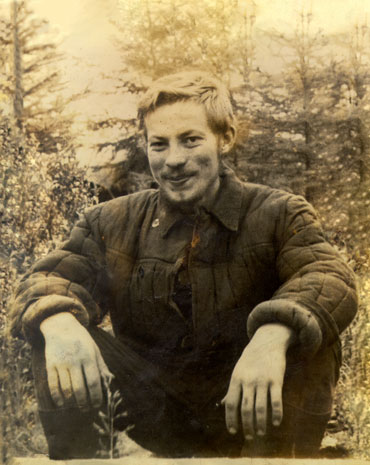
- Step 5. After application of AKVIS Retoucher the photo looks considerably better. The background is restored and scratches are removed.
However, we should bear in mind that it is a black and white photo and the stains we see on it are the traces of time. To bring the photo back to its original look we will convert it to grayscale by selecting the command Image -> Mode -> Grayscale in the menu.
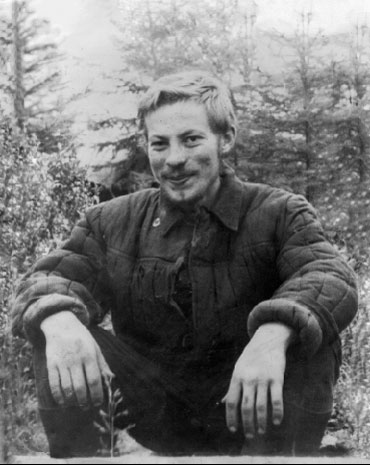
- Step 6. If we look at the photo more closely, we can still find some imperfections, for example on the man's face.
Let's try Retoucher once again.
We can select the minor defects in AliveColors, and then launch AKVIS Retoucher or we can select them in the Retoucher plugin with the Selection Brush
 .
.
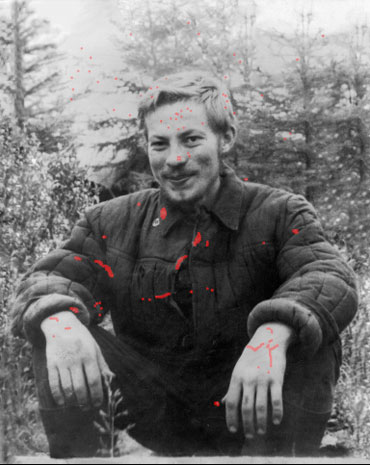
Process the photo in Retoucher once again by pressing
 .
.
- Step 7. We have a better photo, but excellence has no finish line. We can improve it a bit more using color correction tools. Convert the image to RGB mode to be able to use color correction tools: Image -> Mode -> RGB.
You can correct colors using the following commands:
Image -> Adjustment -> Levels;
Image -> Adjustment -> Curves.Then we will smooth the photo's surface using the Blur filter: Effects -> Blur -> Gaussian Blur.
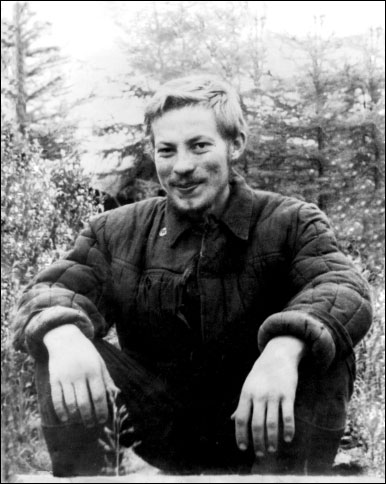
- Step 8. In the good old days photos were printed in Sepia tones, so, if we want our photo to be truthful, we should restore the original colors. To restore the original color range we will use the Actions palette. Select Sepia from the Actions palette.
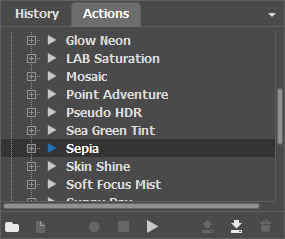
Press Play button
 in the lower part of the palette to start the process.
Here is the result:
Crop Tool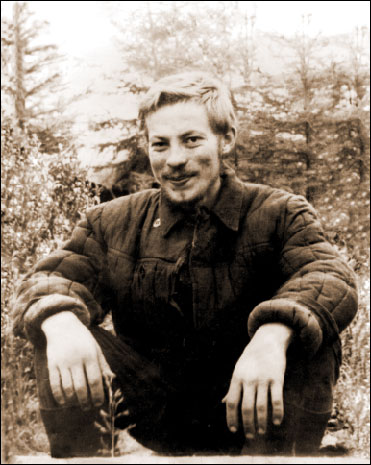
 (C). Use the frame to define the area that should remain and press Enter. The image areas outside the frame will be deleted.
