Day and Night: Learning the Basics of Using NatureArt
In this tutorial we will show the basics of using AKVIS NatureArt. You will see that just with this program you can take a pair rectangles and make two completely different images.
-
Step 1. Open the standalone edition of AKVIS NatureArt. Create the image with the light background (press
 ). We will draw a sea landscape on it.

-
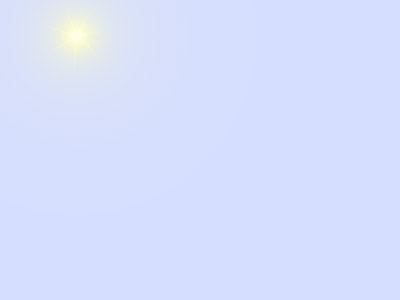
Step 2. First, draw a sun in the sky. Select the Sun effect in the Settings Panel. The image will be processed automatically using the default settings.

Change the settings to your taste.
-
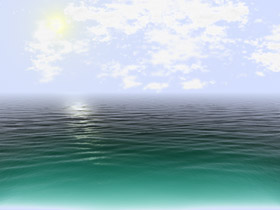
Step 3. Now choose another effect – Water. After processing with the default settings you will receive this result:
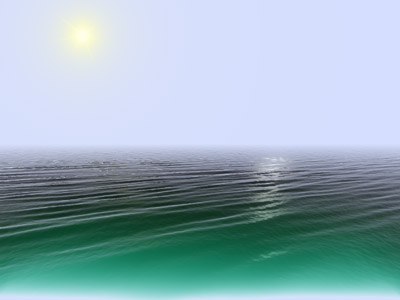
Experiment with the parameters. We moved the horizon line, change the color and other parameters for the water in the Waves tab.
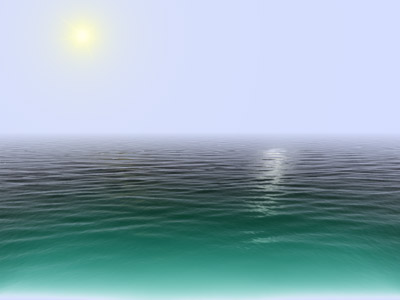
In the resulting image, the location of the Sun and its reflection on the water do not match. Open the Glare tab, change the value of Horizontal Shift and slightly increase the value of Vertical Shift.
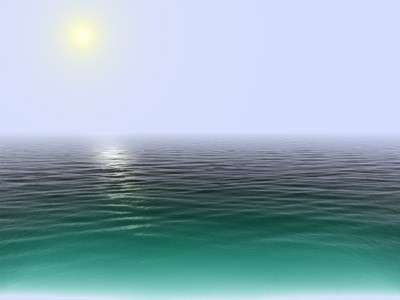
-
Step 4. Add some clouds to the sky, so that it will not look so empty. Choose the corresponding effect. Use the Selection Brush
 and the Selection Bucket
  to select an area to which the effect will be applied. Adjust the selection so that when the clouds are applied, they do not appear on the water.
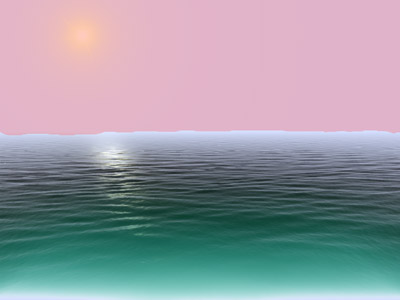
As before, the image is processed using the default settings.
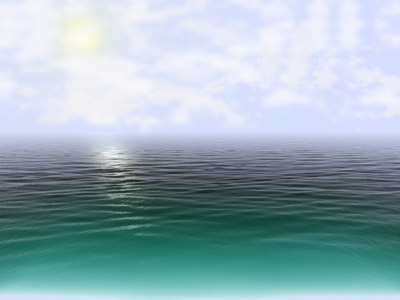
The clouds in the landscape appear to thick and are not very well-defined. Therefore, first reduce Cloudiness and Smoothness. Change some other parameters if desired.
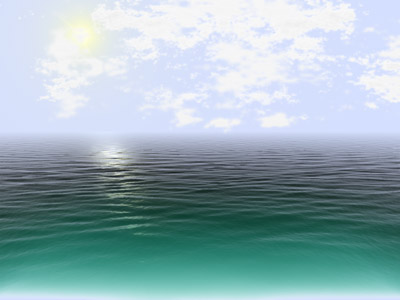
The first landscape is ready. Save it (by pressing  ) and begin working on the second image.
-
Step 1. The next image will a night scene, therefore create the dark background.

-
Step 2. As with the previous image, begin by adding a heavenly body. Since it is a night sky, it needs a moon. The only effect available is "Sun". But this is not a problem with NatureArt since a sun can easily be changed into a moon. Therefore, feel free to choose Sun from the list of effects. The result will be automatically processed as this:

Use the Transform tool
 to change the radius of the sun.
Now change the settings. First disable the drawing of rays. Then make the remaining adjusments (or select AKVIS Moon preset). Its seems to have worked. Here is the moon:
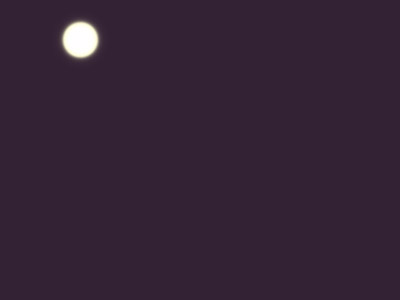
-
Step 3. Move the moon to another location, such as this one:

-
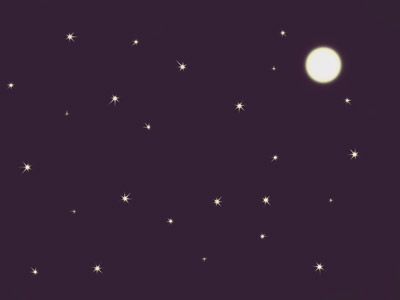
Step 4. There are not enough stars in this sky, so add some. Create the stars using two methods, to avoid monotony.
First Method: use the setting that has already proven itself before – Sun. After all, the Sun is also a star, just closer to us than any other.
Choose this effect and configure the parameters to your liking (or select AKVIS Star preset). Here is the first star:
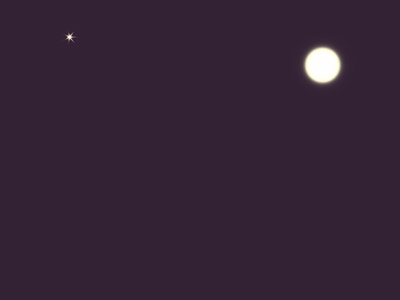
-
Step 5. Add more stars to the sky (just change the size and location):
-
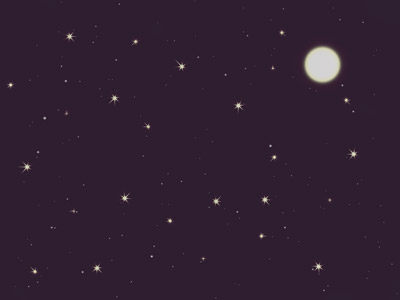
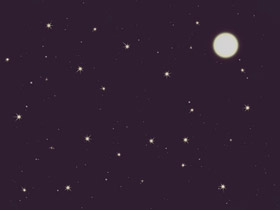
Step 6. Next add some stars using another method. This time select the Rain effect from the list. Only we will not get rain, just stars. Just make some changes to the parameters and apply the effect to the image. Here is a starry sky:
