Quicktime Transition
あいにく, このページは英語にだけ使用可能です。
The author of this tutorial is Andre Villanueva.
In this tutorial, we are going to use AKVIS Sketch with Photoshop (CS4+) to easily create a QuickTime movie that starts out with a sketch and transitions to a full-color photo!
Materials needed:
- Photoshop CS4+;
- AKVIS Sketch (This tutorial assumes you have installed as a plug-in);
- QuickTime plug-in;
- A model photo.
 |
 |
-
Step 1. Start with a model photo.
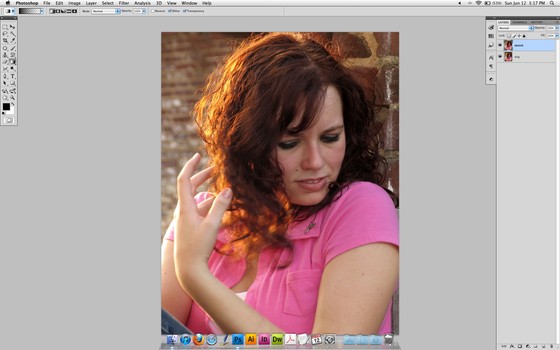
Original image -
Step 2. With that layer active, press
 +J (Mac) / Ctrl+J (Windows) to quickly make a duplicate. Name the duplicate layer “Sketch.”
-
Step 3. With the “Sketch” layer still active, go to Filter -> AKVIS -> Sketch.
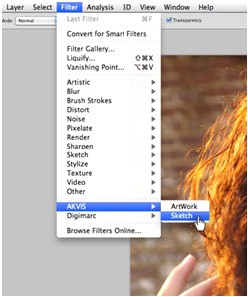
Call AKVIS Sketch plug-in -
Step 4. You will now be taken to the AKVIS Sketch interface. Use the handy presets drop-down to select some nice pre-configured settings. Don’t be afraid to fine-tune the settings. I chose AKVIS Default.
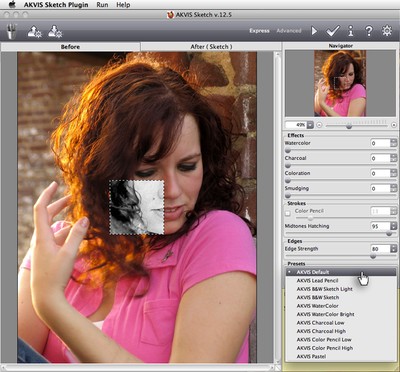
AKVIS Sketch window -
Step 5. Click the After tab. Aftera few moments of rendering, you will see how the image will look after the current settings are applied. If you are satisfied, click
 . If not, continue to tweak the settings.
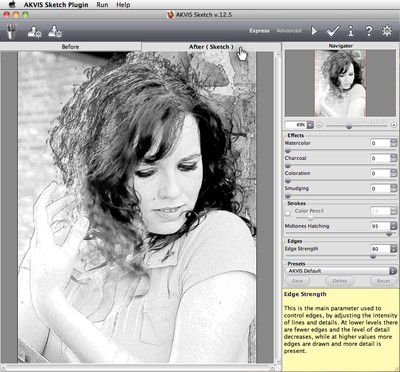
Processed image - Step 6. You will now be back in Photoshop, and the AKVIS Sketch filter will be applied to the “Sketch” layer.
-
Step 7. Let’s open up the Animation panel. Go to Window -> Animation.
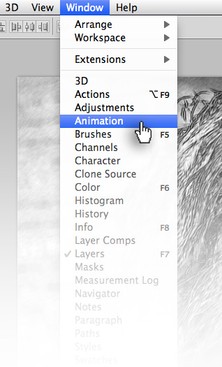
Open up Animation panel -
Step 8. If the Animation is in Timeline mode, open up the panel menu and choose Convert to Frame Animation. You will see one frame, and the thumbnail should reflect the active “Sketch” layer.
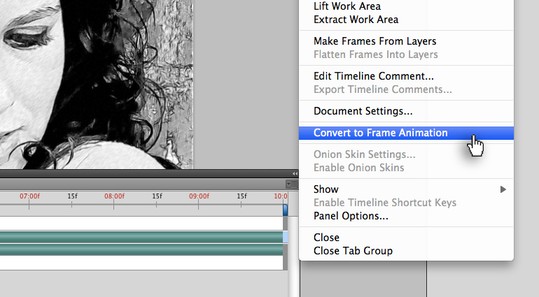
Panel menu -
Step 9. You will see a time delay setting below the frame. Make sure that is set to 0.1 sec. Also, on the bottom left of the Animation panel, the Loop setting should be set to Once.
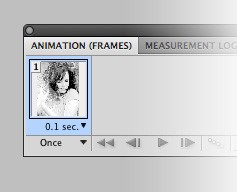
Frame settings -
Step 10. Click Duplicate Selected Frame to make your second frame. Toggle off the visibility icon to the left of the “Sketch” layer in the Layers panel. The second frame in the Animations panel should now reflect the original photo layer.
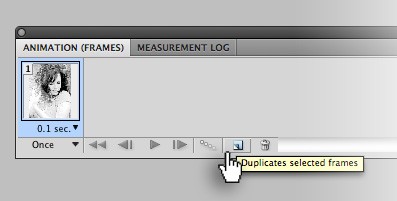
Duplicate Selected Frame -
Step 11. With the second frame still selected, click the Tween icon at the bottom of the Animation panel.
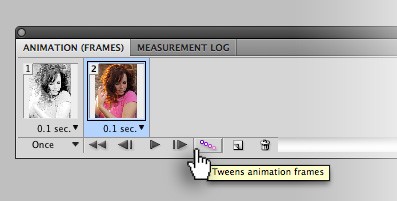
Tween icon -
Step 12. A window will appear. Make sure to Tween With: Previous Frame. Set the Frames to Add: 10.
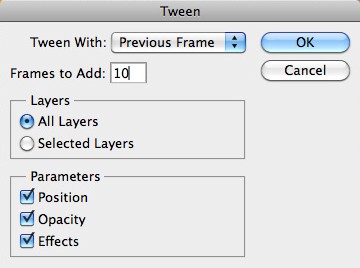
Tweening - Step 13. You will see that 10 frames will be added in between the two initial frames, for a total of 12 frames.
-
Step 14. Go to File -> Export -> Render Video.
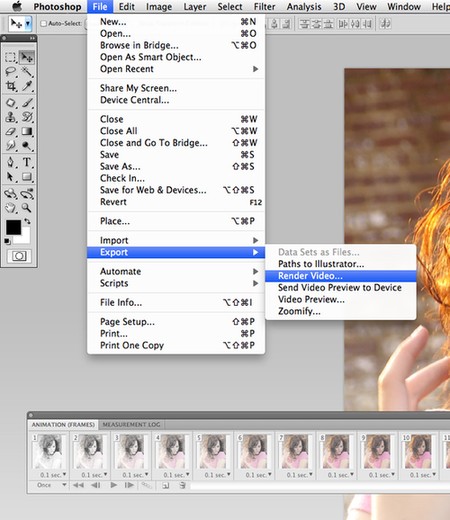
Export -
Step 15. Name your video, choose your save destination, leave the settings to default (unless you are an expert), and click Render.
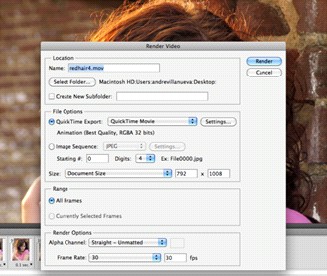
Render video -
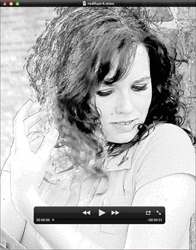
Step 16. You will now have a QuickTime movie that shows your AKVIS Sketch blooming to full photographic beauty!
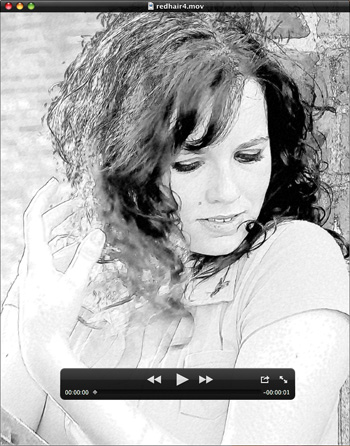
Result
