Comics From Toy Superheroes
The author of this tutorial is T. Skaarup.
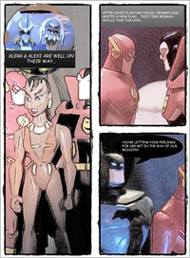
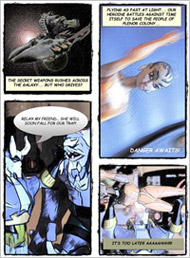
Using Adobe PhotoShop, PhotoScape, and the AKVIS Sketch plug-in he created a story about superheroes and presented it in the form of comics.
 |
 |
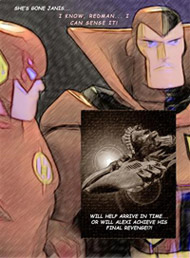 |
| Click to open in a larger window | ||
-
Step 1. The creation of comics begins, of course, with a script, and once that is finished, all that remains is to take a series of regular photographs.
The main protagonists are the superhero action figures. Their vehicle is a spacecraft (which, of course, is also a toy).
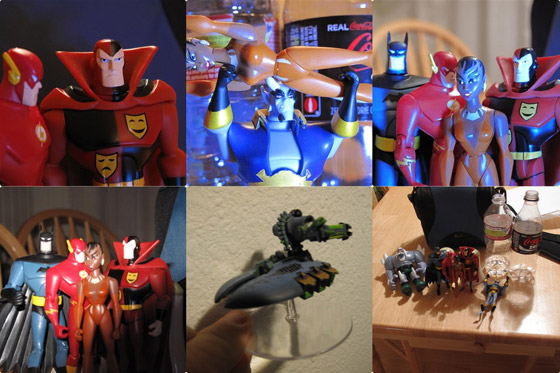
We'll use some everyday objects for the scenery: a camera bag, salt and pepper and two empty bottles. To create the lighting effects we'll use an ordinary flashlight.
-
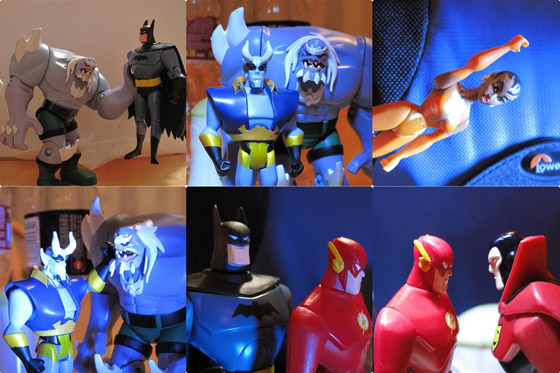
Step 2. Arrange the action figures in interesting poses. Use the flashlight to produce dramatic lighting. Since the toys are rather small and will be photographed at close range, use the Macro mode on your camera.
Here are some samples of snapshots:
-
Step 3. Edit original photos in Adobe PhotoShop.
You can use Filter -> Blur -> Motion Blur to simulate motion.
Backgrounds can be removed and replaced or a Gaussian Blur applied to make them appear more exciting.
Try using Light Effects & Flares (Filter -> Render -> Lens Flare) on solid colors layers.
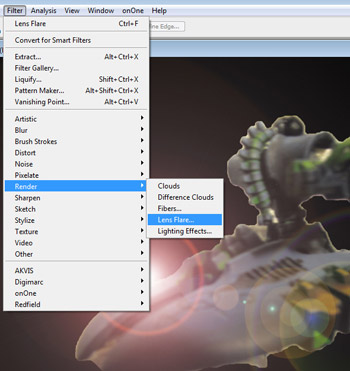
Some images benefit from using other photoshop filters prior to converting to a sketch. Consider using Filter -> Artistic -> Dry Brush to simplify the colors and reduce detail.
-
Step 4. Next use AKVIS Sketch to convert to roughly-drawn sketches (Filter -> AKVIS -> Sketch).
Settings for Sketch vary from image to image. The author writes that he tends to use a higher Charcoal, higher Midtone Intensity, and longer Minimum Length to achieve a quickly hand drawn look. He also recommends Edge Tracing to be "on". Adjust the Midtone Hatching as necessary.
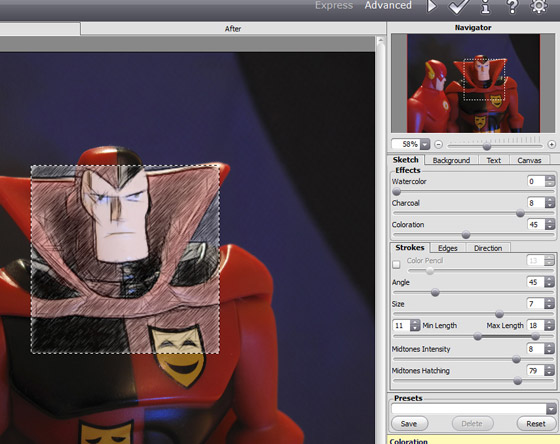
Press
 to begin processing the image. If you are satisfied, apply the result by pressing
  .
.
-
Step 5. Crop the image, if necessary, with the graphic editor's Crop Tool
 .
To obtain a circular image use the Elliptical Marquee Tool
  .
.
Here are a few examples after editing:

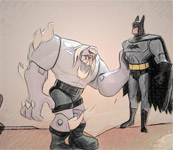
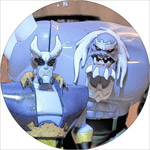
Save the images under a new name (File -> Save as).
-
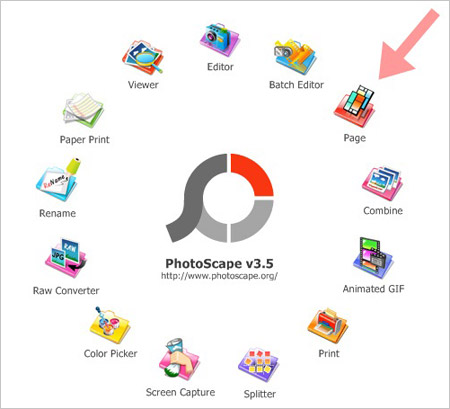
Step 6. Use PhotoScape’s Page feature to compose the page mock-ups.
PhotoScape is a free open-source basic photo editing program available from photoscape.org. For our purposes we’ll only focus on the Page feature.
-
Step 7. A quick tour of Photoscape: Page allows you to make a page collage by placing individual images into different cells.
You can choose the "template" from the gallery on the right side of the screen (red arrow).
Click on the little acorn (seems odd) to set the page size. The default is 400x400 pixels which is too small. Set the size to 1620 wide by 2200 high.
To place image, click directly on a cell and a dialogue box will open asking for the directory of the image you’d like.
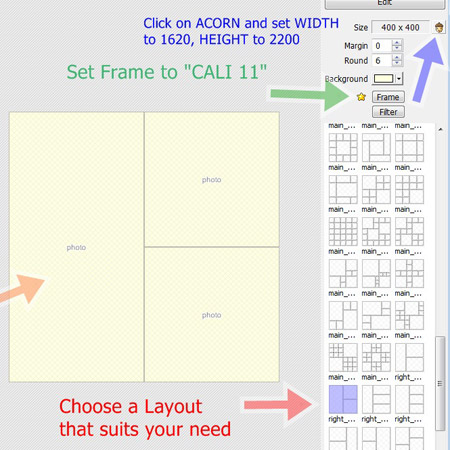
Once all images are placed change the Frame – try using "Cali 11".
Here is the result for one page:
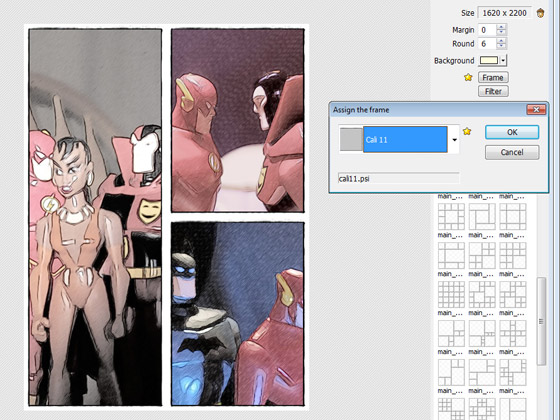
Save this image under a new name.
-
Step 9. Now we just need to add some text. We can do that here, in PhotoScape or in another editor.
If you decide to use PhotoScape, use Editor (to add a rectangular background under the text) or the Batch Editor (to add a circular background).
Text can be added to both of these backgrounds. Use the Comic sans font. The best combinations are black text on a white background or white text on a black background.

That's it. Here's the completed first page of the comic:
Create the remaining pages in the same way.
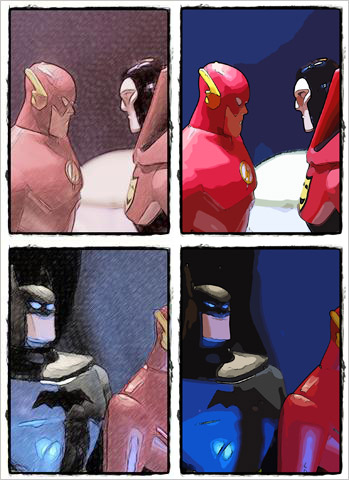
We decided to follow the initiative of the author, and process the images using a different method. Instead of using the AKVIS Sketch, we used AKVIS ArtWork (with the Comics style, of course).
Compare the results. On the left, there is an image created with AKVIS Sketch, and on the right, one made with AKVIS ArtWork:
