Making Your Own Frames
The author of this tutorial is Irina Vesnina.
With AKVIS ArtSuite you can create your own frames, choosing a classic frame or pattern.

Original Image
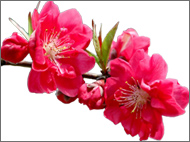
Sample for a Frame

Result
Classic Frame
Step 1. Prepare the image you want to use as a frame. A picture of any size, in the JPEG, BMP, TIFF or PNG format can be used as a texture. For example, this:

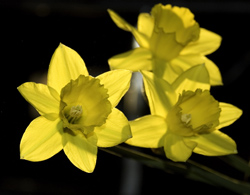
Texture Samples
Step 2. AKVIS ArtSuite (standalone). Open an image, from which you want to make a frame, by double clicking in the blank area or pressing ![]() in the Control Panel.
in the Control Panel.
Step 3. Select the Classic Frame type in the Settings Panel.
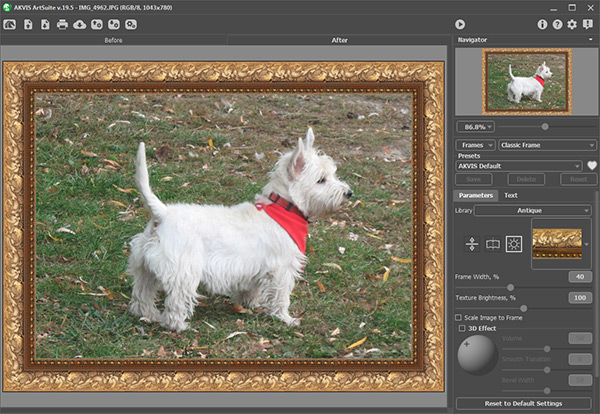
Original Image in AKVIS ArtSuite
The Library contains a rich collection of textures and patterns grouped in sets.
To load your own texture into ArtSuite, select <Custom>… in the list.
This will open the dialog to load your own texture.
Step 4. Use the settings to resize, mirror the texture, adjust brightness, or flip the frame vertically to change the frame's appearance.
Here is the result:


Frame Variants
Pattern Frame
Step 1. Prepare the image which you will use for the frame. For best results, use a square image in the PNG format with a transparent background. If you have no such images, you can choose any other, such as:


Texture Samples
Step 2. Start AKVIS ArtSuite (standalone). Open the image which you want to use in the frame by double clicking in the blank area or pressing ![]() in the Control Panel.
in the Control Panel.
Step 3. Choose the Pattern frame type from the Settings Panel.
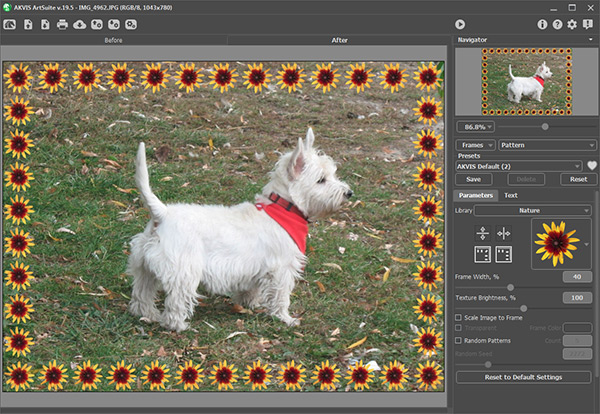
Original Image in AKVIS ArtSuite
To load your own texture into ArtSuite, select <Custom>… in the list of the Library.
This will open the dialog to load your own texture.
Step 4. Adjust the settings to rotate the texture, add a frame color, or adjust brightness to change the appearance of the frame.
Here is the result:


Frame Variants
