Magic Window
The author of this tutorial is Tammy Russotto.
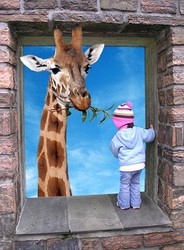
The imagination of a child often grants ordinary objects magical properties, and even a window can become the source of surprising discoveries, if you look at it through the eyes of a child. In her tutorial Tammy Russotto demonstrates how the AKVIS SmartMask plug-in can be used to create extraordinary pictures.
-
Step 1. Open the image (photo of the giraffe) in the photo editor AliveColors. Select Layer -> Duplicate from the menu to make a copy of the layer and start the AKVIS SmartMask plug-in by clicking on Effects -> AKVIS -> SmartMask.
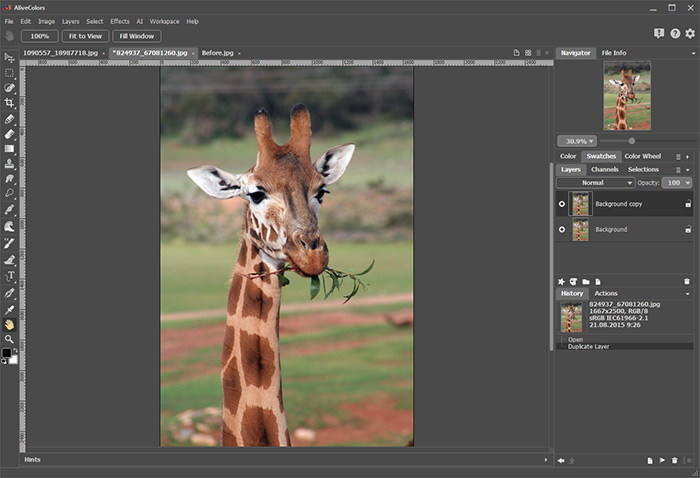
Image of Giraffe -
Step 2. Choose the plug-in’s mode (it is best to start with Auto mode).
Use the Drop Area Pencil
 to draw over areas that you want to delete (in this case the background behind the giraffe).
Use the Keep Area Pencil
 to outline the image you want to save (the giraffe).
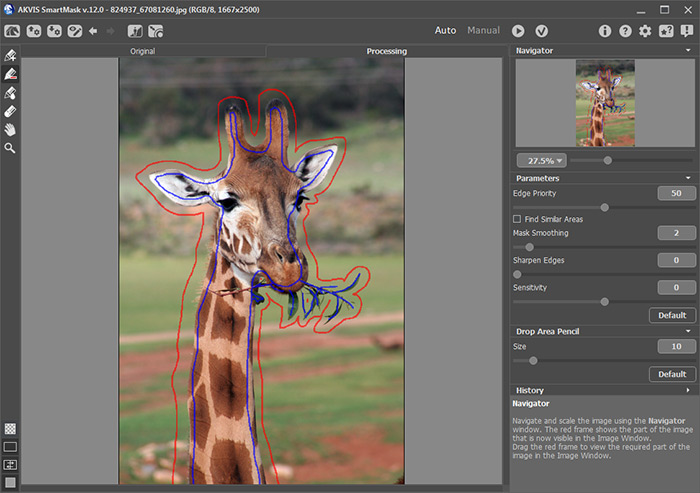
Workspace of the AKVIS SmartMask Plug-in -
Step 3. Press the
 button to start processing the image.
Adjust the "furry" border of the image with the Transition Area Pencil
 .
.
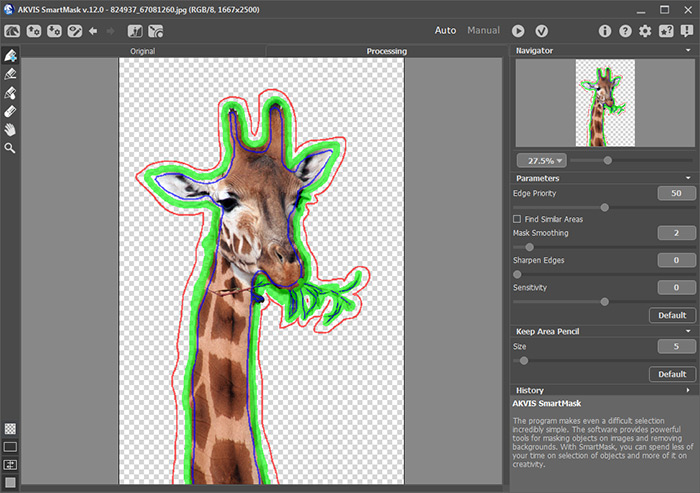
Selection of the Image Boundary in Auto ModeThe result will be shown on a transparent background.
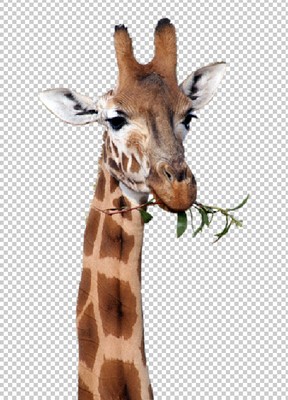
Image On Transparent Background -
Step 4. Press the
 button to apply the results and return to the photo editor.
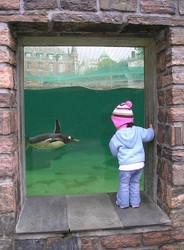
- Step 5. Open the second image (window and girl) in the photo editor, make a copy of the layer and start the AKVIS SmartMask plug-in (as in Step 1).
-
Step 6. Use the red pencil
 to select the area to be removed (image in the window), and the blue pencil
  to select the area that needs to remain (the window itself and the girl).
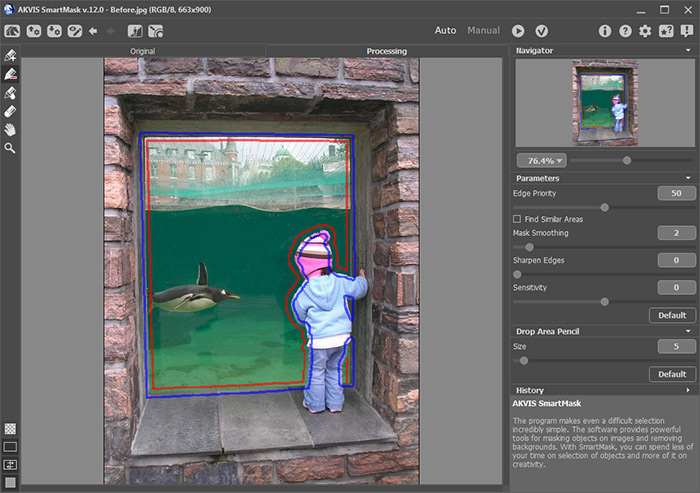
Pencil Strokes in Auto Mode -
Step 7. Start processing the image by pressing the
 button.
The edges are too rough. To resolve this you can increase the Mask Smoothing parameter to 10 and restart processing.
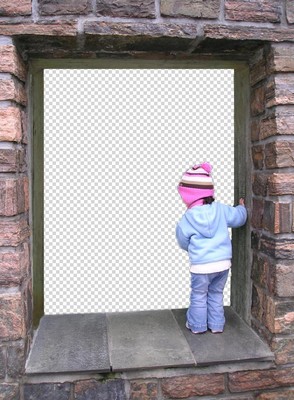
Image With Transparent Background -
Step 8. Press the
 button to close the plug-in window and send the image to the photo editor.
-
Step 9. Open an image in the photo editor that will serve as a background (blue sky). The girl and giraffe can be placed here:
- Switch to the window with the image;
- Choose the command Select -> Select All from the menu (highlight the active layer);
- Copy the selection to the clipboard (command Edit -> Copy);
- Switch to the window with the sky;
- Paste the fragment on a new layer (command Edit -> Paste).
As a result, all three images will be in one file, and the layers palette will look like this:
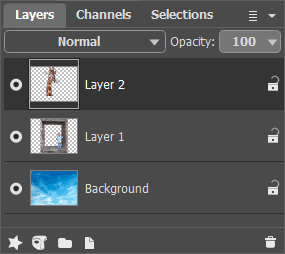
Layers Palette -
Step 10. Once the images are brought together, it is necessary to reduce the size of the giraffe, which turned out to be too large for the window. To do this, find the layer with the giraffe (Layer 2), choose the command Edit -> Transform -> Scale from the menu and pick the appropriate size manually or in the Settings Panel specify values for the parameters W and H as a percentage of the original size (e.g. 25%).
Move the giraffe to the left of the window and apply the transformation (press Enter or press the OK button).
-
Step 11. Combine all the layers into one: Layer -> Merge All.
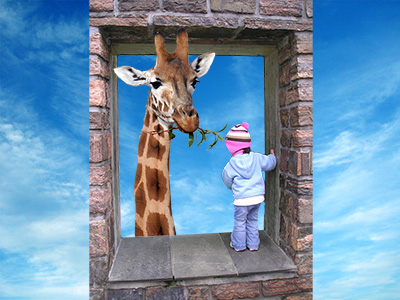
Creation of Collage -
Step 12. Remove excess areas with the Crop tool
 .
.

Result
