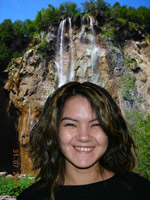
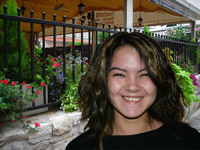
Separate A Person From A Photo
The example was made in the old version of SmartMask. Now, you can achieve this effect more easily with the new AI-based tools.
AKVIS SmartMask lets you select objects on images and remove backgrounds.
We've tried to use both modes and as many tools as possible to get you acquainted with the program.
The procedure took 10 minutes.
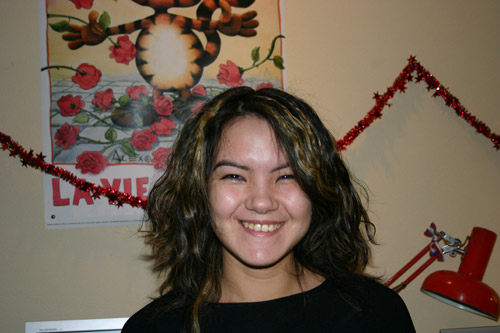
| ||
| The original image | ||
 |

|

|
| Different background images. Click to open in a larger window. |
||
This example has been created in AliveColors, but you can use any other photo editor compatible with AKVIS SmartMask plugin. Alternatively, you can use the standalone version of SmartMask.
-
Step 1. Open an image in your photo editor.
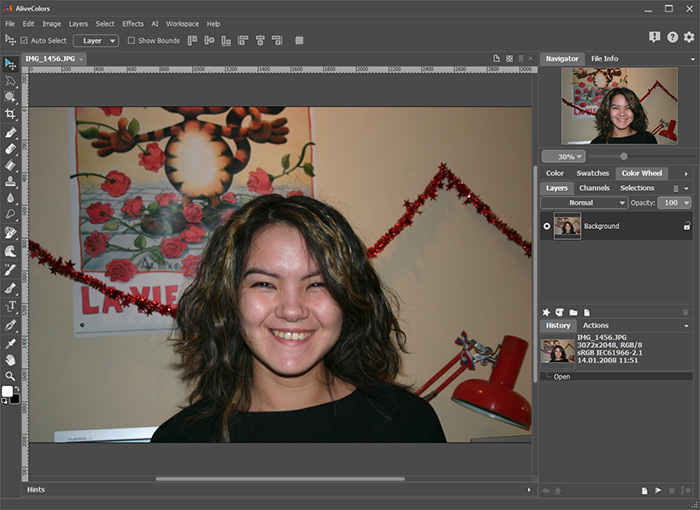
- Step 2. Copy the image to a new layer (Layers -> Duplicate).
-
Step 3. Call AKVIS SmartMask plugin. For this purpose select the command Effects -> AKVIS -> SmartMask.
By default the plugin uses the Auto mode.
-
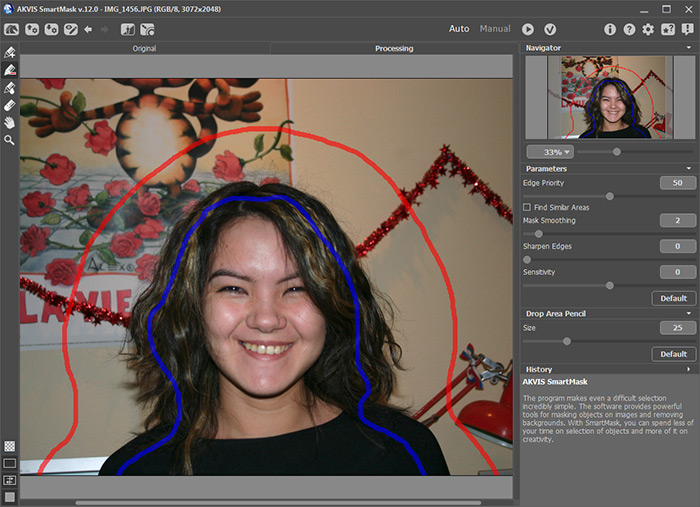
Step 4. Use the Keep Area Pencil
 to draw an outline within the girl's figure.
Use the Drop Area Pencil
 to outline the background.
-
Step 5. Press the button
 to start processing the image.
The program will take into consideration the drawn outlines and generate two zone types: the area marked with the red pencil will be deleted (the points in this area have Transparency = 100%), the areas marked blue will be kept (the points in this area have Transparency = 0%).

The clothes have been cut out very well, but in general the result does not fully satisfies us. We continue our work.
-
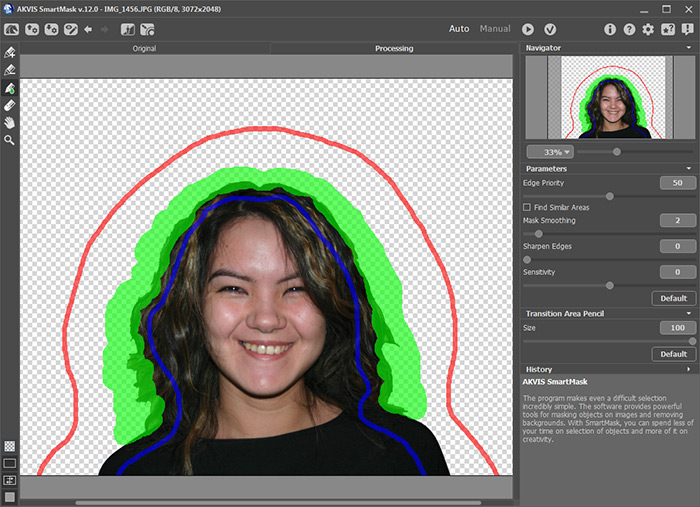
Step 6. Choose the Transition Area Pencil
 , increase its size, and draw over the complex areas (the hair).
-
Step 7. Click on
 to start processing the image again.
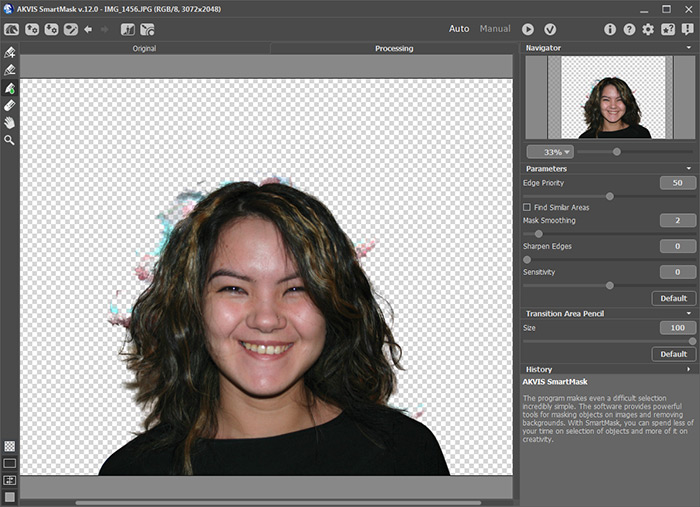
The result is much better indeed. Now we have to remove the stains on the background.
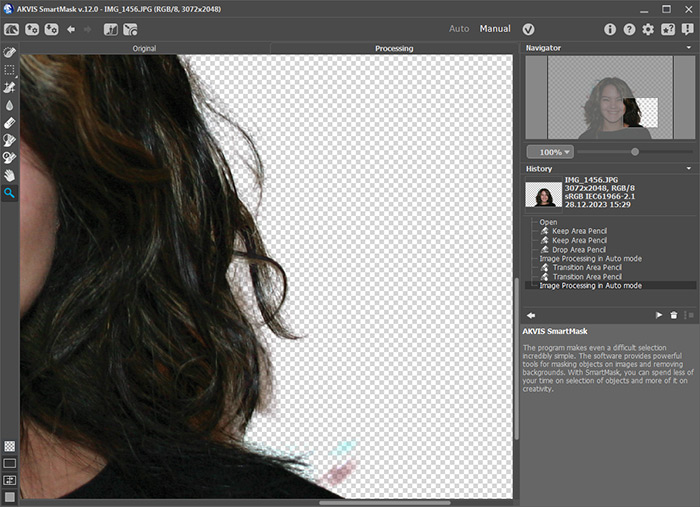
- Step 8. Switch to the Manual mode. Here we can improve the result.
-
Step 9. Use the Zoom
 tool to scale up the image and work with the problem areas.
-
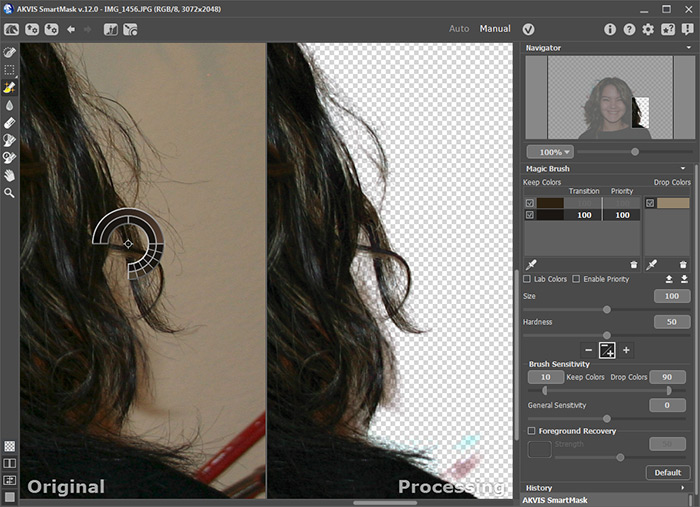
Step 10. Switch to the workspace mode that shows the original image and the result in two windows side by side.
Activate the Magic Brush
 and use the eyedropper tools
  to pick up the colors for the Keep Colors and Drop Colors lists. Choose the color of the hair for the Keep Colors list and the color of the wall behind the girl for the Drop Colors list.
-
Step 11. The Keep & Drop mode is enabled.
In this mode, the Magic Brush
 removes the points having the same colors as those listed in the Drop Colors field and colors close to them, and restores the points having the same colors as those listed in the Keep Colors field and colors close to them.
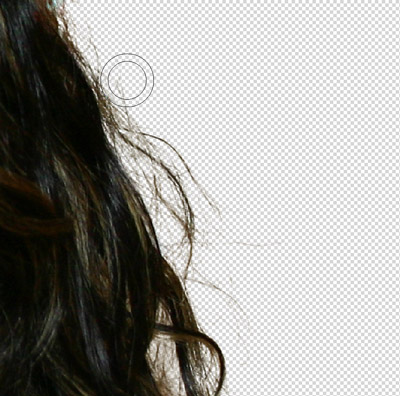
Draw over the hair using the Magic Brush tool.
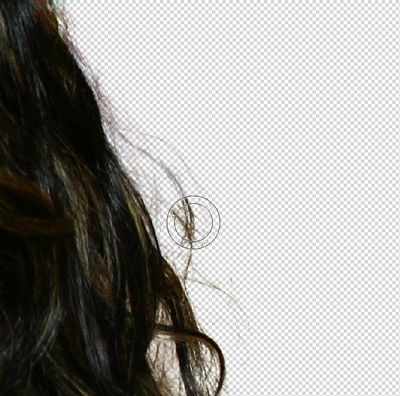
Here is the result:
-
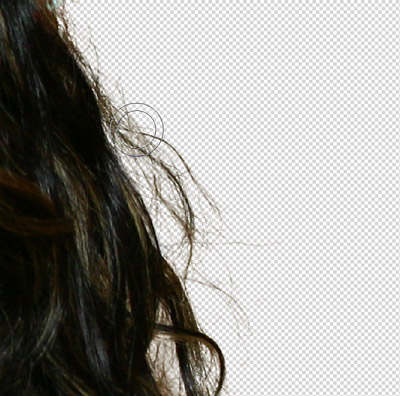
Step 12. We can improve the result further.
Increase the value of the Sensitivity parameter of the brush and draw again over the hair.
-
Step 13. Now enable the Foreground Recovery check-box and choose the umber color.

Use the Magic Brush again. Now the hair looks natural!
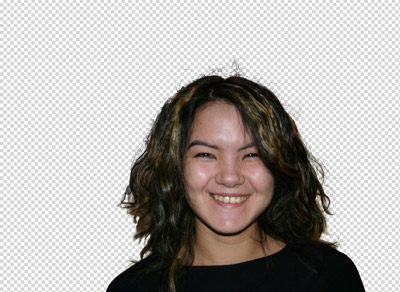
-
Step 14. Press the button
 to apply the result.
Now you can add any background and enjoy the result.
