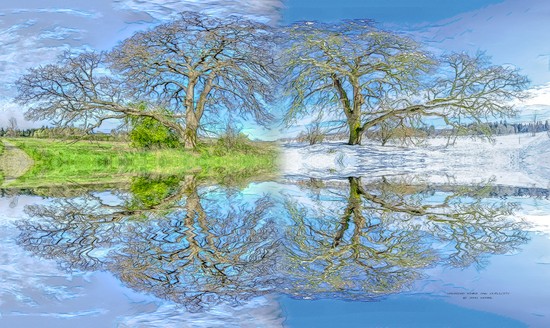
Reflections on the Garry Oak
The author of this example is John Moore (Canada).
He hopes, that it gives readers some post production ideas to explore. He used Adobe Photoshop but many of these things will work with Photoshop Elements or other programs that use layers.
 |
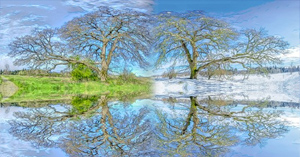 |
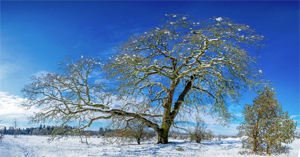
| Original Image | Result |
Below is a beautiful Gary Oak tree near the Nanaimo River. I shot this in the fall with most leaves gone to capture the beautiful branch formations. I had to do it with my pan head and stitched the images together. All HDR images were batch processed in Photomatix then stitched together in Photoshop.
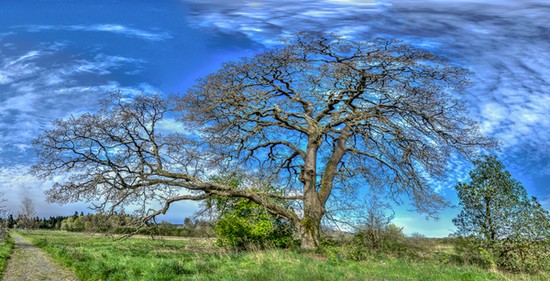
Autumn
Recently it snowed here in Nanaimo and I went quickly down to the river as soon as the roads were good enough and shot the same tree again with snow on the branches:
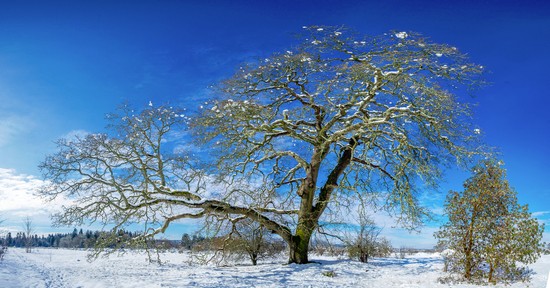
Winter
I wanted to create something interesting with these two different season images. This is a brief tutorial that shows you my process and the results.
My starting idea was to put the two versions side by side and I did this by flipping one horizontal in Photoshop then opening the other. Both images were sized the same so I created a new canvas twice as wide and also twice as deep because I wanted something below the two trees so I didn't have a very narrow pan look. I copy and pasted the layers onto the new canvas:
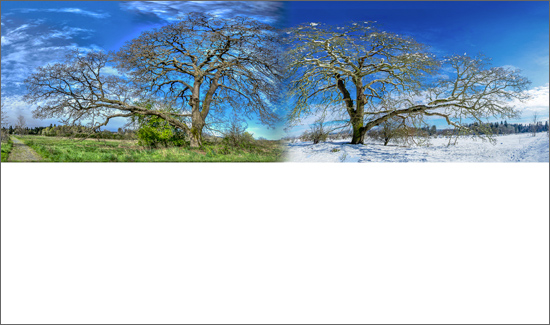
New canvas size
I then moved the photos till they overlapped and the trees were just touching. I opened a layer mask and used the gradient filter to fade one image to transparent into the other just on the edge. This is not a perfect blend but thats not easy with two shots taken with different clouds etc. So what to do with the bottom half of the image? Well, the Nanaimo River is nearby so why not create a reflection as though they were on a river bank? I happen to own a Flaming Pear plug-in called Flood for Photoshop that can be used to easily create reflections:
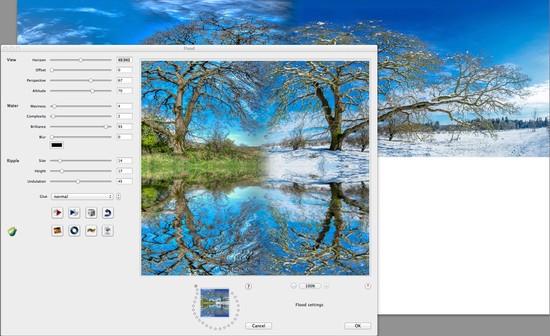
Image reflection generator
And the result is...
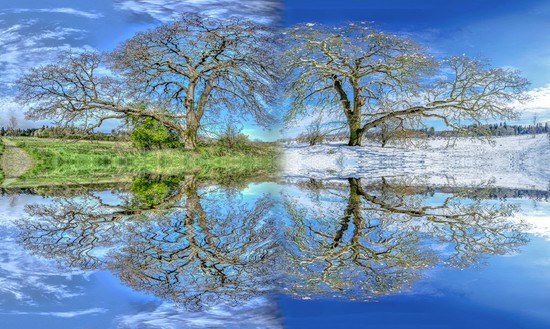
I created a copy of the layer and turned it into sketch using AKVIS Sketch plugin.
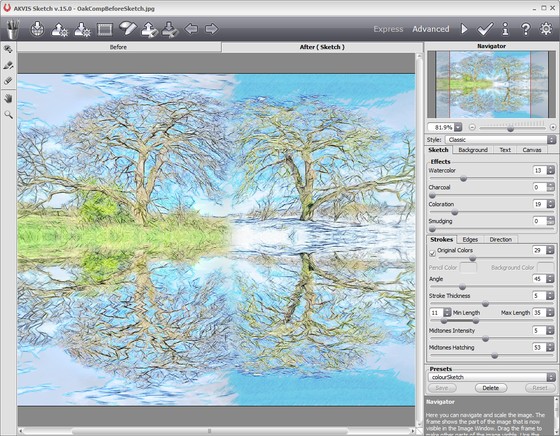
Workspace of AKVIS Sketch
Now I blend the opacity of each of the two layers in Photoshop until I get (click to enlarge):
