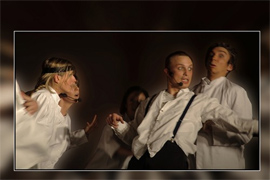
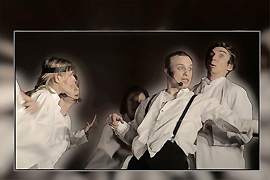
Gala Evening
The author of this article is Eugène Ponsaerts (Belgium).
This photo was taken at a gala evening. The author wanted to emphasize the artistic nature of this scene even further, so he chose to make a drawing from the photo using AKVIS Sketch.
-
Step 1. This picture was taken without flash. The camera is a Canon 5D Mark II with a zoom 28/135, an aperture of F5.6 and exposure time of 1/60sec. ISO = 1600.

Original photoThis original picture is first edited with AliveColors. After various operations, here is what I had:
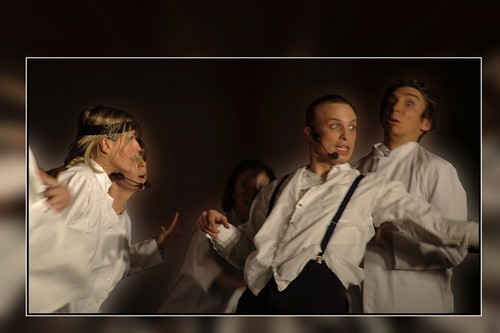
Framed photoFrom this basic picture, we will make an image somewhere between a pencil sketch and a pastel drawing using AKVIS Sketch.
-
Step 2. With AliveColors: you must first save this basic image on your disk File -> Save as, then select it with the command Select -> Select All and do Edit -> Copy to make a copy in memory. Then, if you use AKVIS Sketch Plugin, go to Effects -> AKVIS -> Sketch.
If you use Sketch standalone, you do not need to quit AliveColors, but you should minimize it before opening the last saved image in AKVIS Sketch standalone. AKVIS Sketch is very easy to use, it gives the user the choice of many functions to express their imagination.
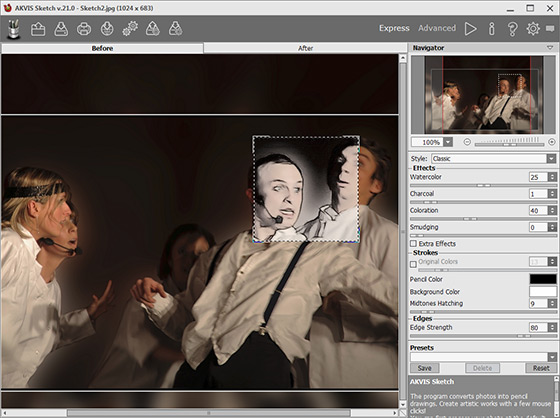
The AKVIS Sketch window -
Step 3. We want an image with well defined borders. The goal is to use the resulting image as a layer in AliveColors and to vary the overall opacity ratio. Using this method we'll get an image with more natural color and relief than if we processed it only with AKVIS Sketch.
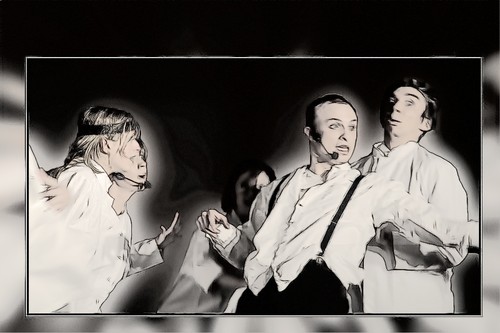
Pencil drawingIn the standalone mode, we save it because we will later open it (File -> Open) and use it in AliveColors as the first layer.
-
Step 4. You have to restore the basic image copied into the memory (Step 2) by the Edit -> Paste. Now, you will have two layers, the sketch image and the basic one with which the opacity can be adjusted to your taste. Look below at the result and compare.
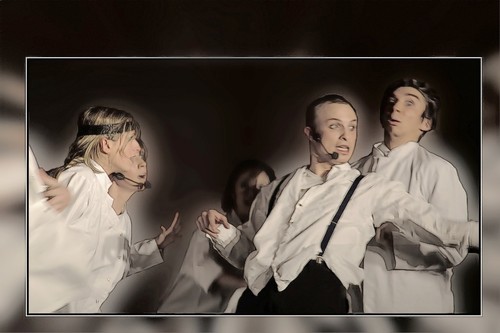
Result
