Pencil Sketch of a Pet
This brief tutorial by David Kelly explains how AKVIS Sketch was used in conjunction with Paint Shop Pro 9 to create a realistic looking colour sketch from an existing photograph.
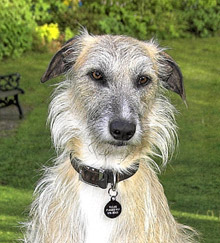
Source image
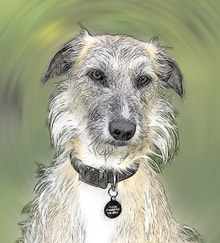
Result
The author writes:
"Although this example was created with AKVIS Sketch plug-in used in conjunction with Corel Paint Shop Pro 9, similar results can be obtained with other compatible image editing software packages. Download the unrestricted AKVIS Sketch ten-day free trial and try Sketch out for yourself. You will not be disappointed."
Note from the AKVIS team:
Moreover, the current version of AKVIS Sketch allows achieving such a result without using of a photo editor. With the Background tab you can blur some parts of the image and imitate a blend of the original photo and the drawing. Now you can work with the standalone edition as well as with the plugin version.
Let's follow the steps David described:
-
Step 1. I opened the original photo in PSP9.
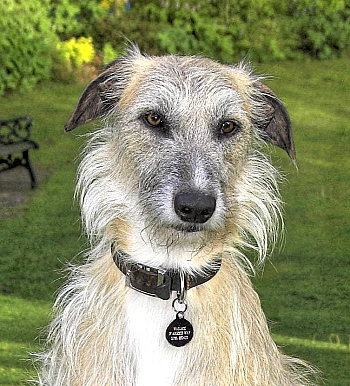
Original photograph - Step 2. Then I used PSP9's freehand "point-to-point" selection tool to select the dog.
- Step 3. Saved the selection to an Alpha channel; Selections - Load/Save Selection - Save Selection to Alpha Channel - name then save. Saving a selection makes it easy to recall without having to redraw the selection if a mistake is made.
- Step 4. Named and saved image as a Paint Shop Pro image file.
-
Step 5. Inverted the selection, Ctrl+Shift+I. This transferred the selection from the dog to the background area enabling it to be edited separately from the foreground image, i.e. the dog. Next a radial blur effect was applied to the background.
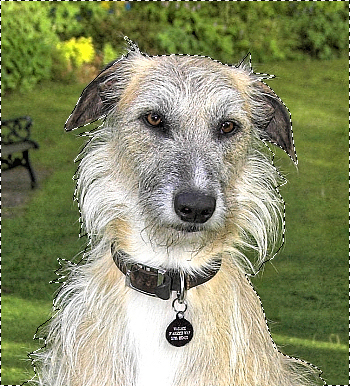
Background selected -
Step 6. Selected Adjust - Blur - Radial Blur, then entered these settings:
- Blur type = Spin.
- Blur strength (%) = 21, plus Elliptical selected.
- Center: Horizontal offset (%) = 0, Vertical offset (%) = 0, Protect center (%) = 19.Named and saved the radial blur settings as a preset then clicked OK to apply the radial blur effect to the image's background and to return to PSP9's workspace.
-
Step 7. Removed the selection, Ctrl+D.
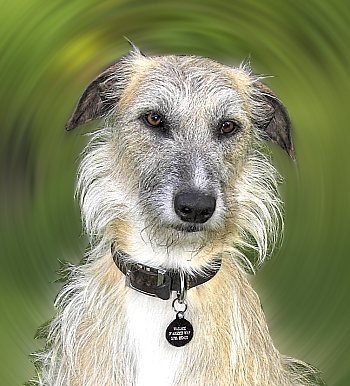
Selection removed - Step 8. Called AKVIS Sketch from within PSP9 - Effects - Plugins - AKVIS - Sketch.
-
Step 9. Left clicked Sketch's Run button
 to initially apply its default settings.
-
Step 10. Adjusted each of Sketch's Effects and Strokes field's slider controls individually.
These adjustments produced the final parameter values seen below:
- Watercolor = 10,
- Charcoal = 2,
- Coloration = 100,
- Angle = 45,
- Size = 6,
- Min Length/Max Length = 3/10,
- Midtones Intensity = 1,
- Midtones Hatching = 4,
- Sharpen = 14. -
Step 11. Once satisfied with the final result left clicked Sketch's Apply the result to the image button
 . This closed Sketch to reveal PSP9's workspace containing the finished colour sketch image, which can be seen below.
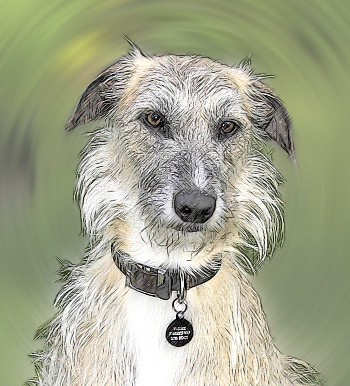
The completed colour sketch - Step 12. Named and saved the completed colour sketch as a Tiff image file.
