Wedding Album: From Retro To Today
あいにく, このページは英語にだけ使用可能です。
The author of this tutorial is Sergey Siman.
This photograph was taken in April, 1982. At that time, color photography (except color slides) was not so common. It is very pleasant to revive memories from one's youth, to once again recreate the atmosphere of joy and happiness in all of its colors. According to the author, using AKVIS Coloriage AI saved a lot of time and yielded an excellent result. The hardest part was remembering the original colors of the clothes and accessories.
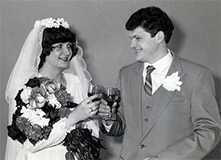 |
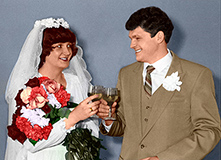 |
Follow these steps:
-
Step 1. Start the standalone version of AKVIS Coloriage AI and open the image (using the
 button).

Black And White Wedding Photograph -
Step 2. Use the Pencil
 tool to draw color strokes around the boundaries of objects. Colors for various elements can be chosen from the Color Library. To prevent some areas from being colorized (the dress, veil, collar) use the Keep Color Pencil
  tool.
tool.
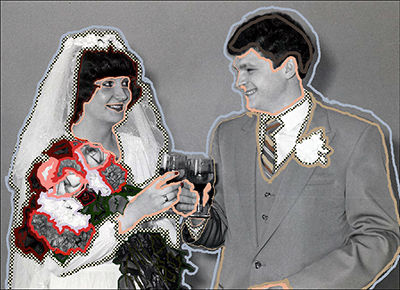
Marking Color Stokes -
Step 3. Press the
 button to process the image.
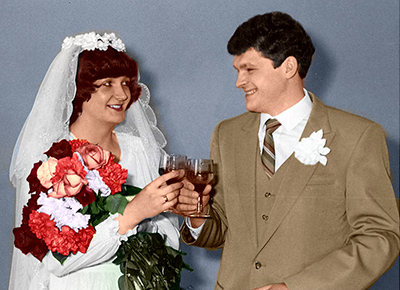
Colorization Result -
Step 4. Now while in the After tab, use the Recolor Brush
 tool to correct details in the picture - for example, by drawing a white line around the teeth, drawing around the wedding ring in yellow, etc.
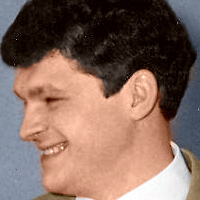
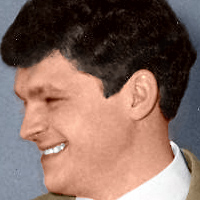
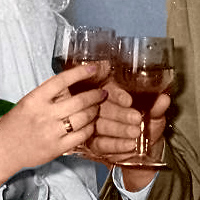
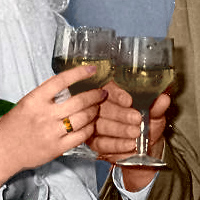
Refining Image Details -
Step 5. Press the
 button and save the final image.
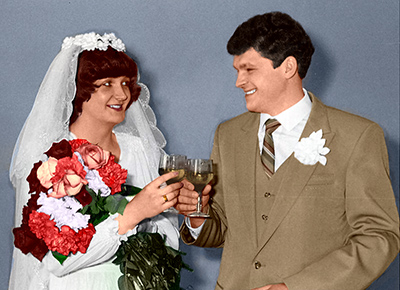
Result
