From Flawed Photo To Work Of Art
The author of the tutorial is Robert Bates:
After reading how AKVIS ArtWork can be used to turn scans of old photos with defects into paintings, I decided to give it a try with one of my photos.
-
Step 1. Open the image in your graphics editor – in this case AliveColors.
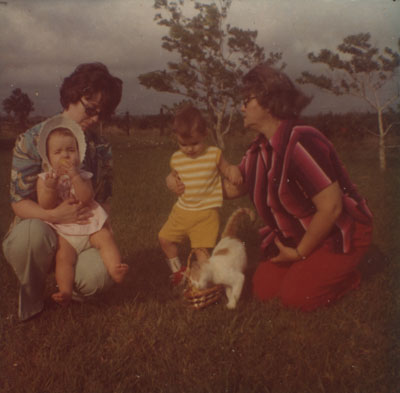
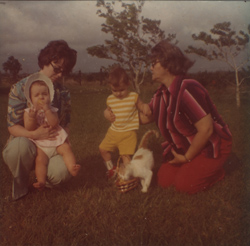
Original PhotoThe photo is in bad shape. It is very dark, has many dust specks and other defects, and has a texture which makes the image appear less than sharp. So before I can create a painting from it, I’ll need to make some corrections. The AKVIS Enhancer and Noise Buster plug-ins will be useful.
-
Step 2. Let’s brighten the image first. Call the AKVIS Enhancer plug-in (Effects –> AKVIS –> Enhancer). The plug-in’s workspace will open, displaying the photo.
The photo is very dark, so increase the parameters Highlights and Lightness to the maximum setting, 100. Press
 to accept the changes and return the photo to the graphics editor.
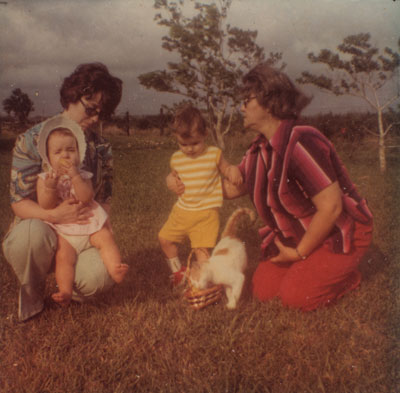
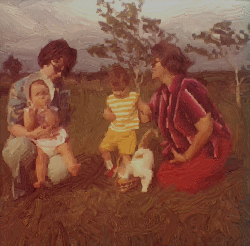
After EnhancerThe result is an improvement, but the original was so dark that another pass through Enhancer would help. This time set Highlights and Lightness to 25.
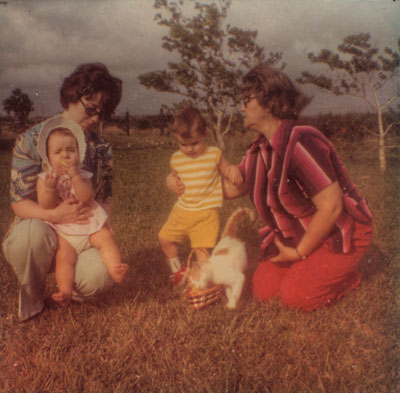
Enhancer, second passNow the photo is bright enough and the colors are more vibrant.
-
Step 3. Now we’ll draw our attention to the photo’s texture. As in many photos from this time, there is a strong “honeycomb” texture to the paper. This is not so apparent when looking at the original in an album, but on a monitor it is very obvious and distracting. We can reduce the texture using AKVIS Noise Buster.
Call the AKVIS Noise Buster plug-in (Effects –> AKVIS –> Noise Buster). The plug-in’s workspace opens. Change the settings as seen below.
Here's a closer look at the settings:
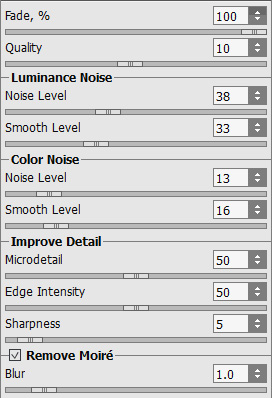
Noise Buster SettingsThis should be enough. I don’t want to remove too much detail, since I want to make a painting from this photo. You can see the image, before and after Noise Buster here.
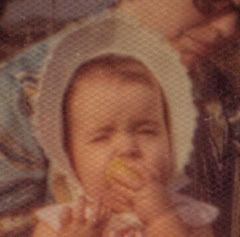
Before Noise Buster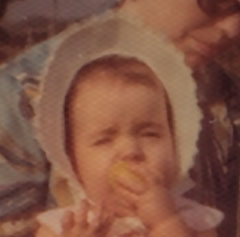
After Noise Buster -
Step 4. Now go on to the defects in the photo. There are many specks, discolorations and other damage due to a few decades of exposure to Texas humidity.
Select the Clone Stamp tool
 . To remove the specks and other defects, select the diameter for the tool that will work best for you, select an area near the defect with the Alt key and then left-click the tool over the defect.
After making our way across the photo, we find a white spot next to the girl’s right leg. After removing it, the transition between her leg and the background is not smooth. What to do?
Select the Blur tool
 . Reduce the diameter of the tool and apply it with the left mouse button, making a few passes over the defect. You can scale up the image to make this easier. Now the transition is much smoother.
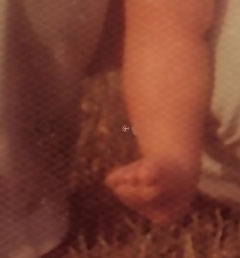
Before Blur Tool
After Blur ToolThe defects have been removed. Let’s move to the next step: turning this photo into a painting.
-
Step 5. Call the AKVIS ArtWork plug-in (Effects –> AKVIS –> ArtWork). The plug-in’s workspace will open, displaying the photo. A small quick preview area shows how the photo would look based on the default settings.
After some experimentation, I choose these settings…
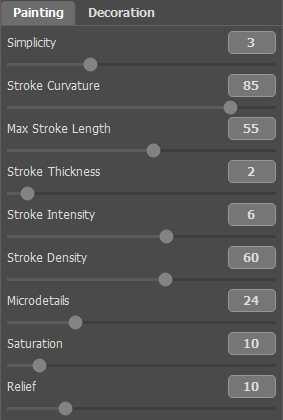
ArtWork Settings...but of course you can choose your own, it’s just a matter of preference.
We can guide the paint strokes using the Stroke Direction tool
 . Select it and draw some guiding lines on the photo, where you think a change in stroke direction would look best.
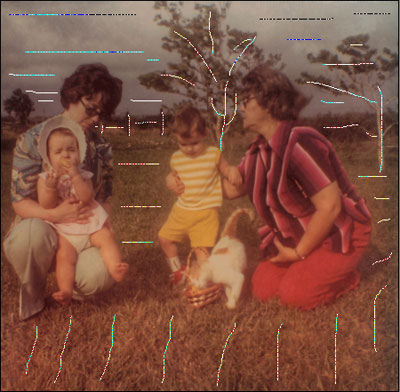
Guiding LinesNow press
 to process the image and if you are satisfied with the result, press
  to accept the changes and return the image to the graphics editor.
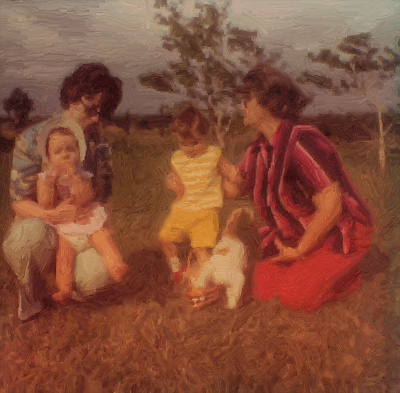
Here is the result – an old photo turned into a work of art! You can click on the result to open a full size version and see the brush strokes in more detail.
