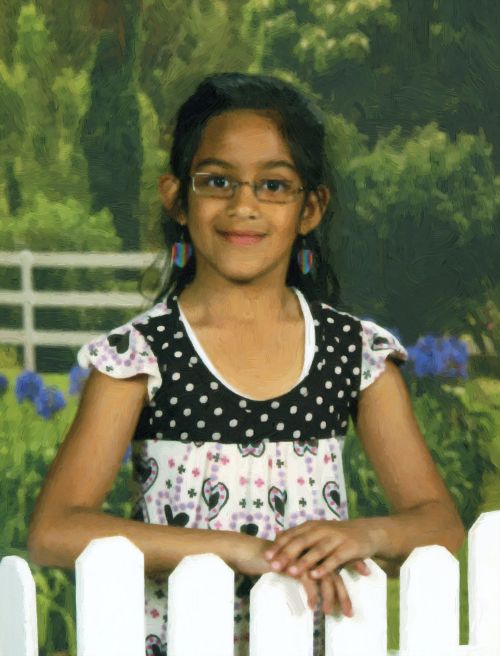
Casandra's portrait
The author of the tutorial is Gordon Sisson.
In this tutorial Gordon tells, how to make something special from an ordinary photograph using AKVIS ArtWork.
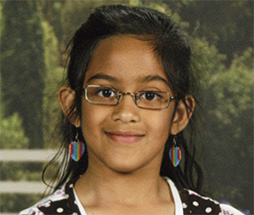
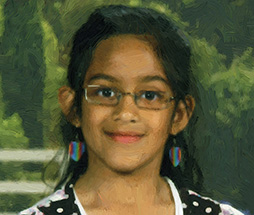
One friend gave him a 2.5 x 3.5 inch snapshot of her daughter, Casandra. When AKVIS ArtWork was released, Mr. Sisson immediately had the desire to try creating a painting. The picture was well-focused, and after its resizing to the required size (8.5 x 11.0 inch) he desided to make an oil painting from the photograph. He wrote:
"One of the most distinguishing characteristics of a painting is brush strokes. Experimenting with ArtWork, I realized that strong brush strokes for the background were too intense for attractive skin tones. In AliveColors it is fairly easy to have lovely painted skin tones along with strong brush strokes in the rest of the picture. Here's how."
- Step 1. Open the resized photo in AliveColors and call up AKVIS ArtWork plugin from the Effects menu: Effects -> AKVIS -> ArtWork.
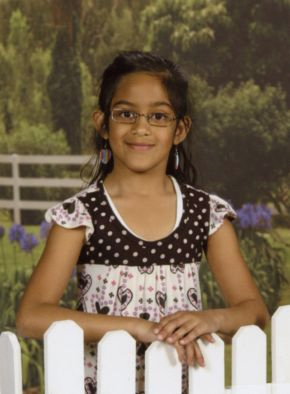
Original Photo - Step 2. Adjust the sliders on the Painting tab to create distinct brush strokes. Click on
 to process the image using these settings and
  to apply the result.
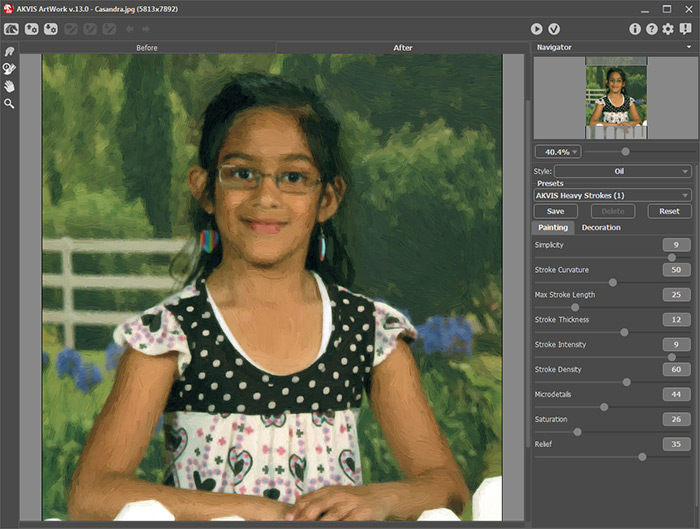
ArtWork Panel Showing the Settings and the Result - Step 3. Select menu item File -> Save As and name this file as background.jpg.
The enlargement shows that the brush strokes are too strong for skin tones:
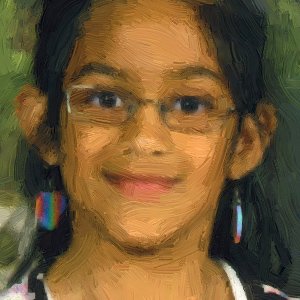
Strong Brush Strokes (in the style of Van Gogh) - Step 4. Now it is time to create a good painting of the skin tones. Open another copy of the photograph and call up AKVIS ArtWork. The picture below shows the ArtWork panel with the settings and result creating a level of painting more suitable for skin tones.
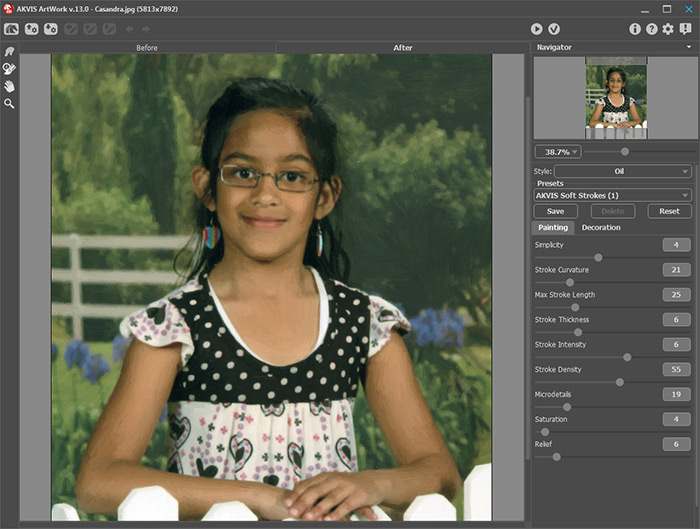
Settings and Result in Creating Painted Skin Tones - Step 5. Process the image by
 , apply the result
  and save this file as skin-tones.jpg.
The enlargement shows less intense brush strokes more suitable for skin tones:
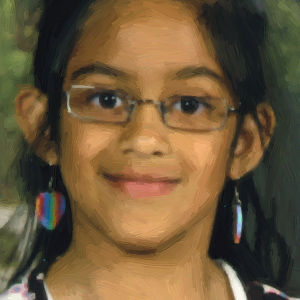
Less Intense Brush Strokes - Step 6. We have created two files — one is background.jpg and the other is skin-tones.jpg.
Now we will combine the two files so that the skin tones can be applied to the background painting.
- Click on the backgroung photo and press Ctrl+A (on Windows), ⌘+A (on Mac) or use menu item Select -> All to select the entire image.
- Press Ctrl+C (on Windows), ⌘+C (on Mac) or use command Edit -> Copy to copy it.
- Then click on the skin-tones image and press Ctrl+V (on Windows), ⌘+V (on Mac) or select the command Edit -> Paste to paste the other photo into it. Both photos are now in the same file which has two layers in it. All you see on the desktop is the background photo.
- Step 7. Click once on the top layer to make sure it is selected, and click on the Add Layer Mask icon
 at the bottom of the Layers panel to add a layer mask to it.
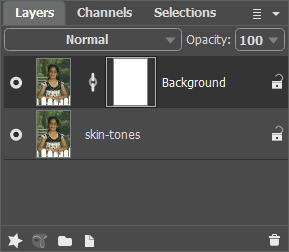
Layers Palette - Step 8. Now, use a black brush to blend the two photos together:
- Select the Color Brush
 tool (hot-key B), click on the brush thumbnail in the Options bar, and choose a medium size, soft-edged brush.
- Start painting with black brush on the face and skin to reveal the skin-tones photo from the layer below.
Tips:
To refine the edges a bit, you can choose a smaller brush and zoom in on more detailed areas, if you wish.
Use the Left Bracket [ key to quickly make the brush smaller.
If you paint too far and start to reveal areas not wanted from the layer below, switch the foreground color to white and paint back any parts of the photo on the top layer.
- Step 9. Here is the final painting created from a small snapshot using AKVIS ArtWork. The transformation to a painting is very striking when printed. All the subtle changes do not show clearly on screen.
