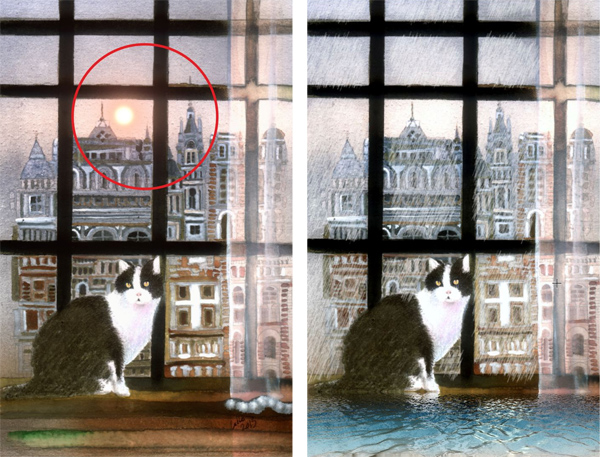
The cat and the rain
Questa pagina al momento è usufruibile in lingua inglese. La versione italiana sarà presto disponibile.
The author of the tutorial is J.L. Alcover Lillo (Madrid, Spain).
It is a cold and misty day, and we want to add an effect of rain… or snow.
Original Image
Result
-
Step 1. Select an image and open it in the graphics editor.
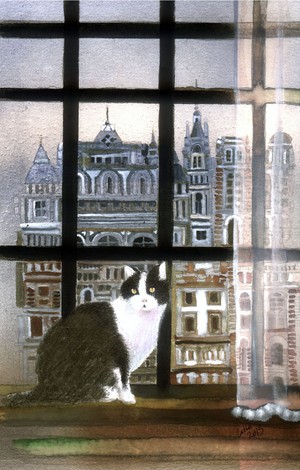
Original Image - Step 2. Create a new layer from the background and give it a name ("city" in this example).
-
Step 3. Call the AKVIS NatureArt plug-in and choose Rain from the list of the effects.
Select the areas where you want to apply the Rain effect. It doesn’t matter if the areas are not precisely delimited, the unselected borders and corners will look more opaque, that fits the general effect.
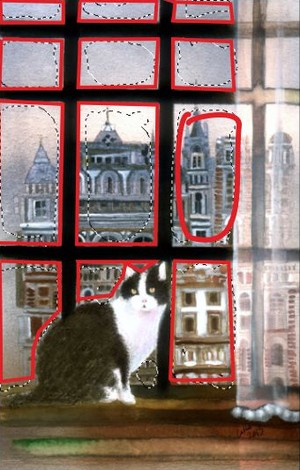
Selected Areas -
Step 4. Adjust the parameters of the Rain effect or use one of the ready-to-use AKVIS presets.

Effect Settings -
Step 5. To apply the effect push the icon with the arrow
 . You can switch between the Before and After tabs to see the difference.
-
Step 6. With the effects in NatureArt we can also create a beautiful sunset (the Sun effect) or, a little more dramatically, make the flooding (the Water effect).

