BLACK & WHITE PENCIL SKETCH
The author of the tutorial is David Kelly.
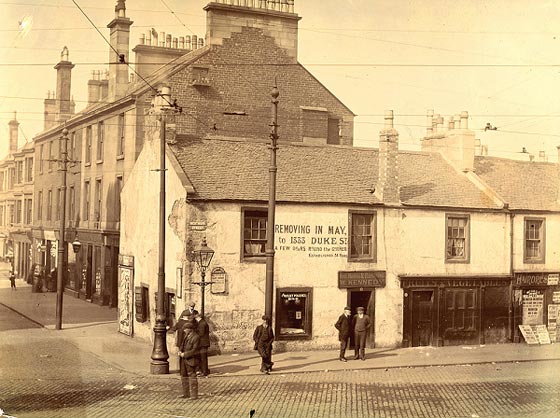
Here you will find out how AKVIS Sketch was used in conjunction with Paint Shop Pro 9 to create a realistic looking black and white sketch from an original 1912 sepia-toned photo showing a section of Westmuir Street, Glasgow, Scotland.
After converting to greyscale, its wide range of detail and tonal differences made it a challenging image for Sketch to successfully convert into a realistic looking black and white pencil sketch.

Image 01, original 1912 photograph
STAGE ONE: PREPARED PHOTO FOR AKVIS SKETCH CONVERSION
- Step 1. Opened a copy of the original photo in PSP9. Image size 1000 x 746 pixels.
- Step 2. Converted to greyscale: Image -> Greyscale.
- Step 3. Increased colour depth: Image - Increase Colour Depth - 16 million colours (24bit).
- Step 4. Used PSP9's "Point-to-point" Freehand Selection tool with a "1" feather setting to carefully select a lighter coloured section of the white building's roof, selected PSP9's Move Tool, then right-click-dragged the selection on to a darker roof section. Copied this section Ctrl+C, then removed selection Ctrl+D. Next, pasted the copied roof section as a new layer Ctrl+L then used the Move Tool to left-click-drag and precisely position the pasted section on top of the corresponding lighter coloured roof shape. Two lighter coloured roof sections were replaced using this procedure. The image was then saved as a PSP file. Finally the two new layers were merged with the original background layer, Layers - Merge - Merge All (Flatten).
-
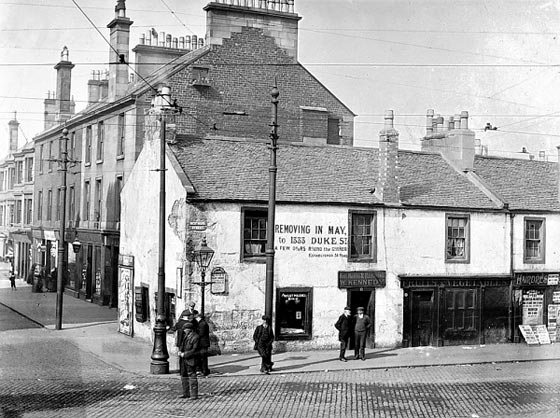
Step 5. Used PSP9's Curves command to adjust image individual brightness values; Adjust - Brightness and Contrast - Curves. The results can be seen in Image 02 below.

Image 02, curves adjusted black and white versionTip: Smoother looking black and white pencil sketches can be created from photographs containing lots of fine detail (like the example used here) by adding a minimal amount of blur to the entire image before applying Sketch.
-
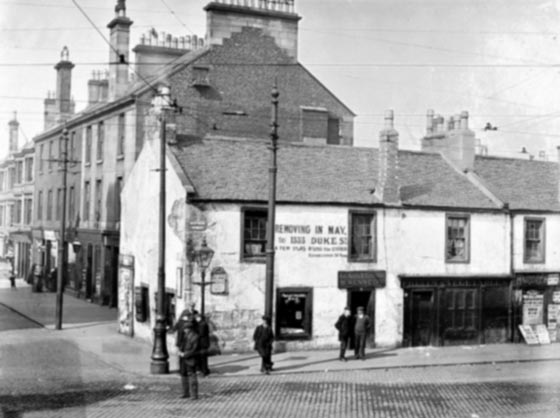
Step 6. Added a small amount of blur; Adjust - Blur - Gaussian Blur, Radius = 1.00.

Image 03, after slight Gaussian blur effect applied
STAGE TWO: APPLIED AKVIS SKETCH
- Step 7. Called AKVIS Sketch: Effects - Plugins - AKVIS - Sketch.
-
Step 8. Left clicked Sketch's "Run" button
 to initially apply its default settings.
-
Step 9. After inputting a few different parameter values and clicking Sketch's "Run" button to view the results, the following settings were found to produce the intended effect.
- Watercolour = 5,
- Charcoal = 0,
- Coloration = 0,
- Angle = 45,
- Size = 8,
- Min Length = 3,
- Max Length = 10,
- Midtones Intensity = 5,
- Midtones Hatching = 100,
- Sharpen = 100. -
Step 10. Left clicked Sketch's "Apply the result to the image" button
 . This closed Sketch to reveal PSP9's workspace containing the finished black and white pencil sketch.
-
Step 11. Used PSP9's Eraser tool to tidy up the sky area.
Note: Although most of the overhead power cables that criss-crossed the original photo were removed, this didn't detract from the final pencil sketch effect, or compromise the image's 1912 period look.
-
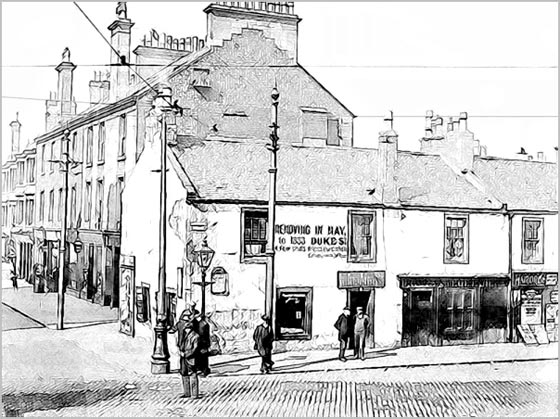
Step 12. Added a light grey border; Image - Add Borders. Entered the relevant values into the Add Borders box then left clicked OK. See final pencil sketch below, Image 04.

Image 04, the completed black and white pencil sketch -
Step 13. Named and saved the finished sketch as a non-lossy Tiff image file.
Note: Frequent saves were made in Paint Shop Pro's proprietary file format during the editing/conversion process.
Summary: As with any creative software, and AKVIS Sketch is no exception, any artwork created is totally subjective. However, with Sketch there's no reason why, when used in conjunction with a compatible image editing program, you shouldn't be able to quickly and easily create fine colour or black and white sketches suitable for printing, framing, and displaying.
Download the unrestricted AKVIS Sketch ten-day free trial and give those old, and not so old photos a new lease of life by turning them into your very own personal works of art.
