Postcard Framed In Pencil Drawing
The author of this tutorial is Adriano A. Mayer (Brasil - Canoinhas - Santa Catarina).
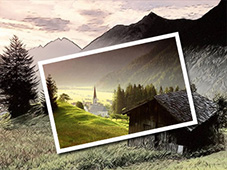
He shows us an original use of AKVIS Sketch. The final image looks like if a postcard lies over a pencil drawing.
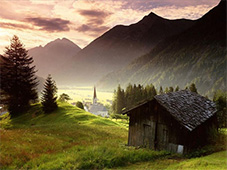
First we choose a beautiful color image for our future collage. It's a picturesque landscape with intensive colors.
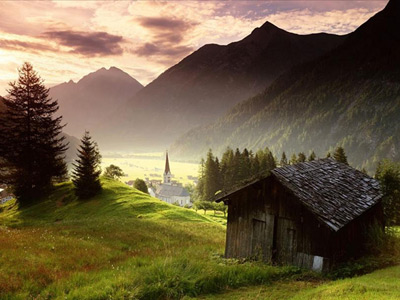
Duplicate the layer in the Layers palette and apply AKVIS Sketch to convert the photo to a pencil drawing.
Call the plug-in from the menu of your photo editor Effects -> AKVIS -> Sketch.
Adjust the parameters. We got this image:
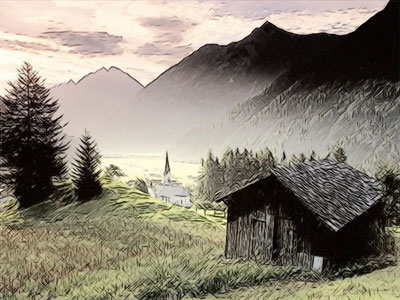
Now on the source layer of the image (background layer) that we left without changes, select a part of the image using the Rectangular Marquee tool (see the example below). To turn the selection use the command Select -> Transform selection.
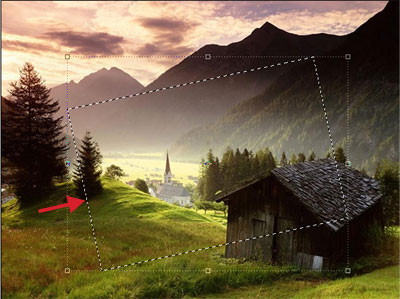
Copy the selection to a new layer with the command Edit -> Copy and Edit -> Paste. To make the adjustments easier, switch off the visibility of the two lower layers and you will see the fragment on a transparent layer.
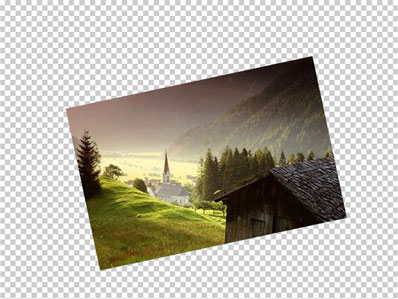
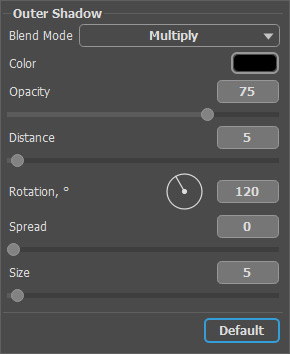
Select in the menu of AliveColors Layers -> Layer Effects -> Outer Shadow and set up the shadow at the cut area as follows.
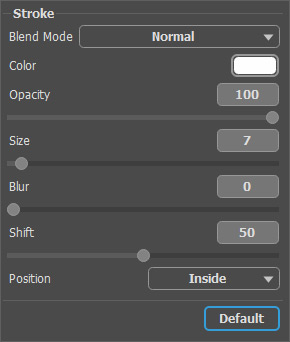
Then select Stroke in the list of the styles and adjust the parameters as follows:
Now our photo has a frame! Look at the result:
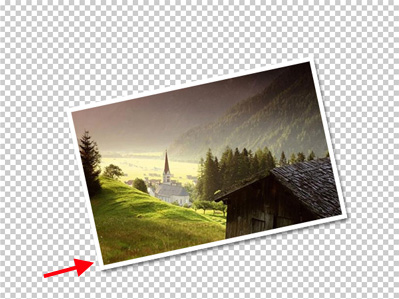
Switch on the visibility of the lower layer and enjoy the final result!
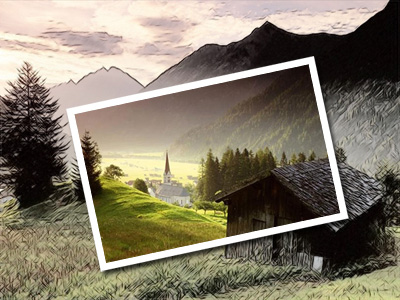
A few simple steps with AKVIS Sketch and we have a wonderful effect.
