Parisian Chic
あいにく, このページは英語にだけ使用可能です。
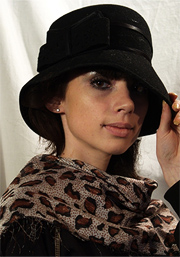
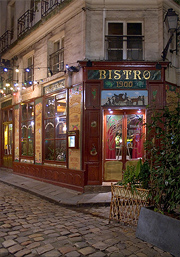
The idea for this tutorial was offered by Sergey, a user of AKVIS Sketch. He wrote that he began to study photography after some unsuccessful passport photos of him were made by photography studio. Sergey did a passport photosession of his niece, and at the end took some photos "just because". However, a photo of such a charming girl should not have such a dull gray curtain in the background, so the author decided to replace the background with something more suitable. Let's give this portrait a Parisian chic style by giving it a bright background.
- Step 1. Open the original image of the girl in AliveColors. It will look more interesting if it is flipped horizontally. To do this choose the menu command Image -> Transform Image -> Flip Horizontal.
-
Step 2. Use AKVIS Chameleon to make a collage, and add a new background to the portrait of the girl. It is better to use Montage mode. Apply the result and return to AliveColors by pressing
 .
.
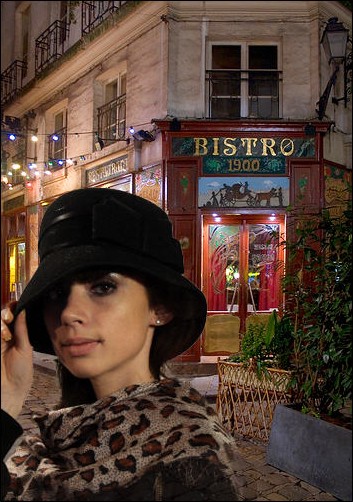
Collage -
Step 3. Call the AKVIS Sketch plug-in from the menu: Effects -> AKVIS -> Sketch and choose the settings for the parameters which you feel look best. The author started with the AKVIS Color Pencil High preset. The preview window will immediately show you the effect of your changes to the parameters.
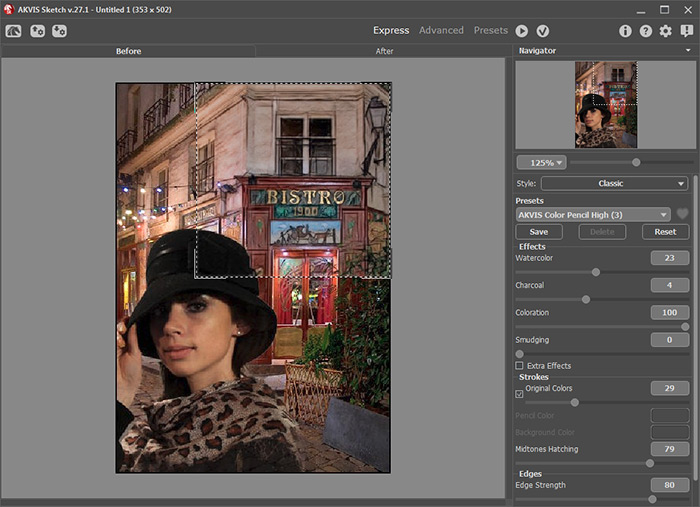
AKVIS Sketch Plug-in's Workspace -
Step 4. The girl's face looks blurred after processing, so it is best to leave it as a photograph. Do this by choosing Sketch & Photo mode, and, using the blue and red pencils, show how the image should be processed.
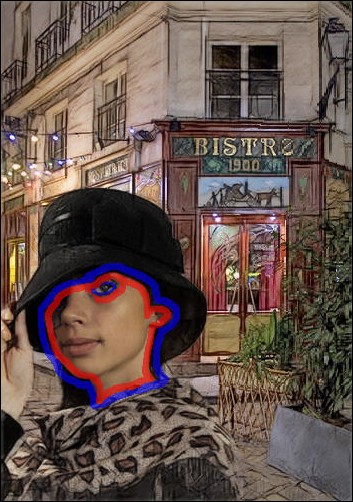
Sketched Area (Blue Strokes) and Photograph (Red Strokes)After pressing
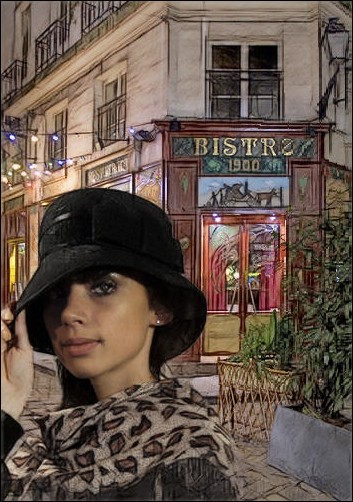
 we received the desired result! Processing was applied to the eyes, background, and hat.
 new-design
Image After Processing -
Step 5. Press
 to apply the result and return to AliveColors. The work isn't finished yet! To justify the shadow on the girl's face, we can add a light to the image. This can be done using AliveColors or with AKVIS LightShop.
Voilà! La jeune fille est magnifique!
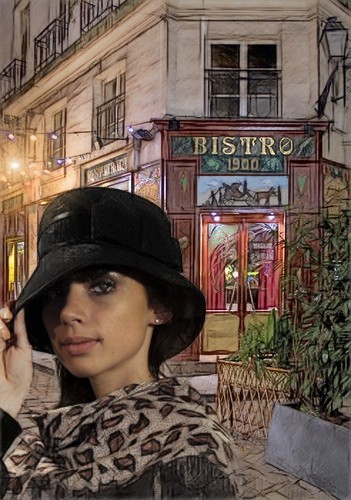
Result
