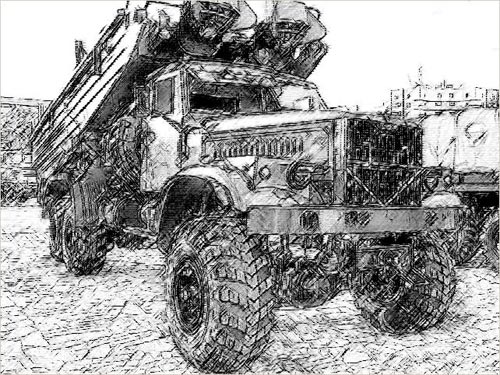
Motorshow: a Pencil Drawing out of a Photo
The example author is Alexey Pasko. The example is made by means of Adobe Photoshop CS.
Alexey decided to change one of his photos made on a motorshow into a pencil drawing.

Source image
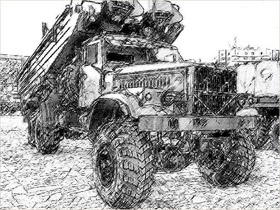
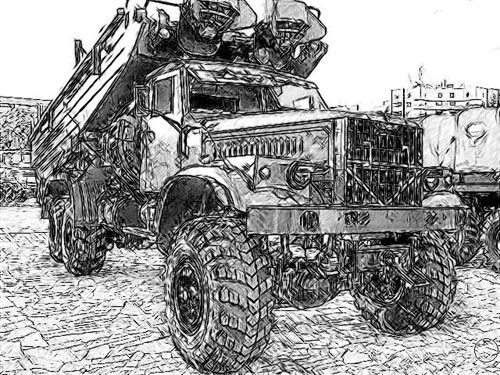
Result
-
Step 1. First of all we should reveal as many details as possible, because the more detail are on the photo, the more detailed will be the pencil drawing.
Let's create a background layer copy and call AKVIS Enhancer plug-in on this layer. The plug-in will help us to increase details in the photo's shadows.
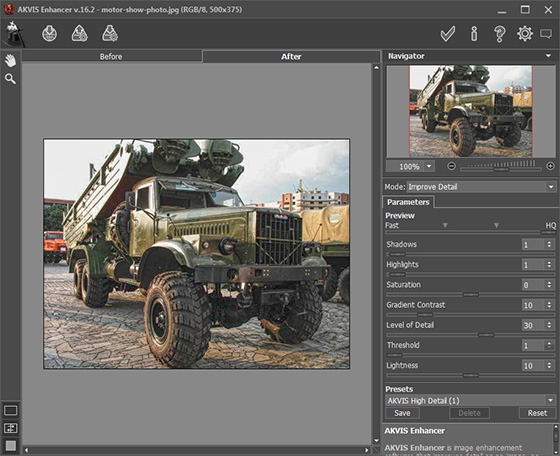
Now by using Unsharp Mask filter we increase sharpness of the photo to enhance details even more. Apply Unsharp Mask filter with the following settings: Amount - 70%, Radius - 0.5 pixels, Threshold - 0 levels.
After AKVIS Enhancer correction and application of Unsharp Mask filter the photo looks like this:

-
Step 2. Lets make a copy of the edited photo layer, just for a case. Being in the new layer call AKVIS Sketch.
Change settings: decrease Midtones Intensity down to 4 and increase Sharpen up to 70. All other settings remain default.
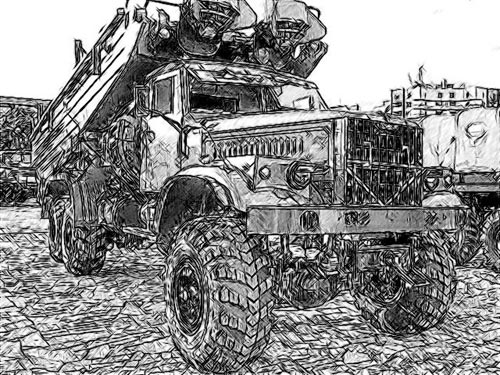
The square in the photo is tiled and AKVIS Sketch draw it thouroghly. But too many strokes make the drawing dirty and divert attention from the subject. We could of course blur the tiles before applying AKVIS Sketch, but chose another way.
Apply modifications by pressing
 in the upper right corner of the plug-in window.
-
Step 3. Add a new Levels Adjustment layer with a mask and lighten the tiles and the remaining background.
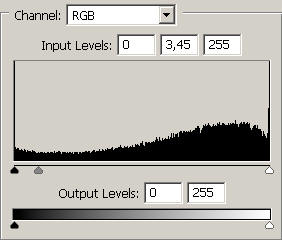
There has become fewer strokes, but the sharpness of the tiles is left intact to a large degree.
-
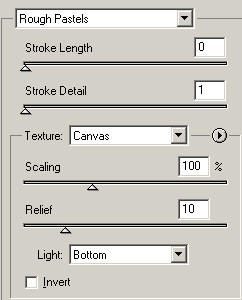
Step 4. Lets merge the Levels Adjustment layer and the layer containing our drawing into a single upper layer and apply the Photoshop Rough Pastels filter. This is made for the drawing not to be too "slick" and to add paper texture.
-
Step 5. The last stroke - a little bit more Levels for better contrast.
The Layers palette at this stage looks like this:
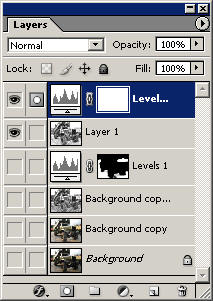
And here is the resulted pencil drawing:
