Medieval Engraving
The author of this tutorial is Rakotomalala Elie.
While searching for a progam to add color to black & white photos, I stumbled upon the program AKVIS Coloriage AI. I used the trial version and was completely charmed by this product.
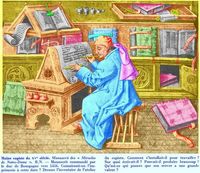
I'll return to describing how to add color to a black & white image. For this tutorial I scanned a black & white photo from an old book about French history. I added color, and in my opinion got a great result!
 |
 |
AKVIS Coloriage AI is very simple to use. It can be run as a plug-in in a graphics editor, or as a standalone program. Forget about layers, masks, and precise selections: we'll break the work on the picture into four steps and spend less than 50 minutes on it:
Open the picture;
Outline the parts of the picture that you want to colorize;
Paint the picture with the click of a mouse;
Save the result.

Monk - Scribe
We can observe the smallest details of the image by zooming in:
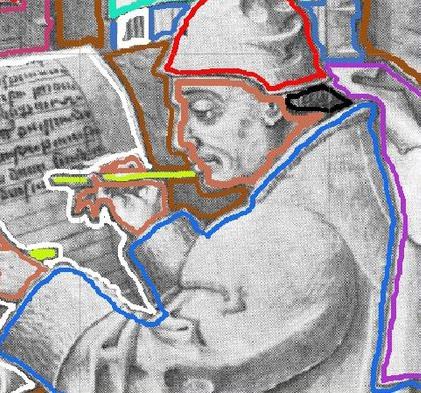
Enlarged Fragment
By checking the Brightness Preview mode, we can see how the colors will appear in the picture based on the relative brightness of its pixels. After the strokes are drawn, we can get an idea of the colorizing effect before final processing. You can monitor your progress and make changes to the outlines, or add new ones.
You can see which areas were outlined and which were not in the images below. Note: You can save the outlines and return to work on them at another time.
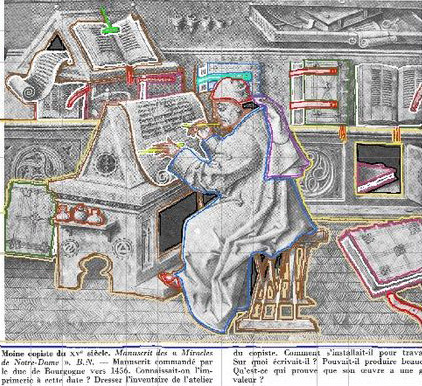

It's not necessary to delete strokes if you don't like their color – you can change them with just a click of the mouse (with the Magic Tube tool ![]() ).
).
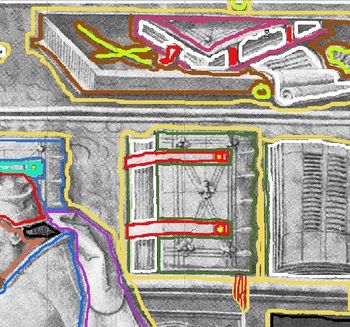
Your artistic intuition will determine the tone and shade of colors.
Now all the strokes have been drawn...
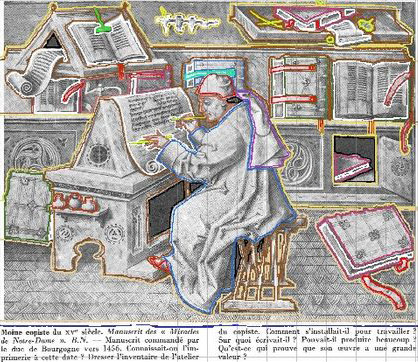
The Image Being Processed
and here is the result:

Result
We can see that the text at the bottom was easily painted blue.
