Adding Detail and Color a Drawing
La version française sera bientôt affichée.
The author of this tutorial is K. J. Hartmann.
Often after making an outline or sketch in a hurry, you later want to add color. This can be done on a computer, if you have scanned the image or made it with a graphics editor.
Of course, color can be added with an image editor, but the task can be time-consuming.
As you will see, with AKVIS Coloriage color can be added to an image quite easily:
 |
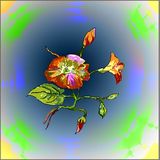 |
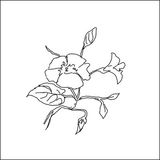
First I drew an outline of a flower
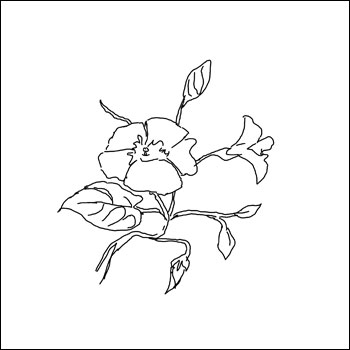
Figure 1
and filled it with different shades of grey, giving it volume.
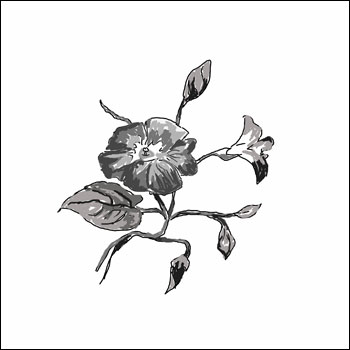
Figure 2
Then I clicked the Magic Wand outside of the flower (fig. 3), to highlight the white area.
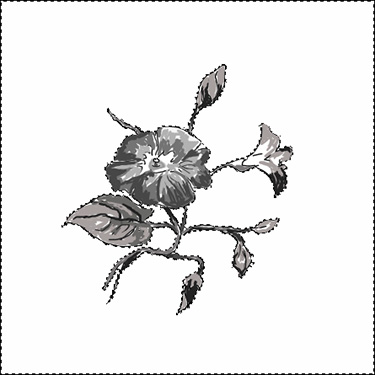
Figure 3
I used the Gradient Fill tool to fill the area with varying shades of grey in a direction leading outward from the center (fig. 4).
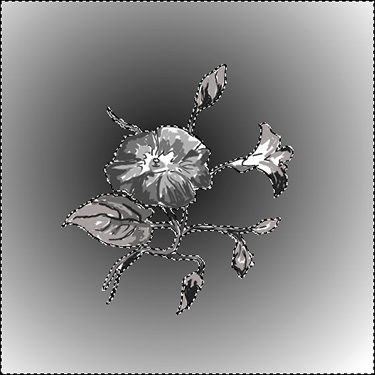
Figure 4
Then I called AKVIS Coloriage from the menu: Effects -> AKVIS -> Coloriage and painted the drawing, choosing a color with the pipette from the Color Palette and drawing lines along the contours of the object. I also drew a boundary where one color should be separated from another (fig. 5). During processing the program will change the colors of the image, taking into account the brightness of the original image.
Important: After all parts of the image had been assigned a color, I clicked on the icon to the left of the Control Panel ![]() and saved the strokes to a file.
and saved the strokes to a file.
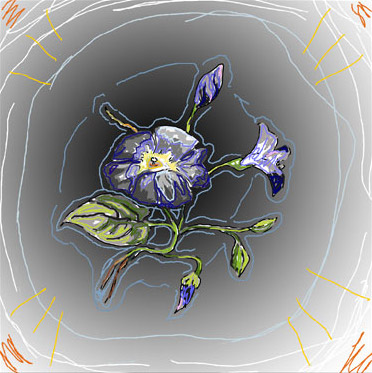
Figure 5
Now the image can be processed by pressing the button with a triangle ![]() . The result is shown in figure 6.
. The result is shown in figure 6.

Figure 6
Here is another demonstration of AKVIS Coloriage.
I returned to the black and white image of the flower and once again called the AKVIS Coloriage plugin. After pressing the ![]() to load saved strokes, the image appears as in figure 5.
to load saved strokes, the image appears as in figure 5.
Next I went to the color palette to change some colors, and applied the changes with the Magic Tube tool ![]() . The repainted strokes are shown in figure 7.
. The repainted strokes are shown in figure 7.
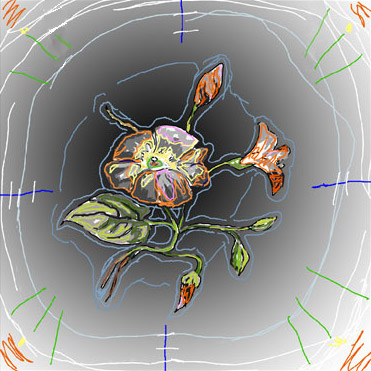
Figure 7
In figure 8 you can see the new result:
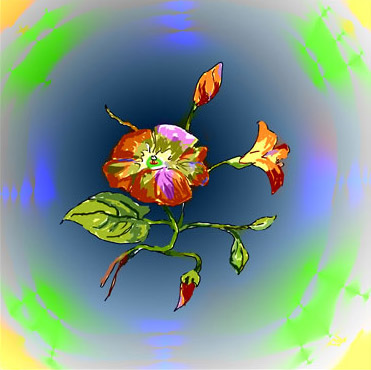
Figure 8
