Reduce noise that appeared during image correction
When you correct a dark photo you will often notice that as you "shed light" upon its underexposed areas the noise in the areas shows up more abundantly. You can't do anything about it. You can only struggle with these inevitable consequences of exposure correction. Besides, they are not so difficult to cope with.
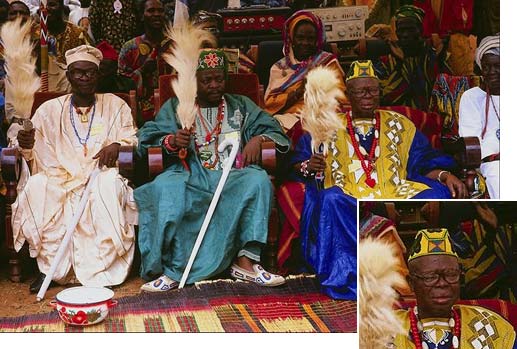
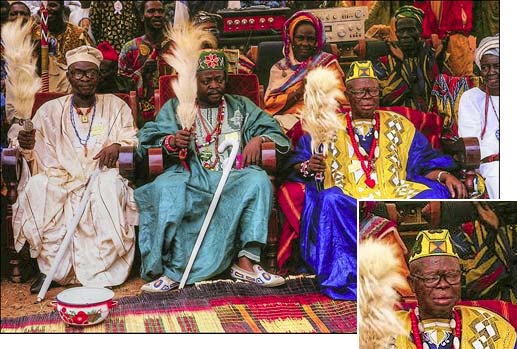
Let's compare one and the same fragment before and after the filtration: on the left is the original dark photo, in the middle - the result of image correction with AKVIS Enhancer, on the right - the result of noise reduction with AKVIS Noise Buster.


Let's take an underexposed photo and improve detail in the dark areas using AKVIS Enhancer. Pay attention to the people in the background - their faces are hardly visible.

- Step 1. Open the photo in a photo editor compatible with the plug-ins AKVIS Enhancer and AKVIS Noise Buster.
Call the AKVIS Enhancer plug-in (or use the standalone program) and adjust the settings.
After the application of the plug-in with the above-mentioned settings the faces of the people in the background became visible, the noise became stronger too.

- Step 2. You can apply the AKVIS Noise Buster plug-in to get rid of the noise.
Call the plugin (or use the standalone edition) and adjust the parameters.
We mostly see the color noise in the photo (green and red blots, especially manifest on the skin). To reduce the color noise adjust the parameters Noise Level and Smooth Level in the Color Noise section. Set new values for the Luminance Noise too: increase the parameters Noise Level and Smooth Level for the Luminance Noise.
- Step 3. After the filtration the color blots have disappeared and the skin looks smooth.

