Pop Art Poster
あいにく, このページは英語にだけ使用可能です。
In this tutorial, we will create a pop art poster from a photo using AliveColors and AKVIS plug-ins: Sketch, Coloriage AI, and ArtSuite.

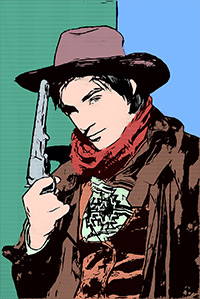
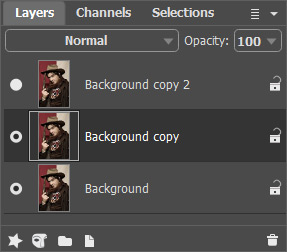
- Step 1. Open an image in the AliveColors graphics editor and create two copies of the background layer (Layers -> Duplicate).
- Step 2. Select the bottom copy and convert it into a pencil drawing. To do this, call the AKVIS Sketch plug-in from the Filters list.
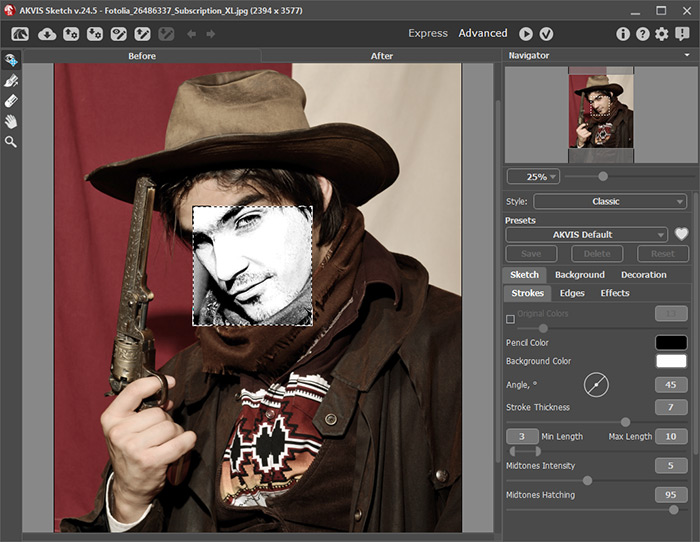
- Step 3. Transform the photo to a pencil drawing using the Classic style.
We used the settings as shown below but you can adjust the parameters of photo-to-sketch conversion to your liking.
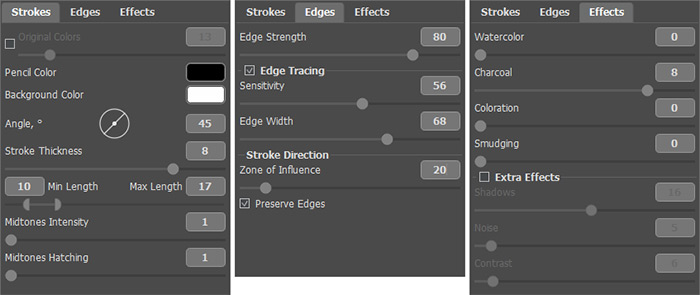
Hint: To achieve a poster-like effect you need to make the main contours in the image large and distinct.
Start conversion with the button
 , then apply the result with
  .
.
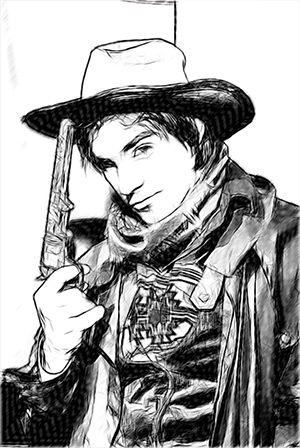
- Step 4. Simplify the pencil drawing using the posterization feature in AliveColors: Image -> Adjustment -> Posterize. Set Levels = 255, to get only two colors in the image - black and white.
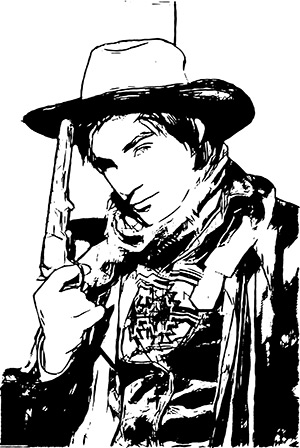
Hint: You can remove odd lines using the white brush or add lines with the black color.
- Step 5. Now, add color to the drawing. Open the AKVIS Coloriage AI plugin.
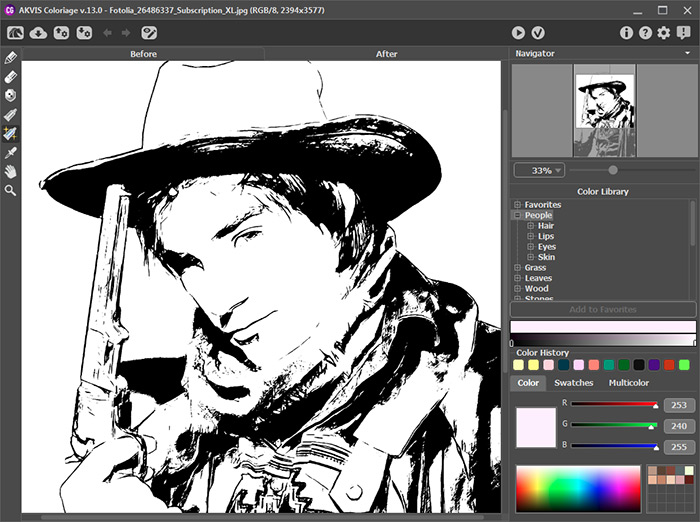
- Step 6. Using the Pencil tool
 in Coloriage AI select colors for all areas in the image.
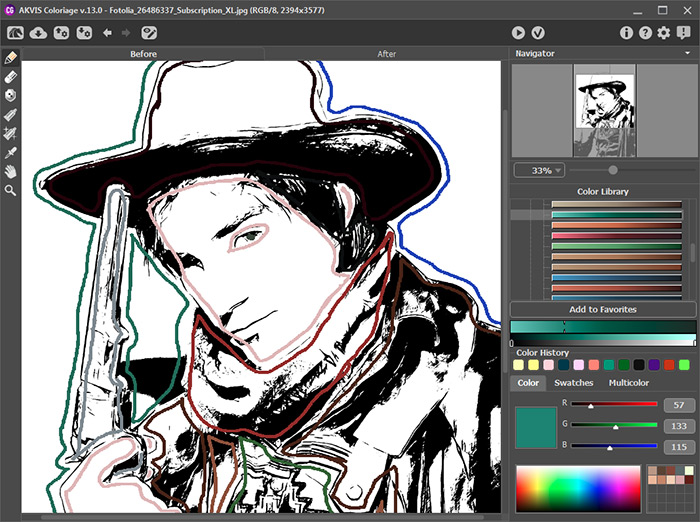
Start colorization with the button
 and apply the result with
  .
.
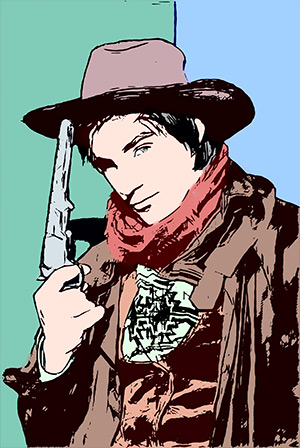
- Step 7. Make colors more saturated. Select in menu: Image -> Adjustment -> Hue/Saturation.
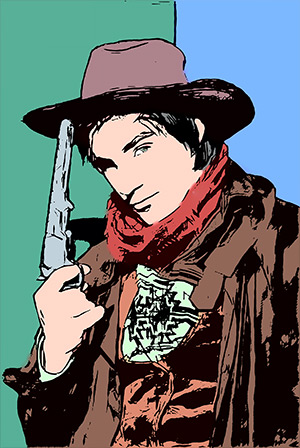
In fact, the poster is ready. Let's add a final touch.
- Step 8. In the Layers palette select the top layer and call the AKVIS ArtSuite plug-in. Select Halftone Effect in the Effects list and adjust the settings as shown below.
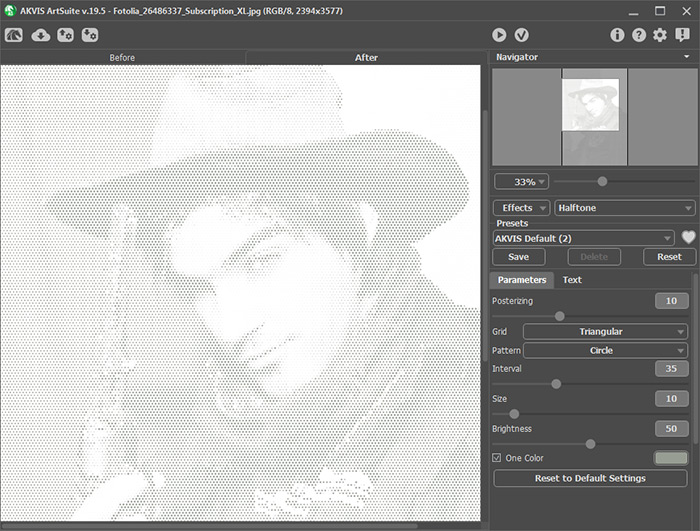
Apply the result by pressing the button
 .
.
- Step 9. Change the Blend Mode for the top layer to Multiply and merge the layers.

