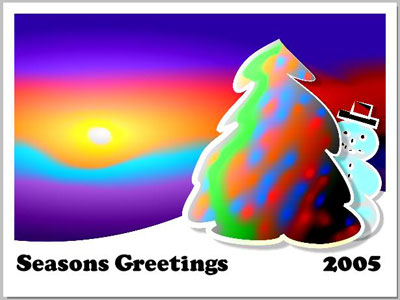
Creating a Christmas Postcard
This example has been created by Michael Foutty in photo editor Xara Xtreme with help of AKVIS Coloriage AI plug-in.
Note: The following tutorial assumes that you have a basic understanding of working within Xara Xtreme.
 |
 |
Background creation
From within Xtreme create a rectangle [800x600] and set the fill color to black.
Select the Fill Tool F5.
Choose the elliptical fill from drop down menu. Adjust accordingly.
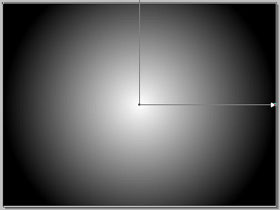
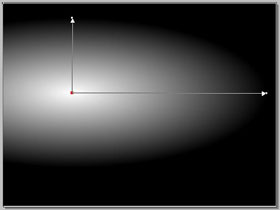
Our examples show a rolling snow covered landscape. This can easily be accomplished.
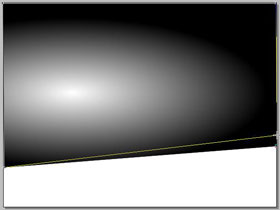
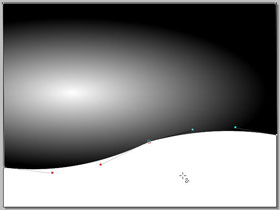
Just convert the rectangle by selecting Arrange/Convert to Editable Shapes. Next select the Shape Editor Tool and adjust the bottom of the rectangle to give the appearance of a rolling hill.
It's time to put the Coloriage AI plugin to work and this is done by clicking the Live Effect Tool (Ctrl+F5) found in Xara's tool box. Select the Coloriage AI plugin from among the list and a new window appears.
Once within the workspace you find a variety of choices and options to choose from as well as flexible edit/undo capabilities.
First, let's protect the intensity of the sunshine. This can be done using the Keep Color Pencil ![]() and marking the small circle around the suns center.
and marking the small circle around the suns center.
Then apply an array of colors using the Pencil tool ![]() . Imagine how the colors will be affected by the grayscale transparency.
. Imagine how the colors will be affected by the grayscale transparency.
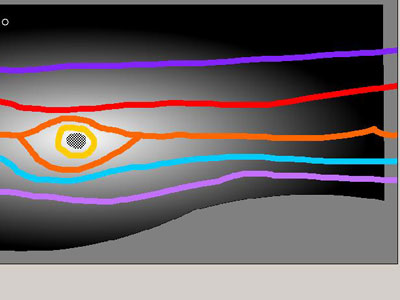
When ready click the run arrow to process the image ![]() .
.
Should the results not be your liking simply hit the Before tab, make any erasures/adjustments then click the run arrow again.
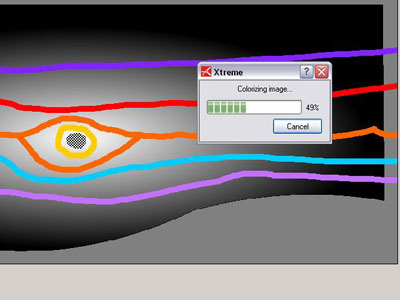
When you are satisfied, click the commit arrow ![]() and when Coloriage AI completes the processing you once again find yourself in Xara's workspace.
and when Coloriage AI completes the processing you once again find yourself in Xara's workspace.

The Background is complete.
Now create a snow covered tree
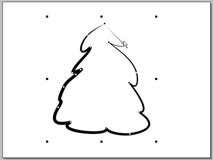
Use the Freehand and Brush Tool and design the shape.
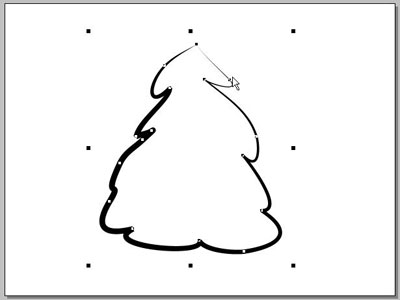
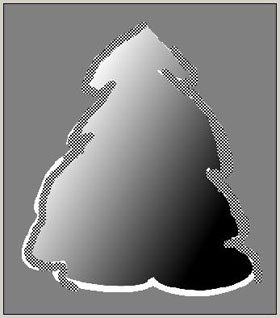
Set the background color to black; the line color to white. Select the Fill Tool (F5). This time choose the linear fill from drop down menu. Adjust accordingly.
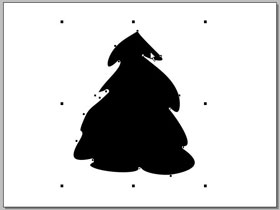
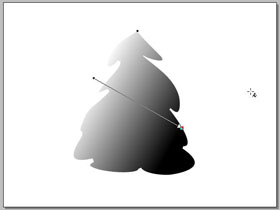
Select the tree shape and access the Coloriage AI plugin once again.
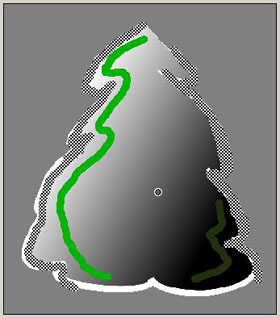
First, let's protect the white snow cover as we did with the intensity of the sunshine. This again can be done using the Keep Color Pencil and outlining the white line areas to assure they remain pure as new fallen snow.
Then apply the greens for the tree using the Pencil. Remember how the colors will be affected by the grayscale transparency.
Now have some fun adding bits of colors to simulate glowing lights on the tree.
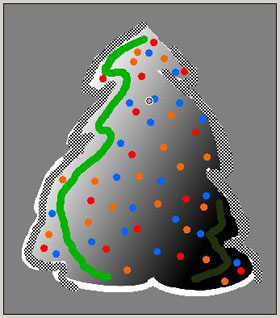
When ready, process and commit the image to return to Xara.
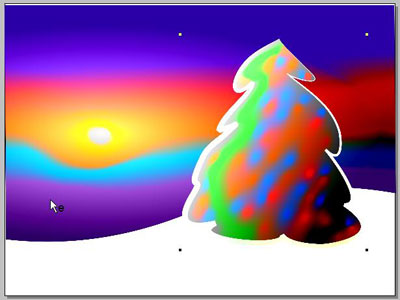
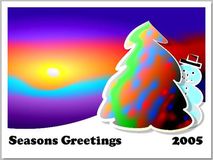
Here is the completed image with a bit of text and a snowman to boot!
All success and happy holidays!
