Handmade Wedding Invitation
Preparing for a wedding is a challenge. In order to make it a special event, you want to do everything you can to make it original, memorable, and for all the elements to work harmoniously together. This requires a lot of time and attention.
The important part is not only buying a wedding dress or planning the reception, but also designing the invitation cards. You want to create something unique that your guests will cherish. Therefore this tutorial is dedicated to creating wedding invitations. We will create a two-sided invitation card.
 |
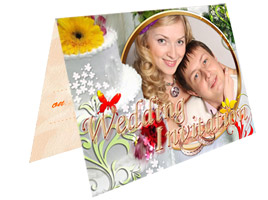 |
| Original Image | Result |
The invitation will consist of two parts: the cover and a place for content. We'll work on each part separately.
The Cover
The cover of our card will be made with ArtSuite, and since our idea will involve using a hand painted frame, we will use the standalone version.
- Step 1. Run the program. Open your photo with
 .
.
Choose Hand Painted Frame from the drop down list in the Settings Panel. By default the photo will be placed in the first hand painted frame in the Library.
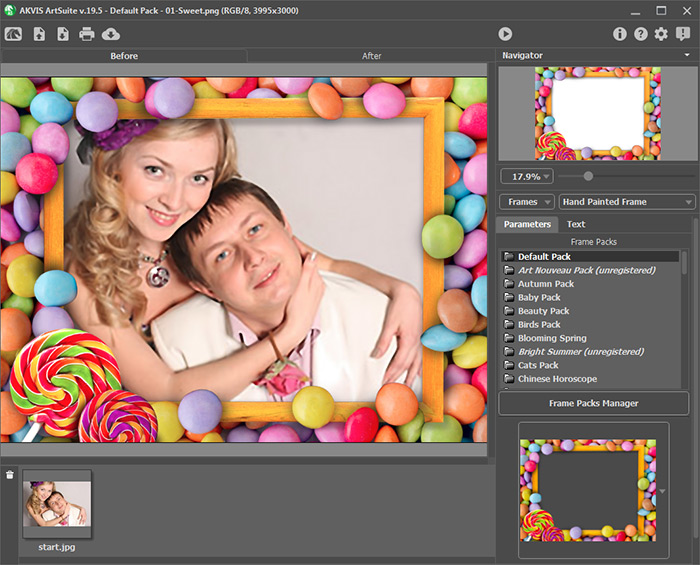
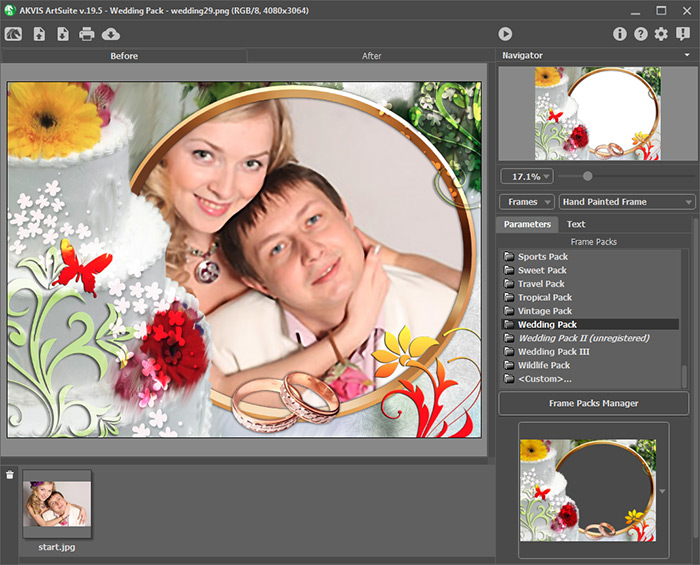
- Step 2. We won't use this template. Let's choose one of the frames of the Wedding Pack.

Note:
The Wedding Pack is available for a small fee. Look here for information about purchasing and registering… But don't worry.
When you install ArtSuite the Libary is already loaded with some free frames, from which you can choose to match any taste. You can also download the Free Pack.
Click on the sample to open all frames in the pack. We find a suitable choice. The program automatically inserts the photo into the hole.
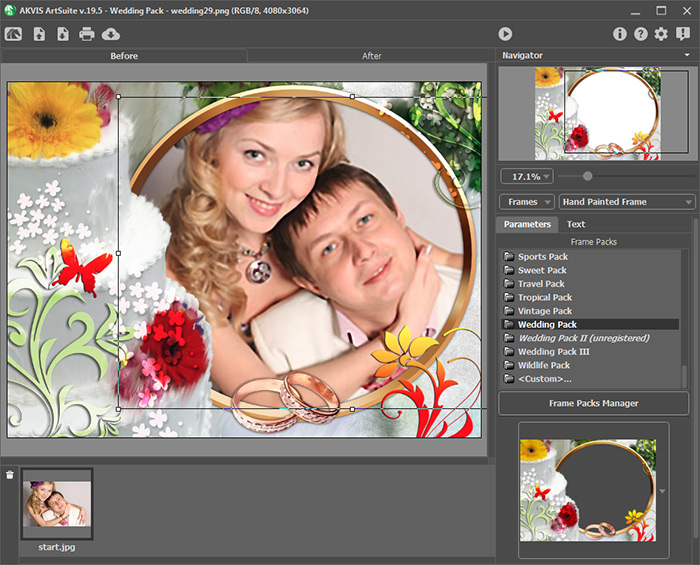
- Step 3. Adjust the size and position of the photo in the frame.
- Step 4. Run processing with
 , and afterward the photo will look like this:

The photo for the cover is ready! We'll save the result with
 .
.
- Step 5. Now we'll need our graphics editor to add text. We used AliveColors.
Open the image we just processed in the editor.
The photo needs to fit the size of the invitation. We want our invitation to be 10 cm wide. So we will reduce the image to that size (by selecting Image -> Image Size from the menu).
- Step 6. Add some text and various effects.

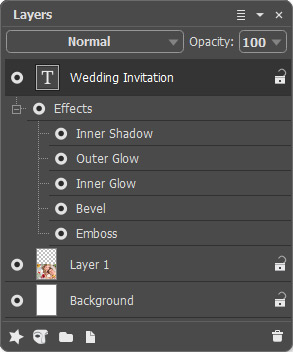
Adding Text to the Invitation Effect Applied to the Text - Step 7. Increase the height of the canvas (Image -> Canvas size) twice, so that the main image is at the bottom.
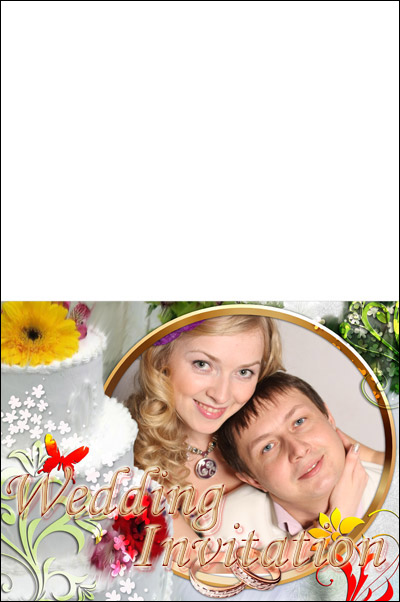
The invitation's cover is ready.
Inside
- Step 1. Create a new document the same size as the first.
- Step 2. Make a new layer (Layers -> New -> Raster Layer) and draw something on it yourself or fill it with a pattern.
Next use the Color Pencil tool
 to draw a horizontal line across the image, dividing it in half. This line will mark where invitations should be folded, making it more easy to fold them later.
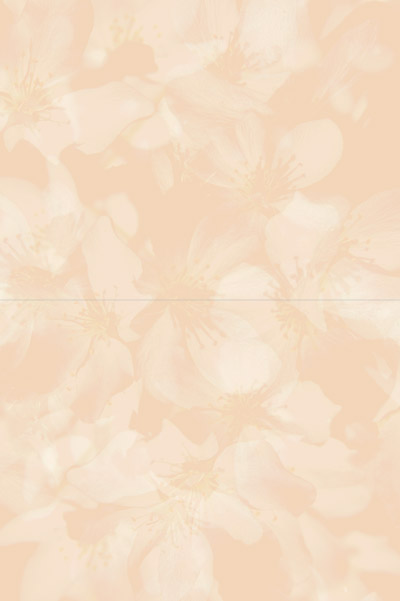
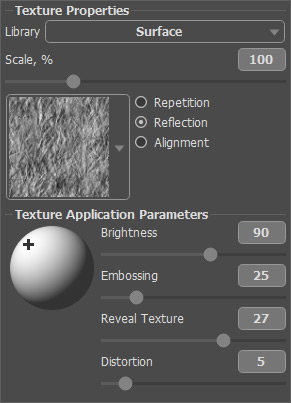
- Step 3. Call the AKVIS ArtSuite (Effects -> AKVIS -> ArtSuite) and add a texture to give the paper an embossed appearance.
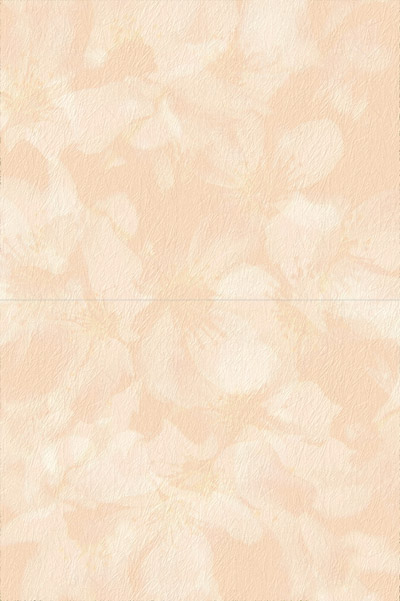
The texture's pattern and settings are shown below.
- Step 4. Final step. Select the Text
 and fill the invitation, with a message fit for all guests.
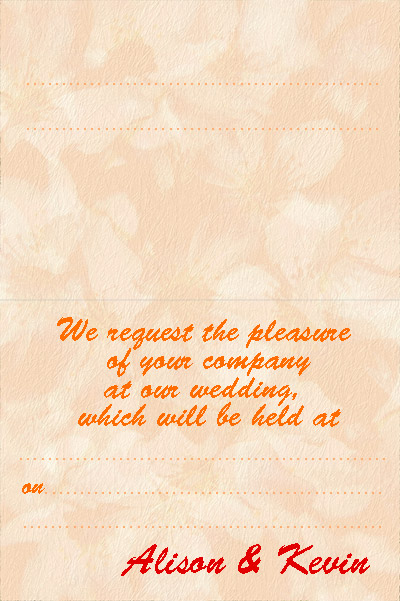
Both sides are ready. Now just print your hand made invitations and send to your guests!
