William Gladstone: Colourize a Photo in Paint Shop Pro
La version française sera bientôt affichée.
This tutorial has been sent to us by David Kelly.
Until recently, if you wanted to digitally colourize black and white photos a good working knowledge of a quality image editing program such as Paint Shop Pro, Photoshop, etc. was needed. Now however, with the introduction of the AKVIS Coloriage plug-in digital colourizing has just got a lot easier, less time consuming, and much more fun!
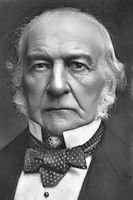 |
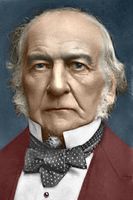 |
Here you will see how the AKVIS Coloriage plug-in was used in conjunction with Paint Shop Pro 9 to create a coloured version of a previously edited original black and white photograph.
Below is the original sepia-toned photo before it was edited using Paint Shop Pro 9. Another AKVIS plug-in, MultiBrush, was also used during the editing work.
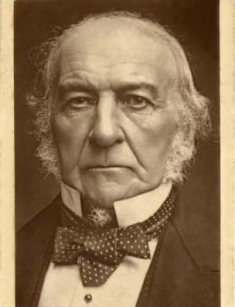
Image 01 - William Gladstone
Copyright © Roger Vaughan
Below is the same photograph as shown in Image 01 after it was edited using Paint Shop Pro 9 in conjunction with the AKVIS MultiBrush plug-in.
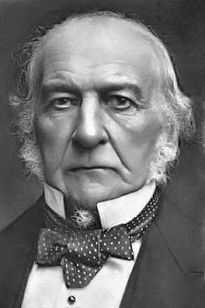
Image 02
This section contains a brief explanation of how the AKVIS Coloriage plug-in was used to create a coloured version of the black and white photograph, Image 02.
First the photo was opened in Corel's Paint Shop Pro 9.
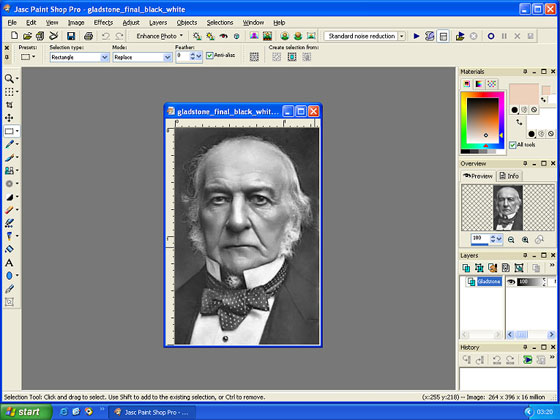
Image 03 - Paint Shop Pro 9's workspace
The AKVIS Coloriage plug-in was then loaded via Paint Shop Pro 9's Effects menu - Plugins - AKVIS - Coloriage.
The Pencil tool ![]() was used to draw coloured outlines within all sections of the photo using colours selected from the Color Library section. These are known as "Strokes".
was used to draw coloured outlines within all sections of the photo using colours selected from the Color Library section. These are known as "Strokes".
The workspace with the photo and its added coloured strokes is shown below. A photo's "Strokes" can be saved as .strokes files. These can be reloaded and used with the same photo for subsequent editing.
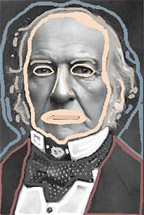
Image 04
After all strokes have been completed a colourized version of the original photograph can be previewed by clicking the button ![]() . If OK, the strokes can now be saved. The colourization effect was then applied to the image by clicking the button
. If OK, the strokes can now be saved. The colourization effect was then applied to the image by clicking the button ![]() located top right. The workspace showing the new coloured "After" version of the photograph can be seen below.
located top right. The workspace showing the new coloured "After" version of the photograph can be seen below.
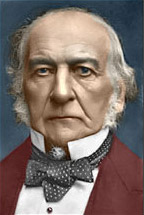
Image 05
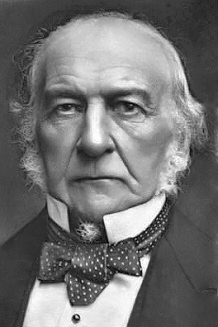
Image 07 is the original restored black and white photograph and Image 08 shows the completed AKVIS Coloriage colourized version.
 |
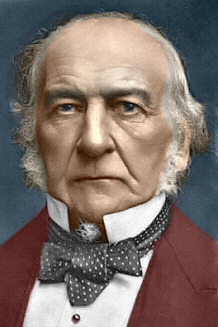 |
| Image 06 | Image 07 |
For anyone with an interest in digital photo colourization who owns a compatible image editing program, the AKVIS Coloriage plug-in is one of those "must have" add-ons that you shouldn't be without, and you don't need to be an expert in digital imaging to use it successfully.
As with most black and white photographs that are digitally colourized the colours used are subjective. To make choosing the "correct" colour easier the AKVIS Coloriage plug-in includes a Library section with fourteen colour categories; People, Grass, Leaves, Wood, Stones, Bricks, Sky, Clouds, Water, Metals, Paper, Ground, Glass, and Fabric.
Colours can also be selected using the plug-in's "Colours" chart.
As this article only gives a very brief overview of the AKVIS Coloriage plug-in, to read more detailed user instructions please click here.
