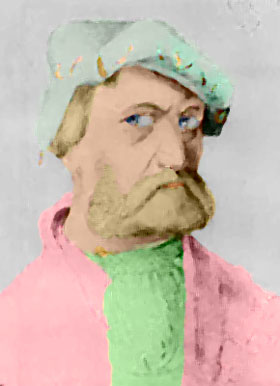
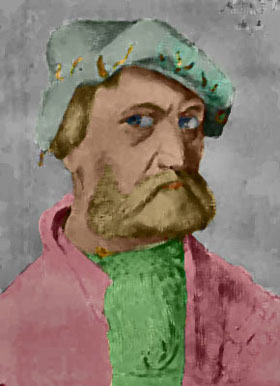
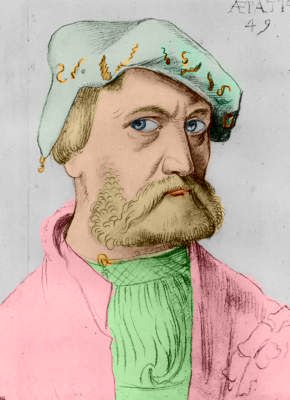
Portrait de l'artiste par lui-même
Désolé, à présent cette information n'est disponible qu'en anglais.
La version française sera bientôt affichée.
La version française sera bientôt affichée.
Le tutoriel a été créé par Alexander V. Sidorenko dans Adobe Photoshop.
Alexander a appliqué AKVIS Coloriage pour coloriser un portrait de l'artiste allemand Hans Baldung. Hans Baldung peignit ce dessin en 1534.
Alexander Sidorenko écrit :
"J'adore la peinture du moyen âge; j'ai une collection des images numériques de ce genre. J'ai découvert le tutoriel Coloriser une image au style anime and decided to apply the technique to the old masterpieces. I'm not an artist, and the colors might be not quite well chosen, so accept it as is and judge yourself."
To colorize the photo Alexander Vladimirovich did the following:
-
Step 1. He opened the pencil sketch in a photo editor.
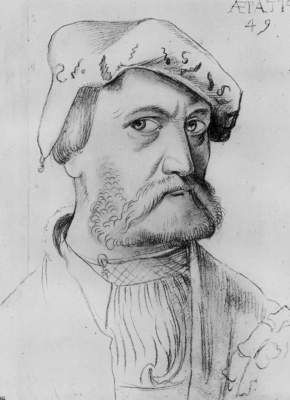
- Step 2. He called the plug-in AKVIS Coloriage by selecting the command AKVIS - Coloriage from the menu item Filter.
-
Step 3. In the plug-in's window he used the Pencil tool to assign a color to every object by drawing an outline within it. Consult the basic tutorial to learn how to draw strokes efficiently.
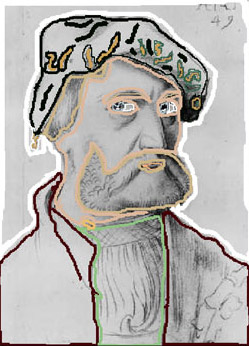
-
Step 4. He pressed the button
 and the colorized photo appeared in the After tab.
-
Step 5. He pressed the button
 to apply the colorization result and close the plug-in.
-
Step 6. Now we have a colorized portrait, but can continue editing the photo. Alexander offered to imitate oil painting and applied the filter Artistic - Paint Daubs (Photoshop) with the following settings: Wide Blurry, Brush Size = 3 and Sharpness = 1. Then he darkened the photo with the command Shadows/Highlights.
